

Think squats and deadlifts are just about lifting heavy? Think again.
For beginners, tiny technique changes decide whether you build strength or end up sore and stalled.
Use simple, easy-to-remember cues each set and you’ll protect your joints, load the right muscles, and get stronger faster.
You’ll learn five practical cues: sit back, keep your chest up, drive through your heels, brace your core, and make hips and shoulders rise together, and quick drills to use them next session.
Essential Beginner Cues for Safe Squats and Deadlifts
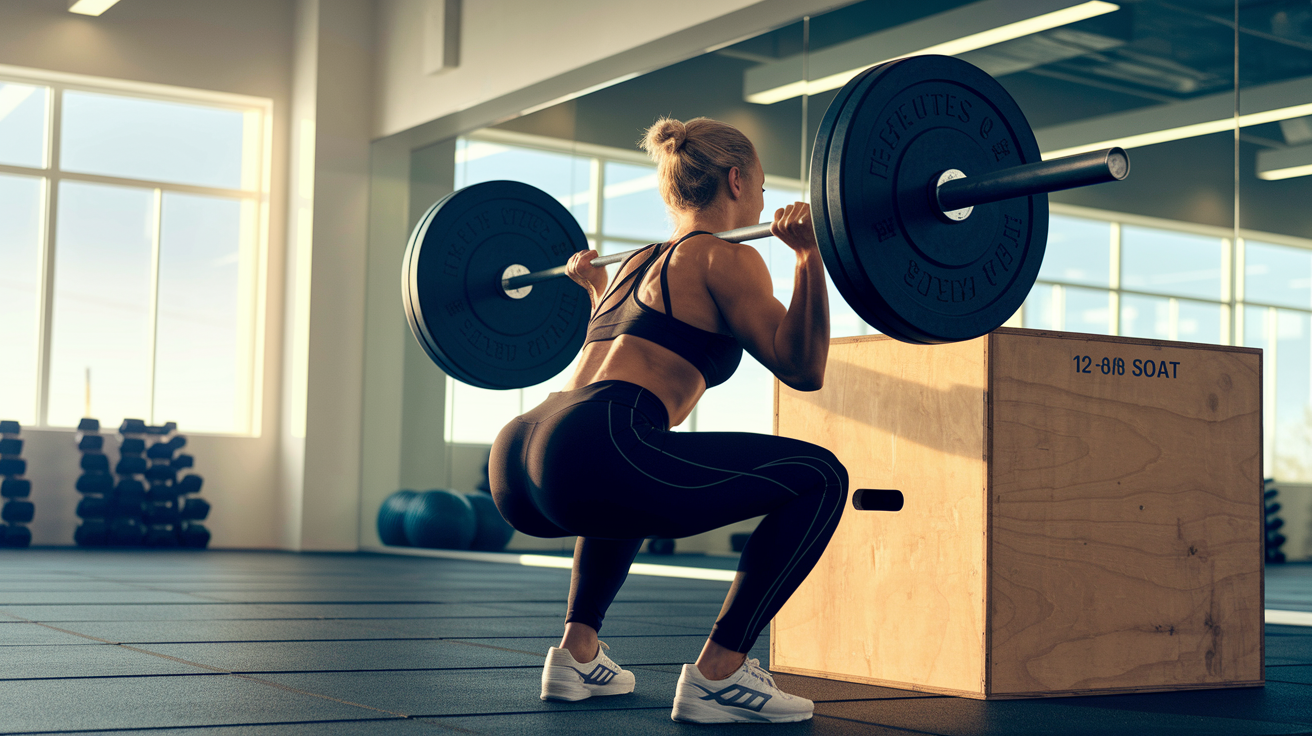
Sit back means you start by pushing your hips backward like you’re reaching for a chair that’s slightly too far away. This loads your glutes and hamstrings instead of dumping everything onto your quads and kneecaps. Most new lifters let their knees shoot forward first, which kills your leverage and grinds your joints. If you’re just starting out, try box squats to a 12 to 18 inch box. You’ll feel exactly where your hips need to go.
Keep your chest up is about lifting your sternum toward the ceiling so your torso stays tall. It stops you from collapsing forward when the weight gets real. A lot of beginners round their upper back or tip too far forward once they add plates. Goblet squats fix this fast. Hold a 10 to 25 pound dumbbell at your chest and let it pull you into position naturally.
Drive through your heels tells you to push force through the back half of your foot when you stand up. This fires your posterior chain and keeps you stable. The mistake? Rising onto your toes or shifting weight onto your knees, which steals power and beats up your joints. Practice narrow-stance bodyweight squats and imagine your heels are glued down the whole time.
Brace your core protects your spine before you pull. Take a breath, fill your belly, and tighten everything like you’re about to get punched in the stomach. Not stiff, just firm. Skip this and your lower back rounds under load. Start with 3 to 5 strong breath-and-brace reps lying on your back with no weight. Then carry it into light Romanian deadlifts at 5 to 30 pounds.
Hips and shoulders rise together keeps your deadlift smooth. Instead of yanking with your back or letting your hips pop up early, imagine pushing the floor away with your legs so everything moves as one piece. When hips rise first, you turn the pull into a stiff-legged mess that hammers your lower back. Try elevated deadlifts by setting the bar on plates or blocks. Or grab a trap bar so you can practice the timing with less stress.
Here’s the complete list:
- Sit back to load the posterior chain and protect the knees.
- Keep your chest up to hold a neutral spine and avoid forward lean.
- Drive through your heels to engage glutes and hamstrings and stabilize the ascent.
- Brace your core to create rigid torso tension before the lift.
- Hips and shoulders rise together to keep the pull balanced and safe.
For more on practical cue phrasing and intent, check out Coaching Cues For Squats And Deadlifts.
Understanding Squat Mechanics for Better Form Cues
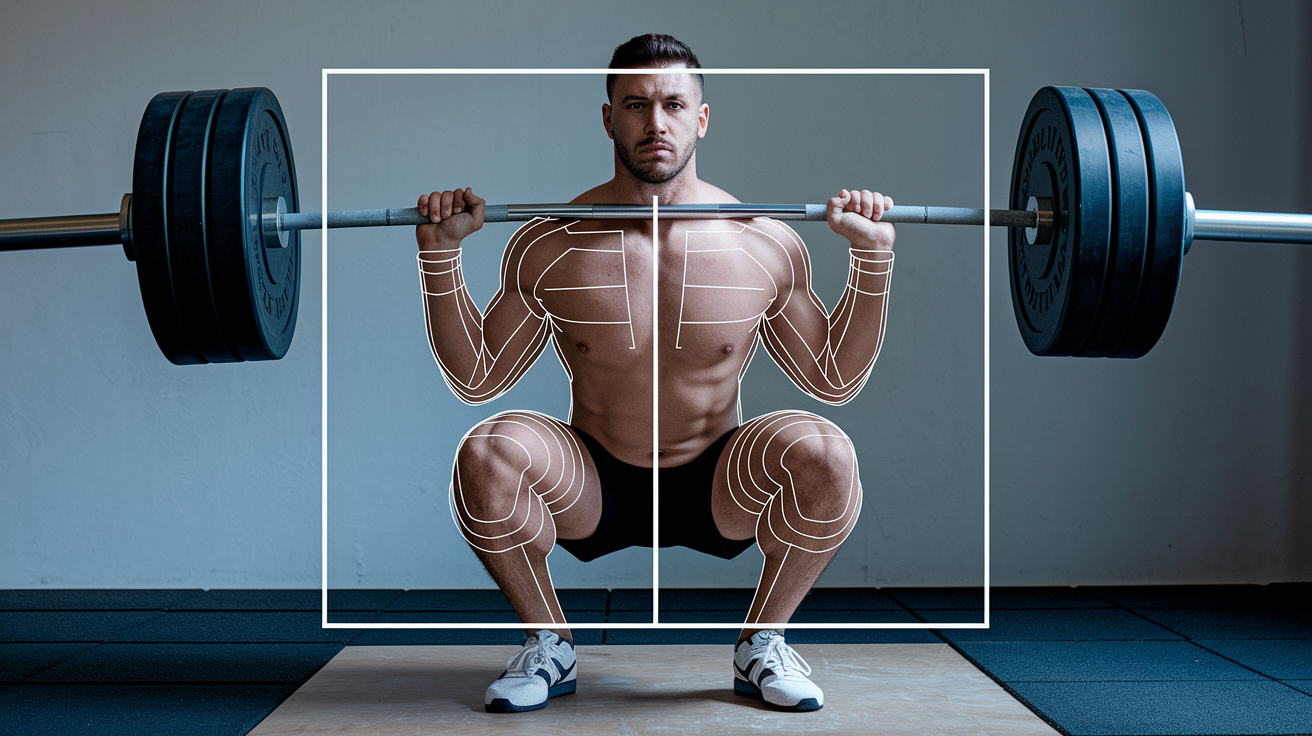
The squat recruits your glutes, quads, hamstrings, and core all at once. When you sit back and keep your chest up, you’re building the right angles at your hips, knees, and ankles so force travels straight through your skeleton instead of bending soft tissue. Your torso angle matters because leaning too far forward shifts the load onto your lower back and turns a leg exercise into a back exercise. Your foot stays flat and stable so your ankle, knee, and hip can stack in a straight line.
Knee tracking is the other piece. When your knees push slightly out in the same direction as your toes, your hips open and your glutes fire. If your knees cave in, your hips shut down and your knee ligaments take stress they weren’t built for. The cues “sit back” and “drive through your heels” work together to keep your weight centered over mid-foot, which gives you the most stable base and the strongest leverage to stand back up.
Common squat errors:
- Knees collapsing inward during the ascent
- Weight shifting onto the toes or outer edges of the feet
- Lower back rounding or chest collapsing forward
- Sitting straight down instead of pushing the hips back first
Deadlift Fundamentals That Support Safe Technique Cues
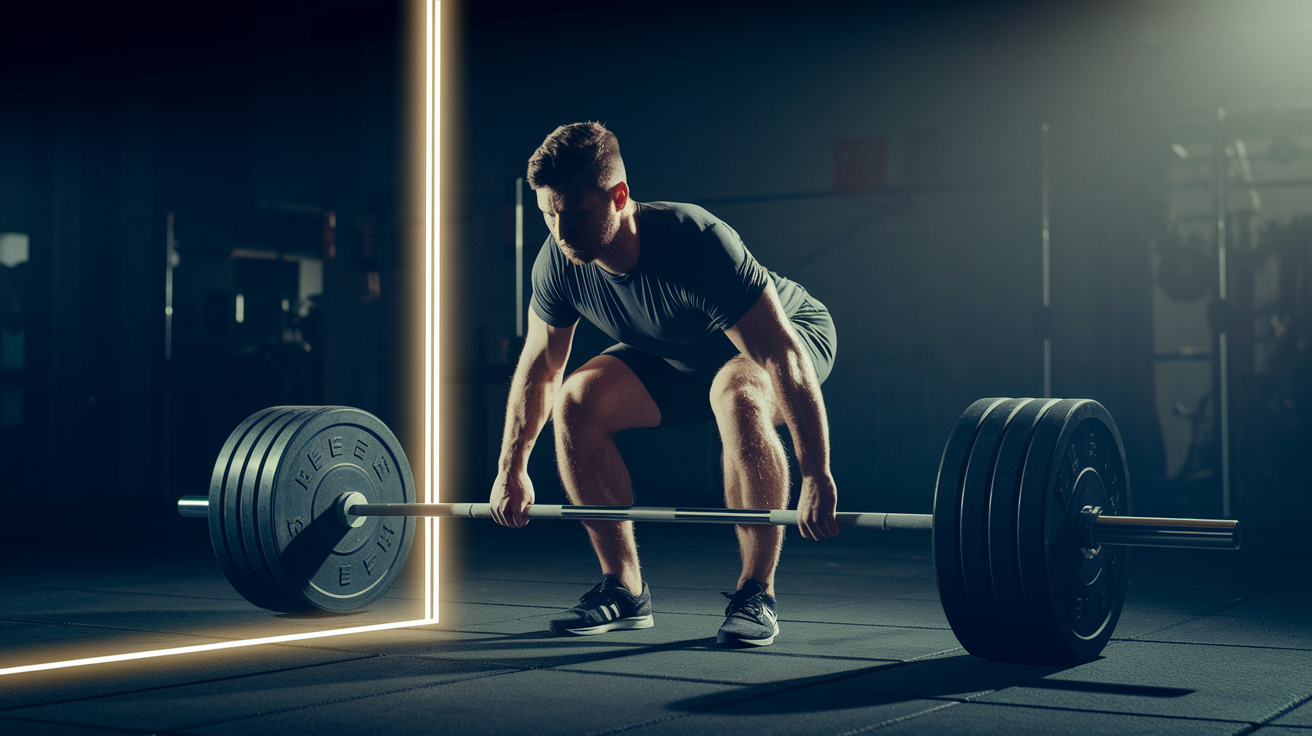
The deadlift follows one simple rule: move the bar in a straight vertical line while keeping your spine locked. That means the bar starts over mid-foot, stays close to your legs the whole pull, and finishes at your hips with your chest up and shoulders back. The setup determines almost everything. Place the bar about one inch from your shins, set your feet with four to six inches between your heels, and point your toes out 15 to 20 degrees. Bend at the knees until your shins touch the bar without moving it forward. Then freeze your hips and squeeze your chest up to lock your back.
Your lats keep the bar glued to your body. When you engage them (imagine protecting your armpits or doing a straight-arm pulldown), you create tension that prevents the bar from drifting forward and your torso from collapsing. If the bar swings away even an inch, the lever arm on your spine doubles and your lower back takes dangerous shear force. The cue “hips and shoulders rise together” works because it keeps your torso angle constant through the first pull, so your legs do the heavy lifting instead of your spine.
Bar path and spinal position are non-negotiable. For a detailed breakdown of exact setup metrics and how to control bar path from floor to lockout, see About the Deadlift.
Common deadlift mistakes:
- Starting with hips too low or too high
- Letting the bar drift forward away from the legs
- Rounding the lower back or upper back under load
Warm-Up and Mobility Drills That Reinforce Squat and Deadlift Cues
Warm-ups that mirror the movement pattern let you practice the cues with zero risk. Romanian deadlifts with 5 to 30 pounds teach the hip hinge and “hips back” position without worrying about getting the bar off the floor. You hold the bar at your hips, push your butt back, and slide the bar down your thighs while keeping your chest up. That same pattern becomes the top half of your full deadlift. Box squats with bodyweight or a light kettlebell give you a depth target and force you to sit back instead of diving forward onto your knees.
Breathing and bracing drills prepare your core before you touch the bar. Lie on your back, take a slow breath into your belly until it rises, then tighten your abs and hold for three seconds. Do that five times. Stand up and repeat it while holding a broomstick across your shoulders. Once the brace feels automatic, load it with an empty barbell. Lat activation comes from banded straight-arm pulldowns or simply hanging from a bar and trying to pull your shoulder blades down and back without bending your elbows.
Recommended drills:
- Romanian deadlift with light load (3 sets of 6 reps) to practice hip hinge and torso position
- Box squat to a 12 to 18 inch surface (3 sets of 5 reps) to work on sitting back and depth control
- Diaphragmatic breathing and bracing practice (5 reps supine, 5 reps standing) to build intra-abdominal pressure
- Banded or unloaded straight-arm pulldowns (2 sets of 10 reps) to activate lats and learn bar proximity
Practical Coaching Tips to Apply Form Cues Consistently
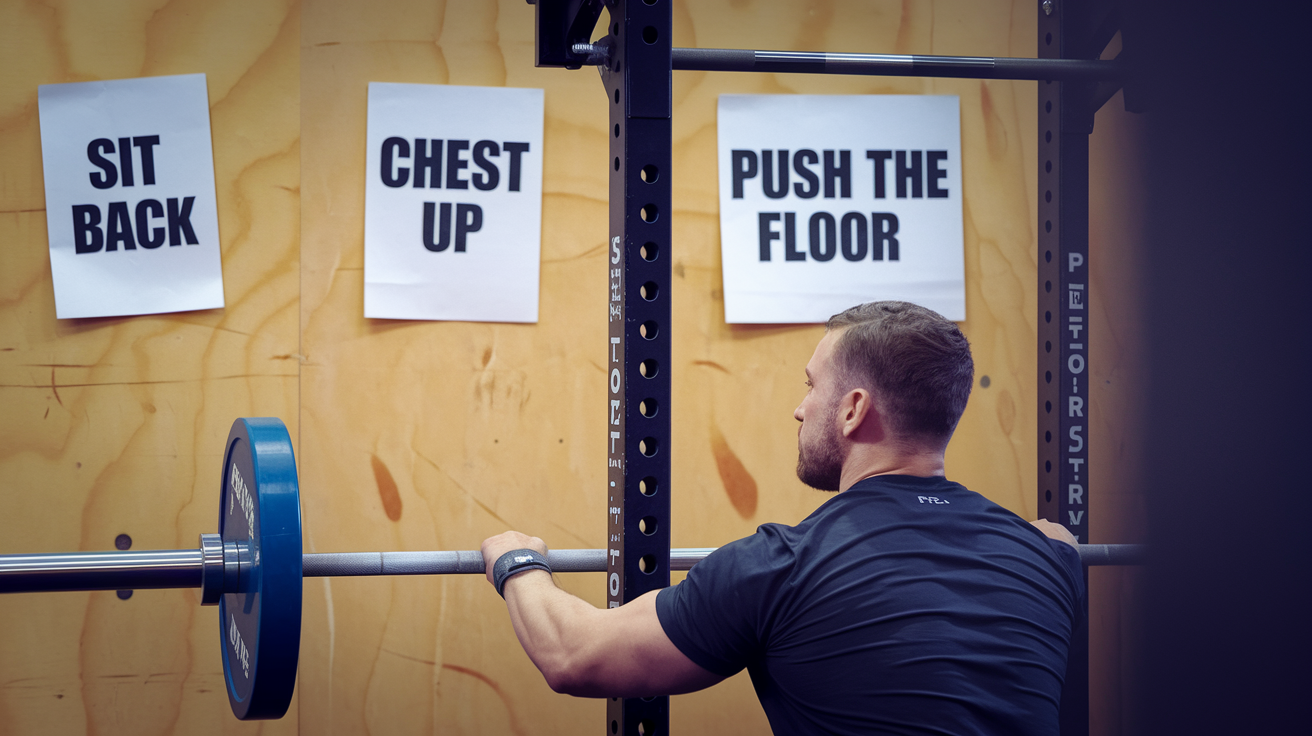
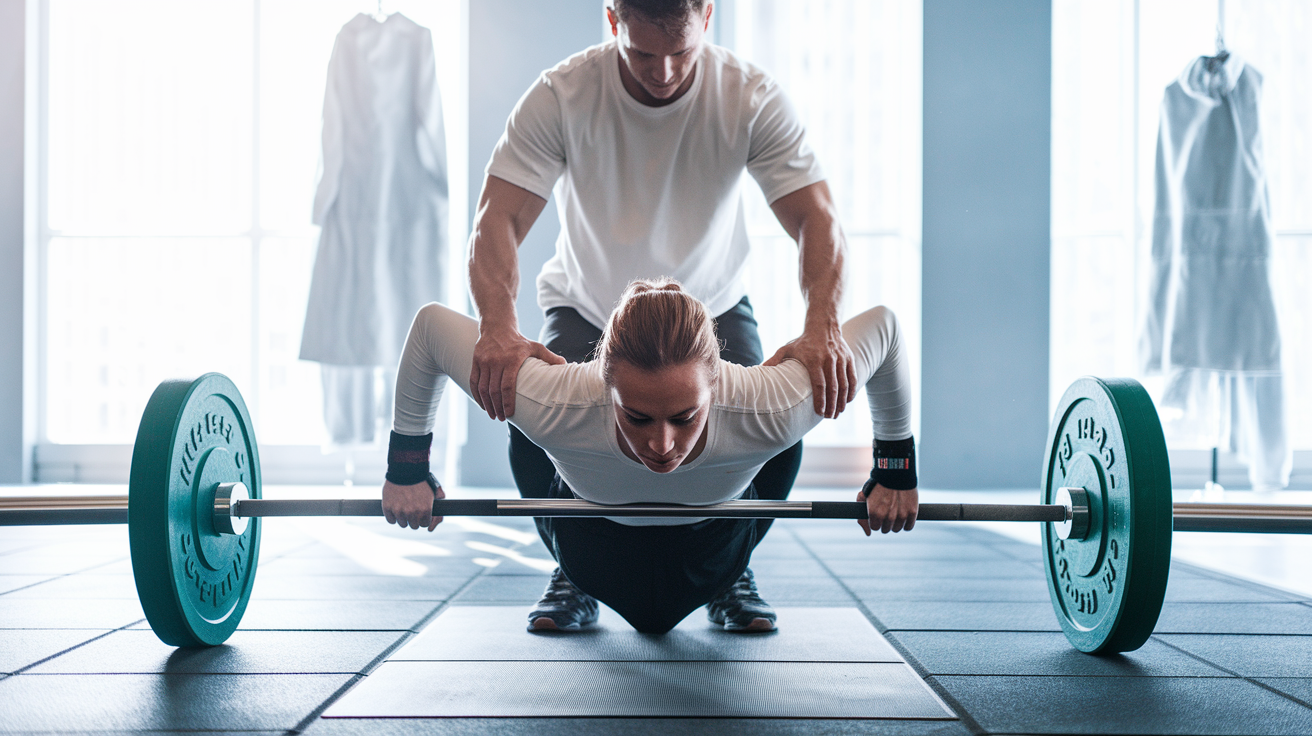
Pick two or three cues and use the exact same words every session. Your brain learns faster when the instruction is identical each time. Write your cues on a notecard or your phone the night before and review them during your first warm-up set. Simple two to three word phrases work best: “sit back,” “chest up,” “push the floor.” Say them out loud if that helps. When you film yourself or ask a training partner to watch, check your torso angle from the side and your knee tracking from the front.
Visual learning speeds things up. Watch short demo videos that show the setup, the cue, and the common mistake side by side. Then mimic what you see with an unloaded bar or a broomstick. Your goal is to feel the difference between correct and incorrect before you add weight. For more on cue phrasing and the intent behind each verbal prompt, review The 9 Best Deadlift Cues.
Beginner Troubleshooting for Squat and Deadlift Form Cues

When your knees cave in during the squat, the fix is usually “knees out” combined with better glute activation. Add a mini-band around your thighs during warm-ups and push against it the whole set. That wakes up your hip abductors and teaches your brain the right motor pattern. If your lower back rounds at the bottom of the squat (called butt wink), you’re either going too deep for your current hip mobility or your core isn’t bracing hard enough. Reduce your depth by an inch or two and work on hip flexor stretches and glute strength separately.
For deadlifts, hips shooting up early means your setup is off or your legs aren’t strong enough yet. Elevate the bar on plates or blocks so the starting position is higher and easier to hold. Practice that height until your hips and shoulders move together, then lower the bar one inch at a time over a few weeks. Bar drift happens when your lats aren’t engaged or your balance shifts forward onto your toes. Reset your setup, squeeze your armpits tight, and make sure you feel pressure across your whole foot before you pull.
Wobbling or tipping usually comes from uneven foot pressure or looking down instead of straight ahead. Plant your whole foot flat, spread your toes inside your shoe, and pick a spot on the wall at eye level to focus on. That one change stabilizes most people instantly.
| Issue | Likely Cause | Fix |
|---|---|---|
| Knees caving in (valgus) during squat | Weak glutes or poor hip external rotation cue | Use mini-band around thighs; cue “knees out”; add glute activation drills |
| Hips rising before shoulders in deadlift | Setup too low or weak quad/glute drive | Elevate bar start height; practice pause reps; check setup and brace |
| Bar drifting away from body | Lats not engaged or weight shifted forward | Cue “protect armpits”; check full-foot pressure; reset bar closer to shins |
Final Words
In the action, you learned the five core cues: sit back, keep your chest up, drive through your heels, brace your core, and hips and shoulders rise together.
You saw why those cues work (squat torso, deadlift bar path), simple warm‑ups and regressions like goblet or box squats, and quick coaching tips to film or get feedback.
Use the 5 form cues for safe squats and deadlifts for beginners every session — start light, focus on one cue at a time, and track small wins. You’re building real strength.
FAQ
Q: How to deadlift 5 simple steps?
A: The five simple steps to deadlift are: set the bar over mid-foot with shins close, brace your core, hinge at the hips, drive through your heels to stand, then lower with control.
Q: What is the safe deadlift form?
A: Safe deadlift form is keeping a neutral spine, bar close to the legs, lats engaged, whole-foot pressure, and hips and shoulders rising together to avoid lumbar rounding and bar drift.
Q: What is the 5 3 1 deadlift method?
A: The 5‑3‑1 deadlift method is applying Jim Wendler’s four-week cycle to deadlifts: week-by-week work sets of five, three, then one rep at set percentages, plus assistance and small progressions.
Q: Can deadlifts help a herniated disc?
A: Deadlifts can help a herniated disc by strengthening hips and spinal stabilizers, but only after a pain-free clearance from a clinician; start with regressions like RDLs or elevated pulls and light loads.