

What if resistance bands can build muscle as well as a barbell?
They create real mechanical tension (stretchy resistance as you pull) that forces your muscles to adapt, and they hit stabilizers dumbbells sometimes miss.
If you want a simple, low-cost way to get stronger at home or while traveling, bands are legit.
This quick guide breaks down the best resistance bands for strength exercises, shows which band fits squats, presses, or glute work, and gives a practical buy list so you can start progressing today.
Choosing the Best Resistance Bands for Strength Training Results
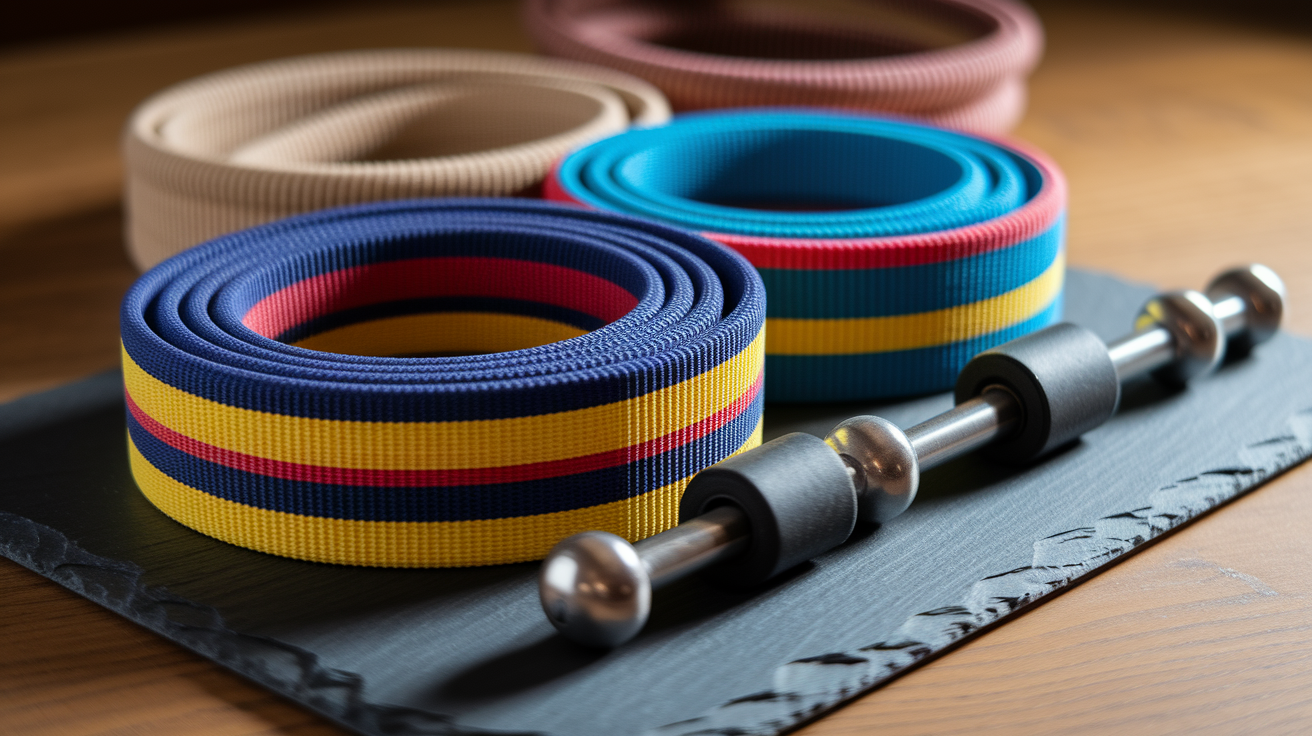
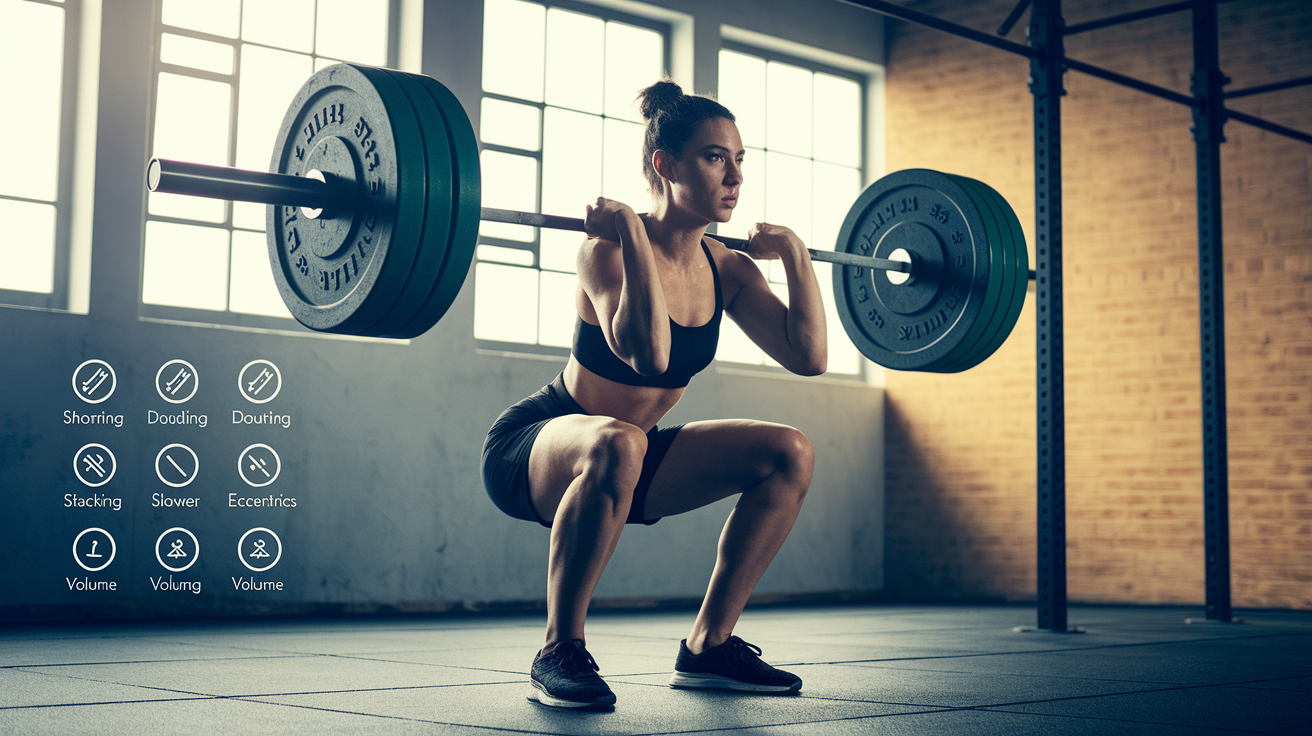
If you want one heavy loop band for deadlifts, a medium tube set for chest and rows, and a fabric mini loop for glute activation, you’ve nailed the recommended setup. Owning at least one light, one medium, and one heavy resistance band gives you enough range to match the right load to each muscle group. Heavier bands work best for lower body compound lifts like squats, deadlifts, and bridges where large muscle groups can handle higher tension. Lighter bands suit smaller muscle groups like biceps, triceps, and rotator cuff exercises where lower resistance still produces fatigue and growth. A mixed tension set covering all three levels will run you about $25 for a quality selection, making bands one of the most cost efficient tools for building strength at home or on the road.
Most manufacturers color code their bands, with darker shades indicating higher tension. Black might deliver the most resistance while yellow or red deliver the least. Tension replaces weight load in band training. When you stretch a band, you create resistance that increases as the band lengthens, similar to adding plates to a barbell. Your muscles don’t know whether they’re pulling against iron or elastic. They respond to mechanical tension, so selecting the right band resistance for each exercise matters. If your band feels too light, the muscle won’t fatigue. If it’s too heavy, your form collapses and you shift stress onto joints instead of muscle.
To match band resistance to movement patterns, use this quick rule: your bigger, multi joint lifts need heavier bands, and your single joint isolation moves need lighter ones. A front squat demands a thicker, heavier loop band. A lateral shoulder raise works best with a thin, light tube band. If you can complete 15 clean reps without reaching muscular fatigue in the final three reps, increase the tension. If you can’t finish ten reps without your form breaking down, drop to a lighter band or shorten your range of motion until your strength improves.
Quick buy criteria when shopping for strength bands:
- Tension levels: Make sure the set includes at least three resistances so you can scale exercises up or down.
- Number of bands in the set: A five piece set covering light through extra heavy gives you the most room for progressive overload.
- Cost efficiency: Spending around $25 for a quality mixed set delivers better value than single band purchases.
- Compatibility with strength goals: If your priority is upper body pressing, choose tube bands with handles. For glute and hip work, prioritize fabric mini loops.
- Durability expectations: Look for reinforced stitching on fabric bands and dense, tear resistant latex or synthetic rubber on loop and tube bands.
- Included accessories: Door anchors, ankle straps, and handles expand exercise variety and let you anchor bands securely for rows, presses, and leg curls.
Essential Resistance Band Types for Building Strength
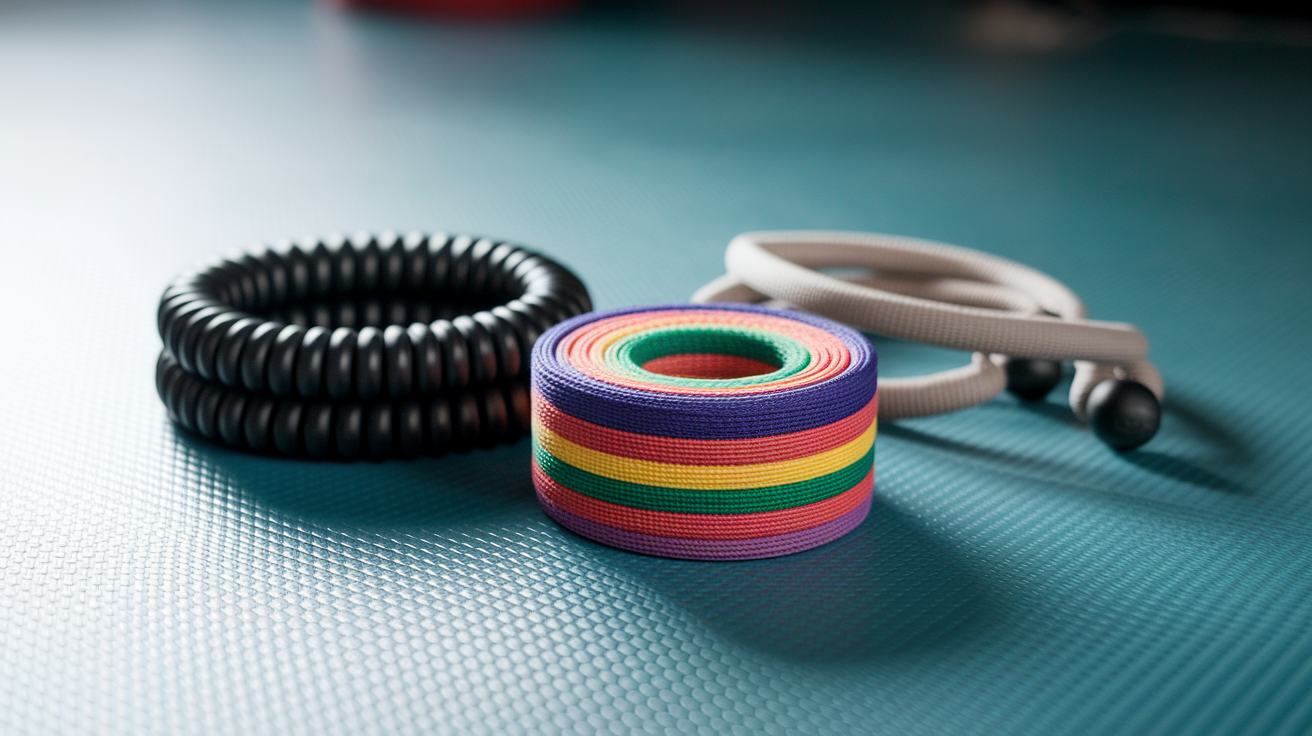
Sheet bands are thin strips of latex or synthetic rubber, usually sold flat and without handles. They’re the lightest option in the band family and designed for rehab, stretching, and warm up drills rather than heavy strength work. Sheet bands lack the tension needed to challenge your larger muscle groups once you’ve built even moderate strength. Their primary role is mobility and low load activation. Think shoulder external rotations or ankle dorsiflexion drills. Material wise, you’ll find latex and non latex versions. Latex delivers higher elasticity and tension consistency, but if you have a latex allergy, synthetic rubber or fabric coated bands are solid alternatives. Sheet bands rarely use color coding for tension. Instead, they’re often sold by thickness measured in millimeters.
Loop bands and mini loop bands are enclosed circles of elastic or fabric with no handles, and they cover a wide range of tension and size. Mini loops, sometimes called booty bands, are short, fabric covered circles placed around the thighs or ankles. They’re great for glute activation and lower body warm ups before squats and deadlifts. A medium tension mini loop creates enough resistance to fatigue your glutes in 12 to 15 reps of lateral walks or clamshells without sliding or rolling. Large loop bands, usually made of thicker latex, wrap around your body or anchor points and work for both upper and lower body strength exercises. You can use a heavy loop band for assisted pull ups, resisted push ups, banded squats, and glute bridges. The best tension range for glute activation is light to medium. For full body strength programming, stock medium and heavy loop bands so you can progress load as your muscles adapt.
Tube bands with handles are the preferred choice for multi joint pressing, rowing, and pulling movements because the handles improve grip comfort and let you focus on the movement instead of holding the band. Tube bands are dense rubber tubes, usually color coded by tension, with detachable or fixed plastic or foam handles at each end. They’re versatile enough for chest presses, overhead presses, biceps curls, and bent over rows. Many tube band sets come with door anchors that slide into the top or bottom of a doorframe, giving you a stable anchor point for rows, lat pulldowns, and chest flies. Ankle straps clip onto the tube ends and let you perform leg curls, hip abductions, and kickbacks. Tube bands tend to be more durable than sheet bands because the rubber is thicker and reinforced at the handle connection points. If you’re serious about building upper body strength with bands, invest in a tube set that includes at least three tension levels and a door anchor.
| Type | Best Use | Strength Potential |
|---|---|---|
| Sheet Bands | Rehab, mobility, warm up drills | Low, insufficient tension for heavy strength work |
| Loop/Mini Loop Bands | Glute activation, lower body progressions, full body training | Medium to High. Mini loops fatigue glutes; large loops load squats and deadlifts |
| Tube Bands with Handles | Pressing, rowing, pulling, multi joint upper body strength | High. Dense rubber and handles support heavy loads and complex movement patterns |
Strength Benefits of Using Resistance Bands in Training
A 2019 study found that resistance band training produced strength gains comparable to conventional weight training equipment. The researchers measured improvements in muscle force production and found no meaningful difference between participants who trained with bands and those who trained with free weights or machines. That’s a big deal if you’re trying to decide whether bands are a legitimate tool for building strength. The answer is yes. Bands create enough mechanical tension to stimulate muscle growth and force adaptation when you use the right resistance and follow a progressive program.
Beyond raw strength, bands activate smaller stabilizer muscles that free weights sometimes miss. When you press a dumbbell overhead, the weight path is mostly fixed by gravity. When you press a band overhead, the elastic tension pulls in multiple directions, forcing your shoulders, core, and stabilizers to work harder to control the path of your hand. That increased demand improves joint stability, balance, and mobility. A 2022 review of 18 trials involving 669 participants showed that resistance band training reduced body fat in people who are overweight, proving bands deliver metabolic and body composition benefits on top of strength improvements. The low impact nature of band loading also makes it joint friendly for beginners, older adults, and anyone recovering from injury.
Bands are portable, adaptable, and easy to store. You can toss a set into a backpack, anchor them to a door in a hotel room, and run a full body strength session in 20 minutes without access to a gym. That practicality doesn’t compromise results. It just removes barriers.
Core Strength Exercises Using Resistance Bands

Band based core exercises add external resistance to rotation, flexion, and anti rotation patterns, making your abs and obliques work harder than bodyweight crunches alone. The three movements below target different planes of motion and challenge core stability under tension.
Wood Chop
The wood chop is a diagonal, rotational movement that trains your obliques, transverse abdominis, and hip stabilizers. Anchor the band at shoulder height or above. Stand with your feet shoulder width apart, grab the band handle with both hands, and pull it diagonally across your body from high to low, rotating your torso and pivoting your back foot as you move. The band pulls you back toward the anchor, so your core has to resist that pull and control the rotation. You should feel tension through your obliques and a stretch across your torso at the top of each rep. Keep your hips stable. Don’t let them sway side to side.
Seated Tuck Up
Sit on the floor with the band looped around the arches of both feet. Hold the ends of the band in your hands and lean back slightly, engaging your core to keep your spine neutral. Pull your knees toward your chest while keeping tension on the band, then extend your legs back out without letting your feet touch the ground. The band challenges your hip flexors and lower abs throughout the movement, and the controlled tempo forces your trunk to stabilize against the elastic pull. If the movement feels too easy, shorten the band by wrapping it around your hands to increase tension.
Hip Flexor Resisted Crunch
Fold a band in half and hold both ends in your hands. Press the middle of the band against your thighs just above your knees. Lie on your back with your knees bent and feet flat. As you crunch your shoulders off the floor, press the band harder into your thighs to maintain tension. The added resistance forces your hip flexors and lower abs to work throughout the crunch, and the pressing cue keeps your core engaged instead of letting momentum take over. Your goal is smooth, controlled reps with steady pressure on the band. No jerking or bouncing.
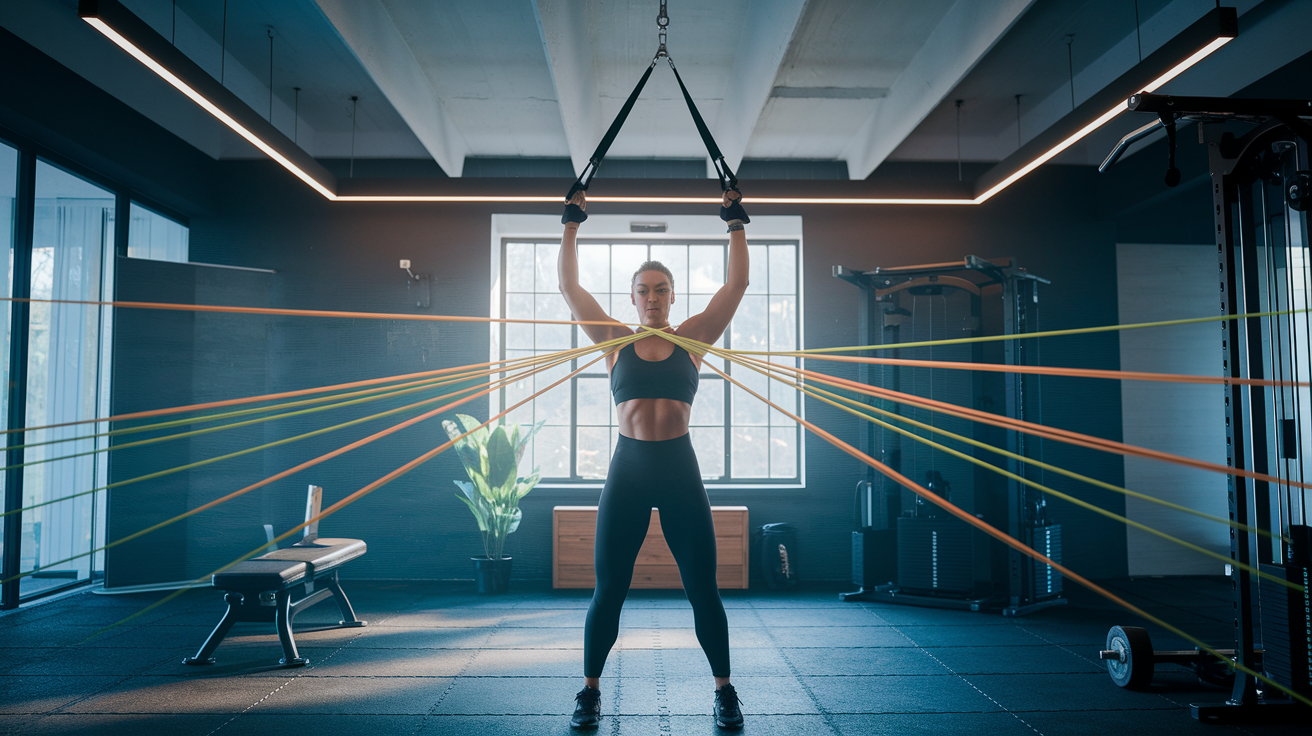
Upper Body Strength Movements Using Resistance Bands

Upper body muscles respond well to variable resistance because bands create peak tension at the hardest part of each lift, the lockout. In a barbell bench press, the weight feels heaviest at the bottom. In a banded chest press, the resistance increases as you extend your arms, forcing your chest, shoulders, and triceps to push harder through the final inches of the rep. That difference makes bands an effective tool for building strength in the top half of pressing movements and improving lockout power.
Rows and pull aparts target your back, rear delts, and scapular stabilizers. The muscles responsible for posture and shoulder health. A bent over band row mimics a dumbbell row but adds continuous tension because the band never rests. As you pull the handles toward your ribs, focus on squeezing your shoulder blades together at the top of each rep. That scapular engagement is what builds thick, strong upper back muscles and counteracts the forward rounded posture most people develop from sitting. Band pull aparts are a simple but brutal exercise. Hold a light or medium band in front of you with straight arms, then pull the ends apart until the band touches your chest. Your rear delts and mid traps do most of the work, and you’ll feel the burn after 12 to 15 reps.
Pressing options with bands include overhead shoulder presses, single arm presses, and lying chest presses. If you use tube bands with handles, the grip is more comfortable than holding a flat loop, and you can press with a neutral wrist position that feels natural. Anchor the band under your feet for standing presses or lie on your back with the band running behind your shoulders for a chest press. The key is to keep your elbows tracking in line with your wrists, no flaring out to the sides, and press in a controlled arc, not a jerky shove.
Technique reminders matter more than adding resistance. If your shoulder hikes up toward your ear during a press, drop to a lighter band and fix your scapular position before you progress. If your elbow drifts forward during a row, slow down and focus on pulling your elbow straight back instead of yanking the band with momentum.
Five essential upper body exercises to start with:
- Biceps Curl. Step on the band, hold the handles at your sides, curl your hands toward your shoulders with control.
- Single Arm Overhead Shoulder Press. Anchor the band under one foot, press one handle overhead while keeping your core tight.
- Bent Over Row. Step on the band, hinge at your hips, pull the handles to your ribs, squeeze your shoulder blades.
- Lying Chest Press. Lie on your back with the band behind your shoulders, press the handles straight up until your arms are nearly locked.
- Resistance Band Pull Apart. Hold a light band in front of you with straight arms, pull the ends apart until the band touches your chest, then return with control.
Lower Body Strength Training with Resistance Bands
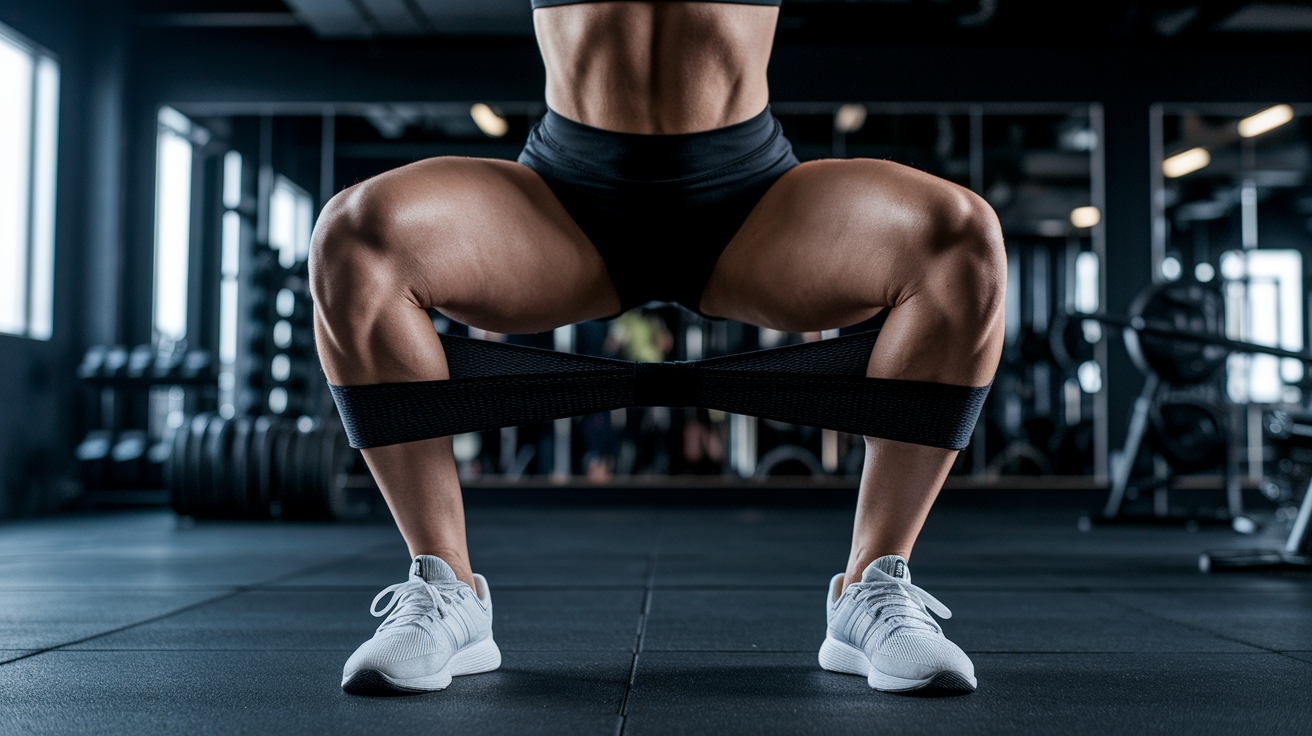
Loop bands and tube bands load your hips, quads, hamstrings, and glutes across multiple movement patterns. Squats, hinges, bridges, and unilateral work. A mini loop placed just above your knees during a squat forces your glutes to fight inward knee collapse, improving hip stability and glute activation. A heavy loop band anchored under your feet during a front squat adds resistance as you stand up, challenging your quads and core to stabilize the load. Tube bands work for kickbacks, leg curls, and hip abductions when you attach an ankle strap and anchor the opposite end to a door or sturdy post.
Strength progressions with bands rely on holds, slow eccentrics, and increased tension. Holding a glute bridge at the top for 20 to 30 seconds with a band around your thighs builds isometric strength and endurance in your glutes and hamstrings. Slowing down the lowering phase of a split squat, taking three to four seconds to descend, increases time under tension and recruits more muscle fibers. When bodyweight plus a light band feels easy, switch to a medium or heavy band, or double loop a lighter band to stack resistance.
Common cues keep your form safe and effective. In squats and lunges, track your knees over your toes. Don’t let them cave inward. In deadlift variations like the kickstand deadlift, push your hips back first, keep your spine neutral, and feel the stretch in your hamstrings before you pull back up. In glute bridges, squeeze your glutes hard at the top and avoid arching your lower back.
| Exercise | Primary Muscles | Recommended Rep/Hold Guidelines |
|---|---|---|
| Banded Walk | Glutes, hip abductors | 3 to 5 steps in each direction per set |
| Front Squat | Quads, glutes, core | 10 to 15 reps, controlled tempo |
| Glute Bridge | Glutes, hamstrings | 12 to 15 reps or 20 to 30 second hold |
| Kickstand Deadlift | Hamstrings, glutes, lower back | 10 to 12 reps per leg |
| Split Squat | Quads, glutes, stabilizers | 10 to 15 reps per leg |
Progressive Overload With Resistance Bands for Strength Gains
Band resistance increases as the band stretches, so the hardest part of each rep happens at peak stretch. The top of a press, the lockout of a deadlift, or the fully contracted position of a curl. You can use that tension curve to apply progressive overload in ways free weights can’t match. The more you stretch a band, the more force it produces, which means small adjustments in setup create measurable load increases. If a medium band feels too light during a squat, step further apart to pre stretch the band before you start the rep. That added stretch increases resistance throughout the movement without switching bands.
Increase load while maintaining technique by following this rule: progress tension only when your form stays strong through the final three reps of a set. If you can complete 15 reps of a banded row with a medium band and your shoulder blades still squeeze cleanly on rep 15, it’s time to move to a heavy band or shorten the medium band to add tension. If your lower back starts to arch on rep 12 of a glute bridge, stay with the current band and focus on holding perfect form for all 15 reps before you add load. Form always comes first.
Five overload strategies to increase strength stimulus:
- Shortening the band. Wrap the band around your hand or foot one extra loop to reduce slack and increase starting tension.
- Doubling loops. Loop the band under your foot twice instead of once to add pre stretch before the first rep.
- Stacking bands. Use two bands at the same time, one light, one medium, to increase total resistance.
- Slower eccentrics. Take three to five seconds to lower the weight, or release the band tension, to increase time under load.
- Increased volume. Add one more set or five more reps per set before you increase band tension, building work capacity before adding intensity.
Safe Anchoring, Setup, and Injury Prevention With Resistance Bands
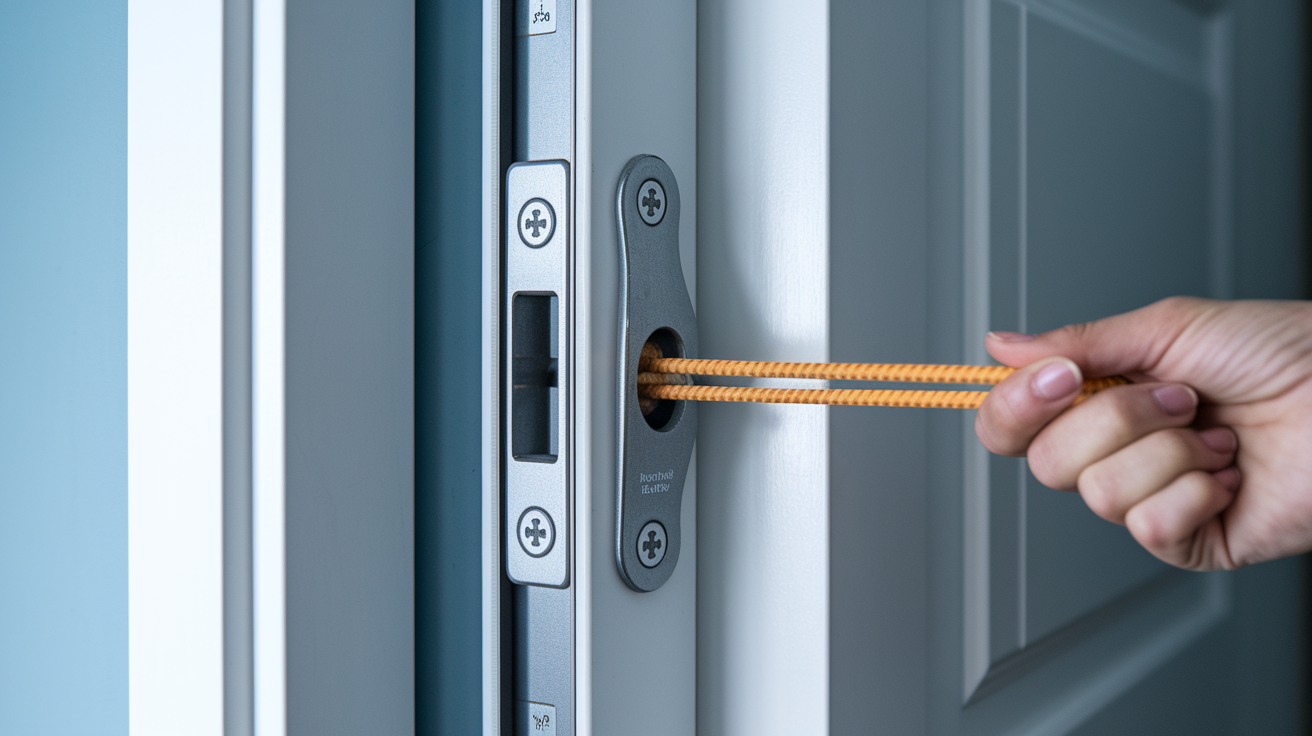
Anchoring a band securely is the difference between a safe rep and a band snapping back into your face. For door anchors, slide the anchor strap through the gap above or below a closed door, pull it tight, and close the door fully so the anchor can’t slip out. Tug the band hard a few times before you start your set to confirm the anchor holds. If the door shifts or the anchor slides, stop and reset. For hand or foot anchoring, step on the center of the band with both feet or hold one end under your palm during a plank or push up. Make sure the band sits flat against your shoe sole or hand. Wrinkles and folds increase the chance of the band rolling off mid rep.
Proper inspection and maintenance prevent snap injuries. Before every workout, hold the band up to light and look for small tears, cracks, or discoloration. Sun exposure and extreme cold degrade elastic over time, so don’t store bands on a windowsill or in a freezing garage. If you see any damage, throw the band out and replace it. Overstretching a band beyond its elastic limit also causes premature wear. If you have to pull a band so tight that it feels like it’s about to snap just to create tension, you’re using the wrong resistance. Switch to a heavier band instead of forcing a lighter one past its safe range.
Environmental considerations include avoiding rough surfaces that scratch or abrade the band. Concrete, brick, and textured flooring can tear thin bands during floor exercises like push ups or glute bridges. Lay down a yoga mat or towel if you’re training on a rough surface. Wear supportive athletic shoes with good grip. Training barefoot or in socks increases your risk of slipping when a band is anchored under your feet, especially if you’re on a smooth floor.
Sample Full Body Strength Routine Using Resistance Bands

A full body band session follows the same structure as a barbell or dumbbell workout: warm up, strength blocks organized by movement pattern, and a brief cool down. Start with five minutes of dynamic stretching and light cardio. Arm circles, leg swings, and bodyweight squats get your joints warm and your heart rate up. Then move into your strength blocks. Each block includes one primary movement pattern, push, pull, squat, hinge, or core, and you’ll use the appropriate band tension based on muscle size and movement complexity. Larger muscle groups like your quads, glutes, and back can handle medium to heavy bands. Smaller muscles like your biceps, triceps, and shoulders work best with light to medium bands.
Use light bands for warm up sets and shoulder stability work, medium bands for pressing and rowing, and heavy bands for lower body compound lifts like squats and deadlifts. If you’re new to band training, start with two sets of 12 to 15 reps per exercise and rest 45 to 60 seconds between sets. As your strength improves, add a third set or increase reps to 15 to 20 before you move to a heavier band. The goal is to finish each set with your muscles fatigued but your form still clean.
| Exercise | Band Type | Sets/Reps | Coaching Note |
|---|---|---|---|
| Banded Walk | Mini loop (medium tension) | 2 sets × 3 to 5 steps each direction | Keep tension on the band; don’t let your knees collapse inward |
| Front Squat | Heavy loop band | 3 sets × 12 to 15 reps | Anchor under feet, handles at shoulders; squat to parallel |
| Bent Over Row | Medium tube band with handles | 3 sets × 12 to 15 reps | Step on center, hinge at hips, pull handles to ribs, squeeze shoulder blades |
| Lying Chest Press | Medium tube band with handles | 3 sets × 12 to 15 reps | Band behind shoulders, press handles up, control the descent |
| Single Arm Overhead Press | Light or medium tube band | 2 sets × 10 to 12 reps per arm | Anchor under one foot, press overhead, keep core tight |
| Glute Bridge | Medium loop or mini loop | 3 sets × 12 to 15 reps or 20 to 30 sec hold | Band around thighs, press hips up, squeeze glutes at the top |
| Wood Chop | Light or medium tube band | 2 sets × 10 to 12 reps per side | Anchor at shoulder height, rotate torso, control the return |
| Biceps Curl | Light tube band with handles | 2 sets × 12 to 15 reps | Step on center, curl handles to shoulders, keep elbows still |
Maintaining and Caring for Your Resistance Bands

Inspect your bands before every workout. Hold each band up to the light and look for small tears, cracks, or thin spots. Run your fingers along the length of the band to feel for rough patches or weak areas. If you find damage, replace the band immediately. Don’t risk a snap injury to save a few dollars. Sun exposure and temperature extremes degrade elastic quickly, so store your bands in a cool, dry place away from windows. A mesh bag or small bin in a closet works well. Avoid leaving bands in your car trunk where heat and cold cycles weaken the material.
Cleaning your bands extends their lifespan and keeps them from getting sticky or grimy. After each workout, wipe down your bands with a damp cloth and a small amount of mild soap. Rinse with clean water and let them air dry completely before storing. Don’t use harsh chemicals, bleach, or abrasive cleaners. They break down rubber and fabric. If a band develops a strong odor or sticky residue, it’s usually a sign that the material is degrading, and it’s time to replace it.
Basic care checklist:
- Cleaning. Wipe with damp cloth and mild soap after each use; air dry fully.
- Storage. Keep in a cool, dry spot away from direct sunlight and temperature swings.
- Inspection frequency. Check for tears, cracks, or weak spots before every workout.
- First aid if a snap occurs. If a band snaps during a rep, stop immediately, check for skin abrasion or welts, apply ice if needed, and clean any broken skin with soap and water; replace the band before your next session.
Final Words
Choose a mixed-tension set (light, medium, heavy), follow the quick-buy rules, and start with the sample routine. We covered band types, tension cues, core/upper/lower moves, progression tricks, safety checks, and simple maintenance. Research even shows bands can produce real strength gains.
Next step: train 2x a week, track form, and only increase tension when reps stay clean. Inspect anchors before each session.
Use a resistance band for strength exercises to build steady progress. Small, consistent steps add up.
FAQ
Q: Can I build strength with resistance bands?
A: You can build strength with resistance bands by using progressive overload, increasing tension, reps, or range. Bands give variable resistance and, when used correctly, match weight training for many strength goals.
Q: Can resistance bands help rotator cuffs and arthritis?
A: Resistance bands can help rotator cuff rehab and relieve arthritis by strengthening stabilizers, improving joint mobility, and allowing low-impact loading. Start light, focus on control, and check with a clinician for tailored progressions.
Q: Can resistance training improve bone density?
A: Resistance training with bands can improve bone density by applying progressive mechanical load that stimulates bone remodeling. Research shows band training yields strength gains comparable to weights, supporting bone health when used consistently.