

What if one quick bedside check could tell you whether a muscle is paralyzed, barely working, or basically normal?
Clinicians use a simple 0-5 scale, the Medical Research Council (MRC) or Oxford scale, to do exactly that.
This post breaks down each grade, shows how tests are done for key muscles, flags common testing mistakes, and explains what a score means for real movement and rehab.
You’ll get clear cues to test reliably and know when a grade should change your plan.
Understanding the Standard 0–5 System for Muscle Strength Evaluation

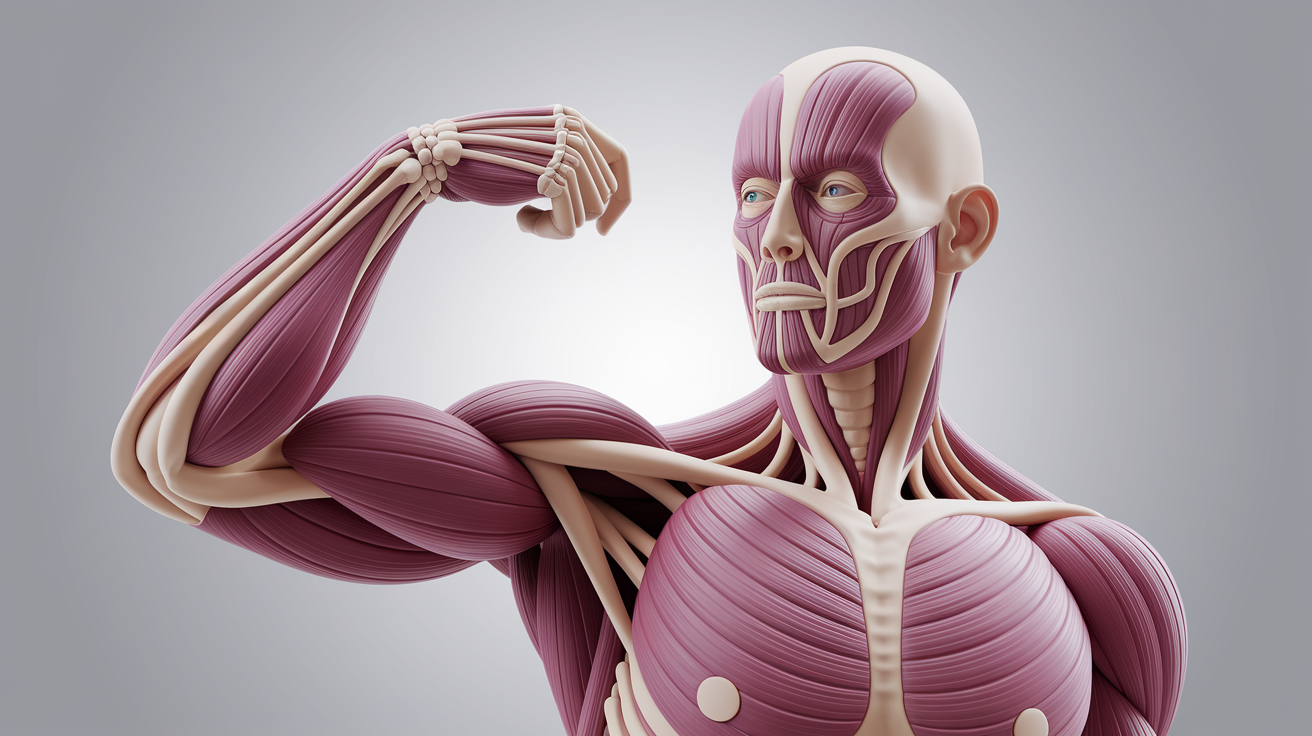
Healthcare professionals rely on a 6-point scale to record muscle strength, running from 0 through 5. You’ll hear it called the Medical Research Council scale or Oxford scale most of the time. It gives clinicians a shared language for describing muscle function, from complete paralysis all the way up to normal strength.
Grade 0 means the examiner can’t see or feel any contraction when the patient tries to move. Nothing. Grade 1 describes a trace contraction. You might see a flicker under the skin or feel a tiny twitch in the muscle belly, but the joint doesn’t budge. Grade 2 captures movement with gravity eliminated. When a patient lies on their side so gravity isn’t pulling the limb down anymore, they can move the joint through its full arc. Ask them to lift that same limb against gravity? They can’t.
Grade 3 means the patient moves the joint through full range against gravity, but the moment you apply even light resistance, the limb gives way. Some people call this “gravity only.” Grade 4 indicates the patient moves against gravity and tolerates some resistance, but that resistance is clearly less than what a healthy person of the same age and build can handle. A lot of clinicians subdivide grade 4 into minus (4-), plain (4), and plus (4+) to capture subtle differences. So you might document “shoulder flexion 4+/5” when the patient holds against firm but not maximal resistance. Grade 5 is normal strength. The patient holds position against the full force you can reasonably apply as an examiner.
Grades 0 and 1 signal severe weakness that usually stems from denervation, severe motor unit loss, or inability to recruit the muscle voluntarily. Grade 2 tells you the muscle contracts but can’t work against gravity, which creates major mobility challenges. Grade 3 marks the threshold where the patient can lift a limb but lacks the strength to resist anything beyond its own weight. That limits tasks like pushing open a heavy door or rising from a low chair. Grade 4 means mild to moderate weakness that may not block basic function but will show up in higher-demand activities. Carrying groceries, climbing stairs quickly, sustained overhead work. Grade 5 reassures you that strength is within expected limits for a clinical exam. When a patient with grade 5 strength complains of weakness, you’ll usually reach for objective testing to measure smaller deficits.
| Grade | Definition |
|---|---|
| 0/5 | No visible or palpable muscle contraction |
| 1/5 | Trace contraction or flicker; no joint movement |
| 2/5 | Movement through full range with gravity eliminated |
| 3/5 | Movement against gravity through full range; cannot tolerate added resistance |
| 4/5 | Movement against some resistance but less than normal |
| 5/5 | Normal strength against full resistance |
Core Procedures Behind Muscle Strength Grading Tests

Manual muscle testing follows a short, repeatable sequence that keeps results comparable visit to visit. You position the patient so the muscle can work in its primary direction, stabilize the limb or body segment proximal to the joint being tested, and explain what you want the patient to do. Clear instructions matter. Say something simple like, “Bend your elbow and hold it there while I push down on your forearm.” Before you apply force, watch the muscle contract and place your fingertips over the belly to confirm the right muscle is firing. Palpation also helps you catch trace contractions when you suspect grade 1.
Once you confirm the patient can move through the full arc, position the joint near the end of its range and ask the patient to hold. Apply resistance gradually at the distal segment. On the forearm if you’re testing elbow flexion, at the ankle if you’re testing knee extension. Increase force smoothly over 3 to 5 seconds until you either meet normal resistance (grade 5), detect give (grade 4), or recognize the patient can’t hold at all (grade 3 or below). That steady ramp-up is called a break test. Some clinicians perform a make test instead, where the patient generates a maximal contraction against a stationary device, but break testing remains the standard for bedside grading.
Repeat the test one to three times to check consistency, especially when results will guide treatment decisions or surgical planning. One attempt may be enough for a patient with acute pain. Three builds confidence when borderline strength makes you wonder if the patient is substituting with another muscle. Always compare the tested side to the opposite limb and note any asymmetry. If the patient can’t lift against gravity, reposition to eliminate gravity. Turn them to side-lying for shoulder or hip tests, support the forearm on a table for wrist movements, and see whether they can complete the range. That distinction separates grade 2 from grade 1.
Position and stabilize: Place the patient so the muscle works in its intended plane; hold the proximal segment steady.
Inspect and palpate: Watch the muscle contract and feel the belly to confirm the correct muscle is active.
Test active range: Ask the patient to move through the full arc without resistance to confirm grade ≥2.
Apply graded resistance: Push at the distal segment for 3 to 5 seconds, increasing force smoothly.
Compare bilaterally: Repeat on the opposite side and document right versus left grades.
Applying the MRC Scale to Key Muscle Groups
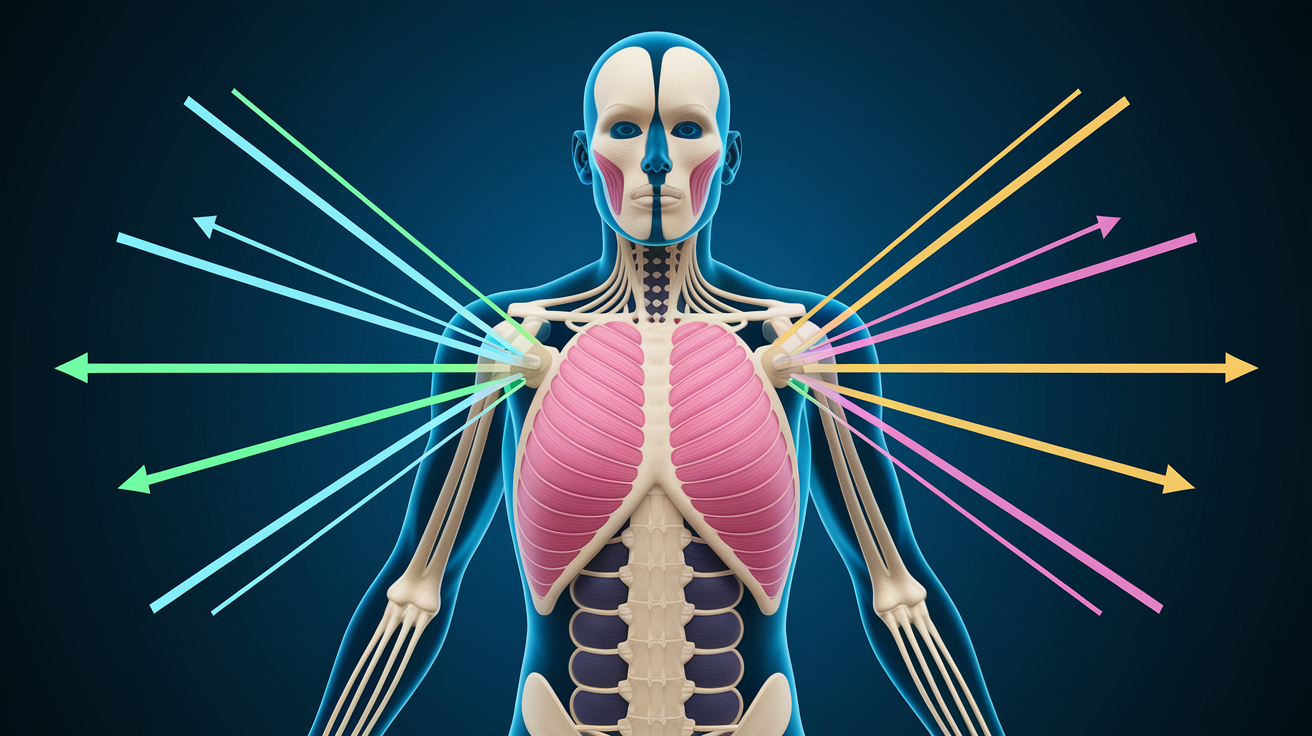
Clinicians select muscle groups that map to specific nerve roots or peripheral nerves, making strength testing a window into neurologic function. Testing shoulder abduction checks the C5 root and axillary nerve. Elbow flexion probes C5 to C6 and the musculocutaneous nerve. Wrist extension evaluates C6 to C7 and the radial nerve. In the lower extremity, hip flexion reflects L2 to L3 and the femoral nerve’s motor branch to iliopsoas. Knee extension tests L3 to L4 and the quadriceps. Ankle dorsiflexion assesses L4 to L5 and the deep peroneal nerve’s supply to tibialis anterior. Each muscle has a standard test position that isolates its action and minimizes help from nearby muscles.
For reliable grading, you need to recognize and block common substitutions. When a patient can’t abduct the shoulder with the middle deltoid, they may hike the scapula with upper trapezius to mimic the motion. If knee extension is weak, patients recruit hip flexors and thrust the thigh forward to swing the lower leg out. Watching the test from start to finish and stabilizing carefully stops these tricks from inflating the grade. Positioning also determines whether you’re testing against gravity or with it eliminated, which directly controls whether a result lands at grade 2 versus grade 3.
Upper Extremity Examples
Shoulder abduction is tested with the patient seated or standing, arm at the side, elbow straight or slightly bent. You stabilize the shoulder girdle with one hand on top of the shoulder to prevent shrugging, then ask the patient to lift the arm out to the side to 90 degrees. Apply downward pressure just above the elbow. Full resistance with no give earns 5/5. Some give under firm pressure is 4/5. Movement to 90 degrees without any resistance tolerance is 3/5. If the patient can’t lift the arm away from the body, reposition them lying on the opposite side so the arm rests on the table, eliminating gravity, and ask them to slide the arm forward across the table for grade 2.
Elbow flexion testing typically happens seated, with the shoulder neutral and the forearm supinated (palm up). Stabilize the upper arm against the patient’s torso, ask them to bend the elbow to about 90 degrees, and push down on the distal forearm. Watch for shoulder elevation or trunk lean, which signal substitution. Wrist extension is tested with the forearm supported, wrist in neutral, and fingers relaxed. Ask the patient to cock the wrist back, then press down on the back of the hand. These three movements cover C5 through C7 and catch the majority of upper-extremity radiculopathies and peripheral nerve injuries.
Lower Extremity Examples
Hip flexion is usually assessed seated at the edge of a table, thigh lifted so the knee clears the table surface. Place your hand on the distal thigh and push down while the patient tries to hold the thigh up. If weakness is suspected, test supine with the knee bent to 90 degrees. This is still against gravity. To eliminate gravity, roll the patient onto their side and ask them to slide the top thigh forward without lifting it. Knee extension is tested seated with the knee bent to 90 degrees. The patient straightens the leg while you resist at the front of the ankle. Substitution happens when the patient rocks the pelvis or recruits ankle plantar flexors to thrust the leg out.
Ankle dorsiflexion is checked with the patient seated, knee bent, heel on the floor or examiner’s hand. Ask them to pull their toes and foot upward, then press down on the top of the foot. If they can’t lift the foot off the floor or your hand, lay them supine and support the lower leg so the foot hangs free in the air (gravity eliminated), then reassess. A patient who can dorsiflex in that position earns 2/5. One who can’t manages only a trace flicker (1/5) or nothing (0/5). These lower-extremity tests span L2 through L5 and reveal most lumbosacral root and sciatic nerve deficits.
Common Substitutions to Avoid
Patients naturally recruit stronger muscles when the target muscle is weak, and these substitutions inflate grades if you don’t catch them. During shoulder abduction, watch for scapular elevation or trunk lean away from the tested side. For elbow flexion, look for shoulder flexion (lifting the entire arm rather than bending the elbow) or wrist flexion that pulls the hand upward. Hip flexion substitution includes tilting the pelvis posteriorly or using the tensor fascia latae to internally rotate and flex the hip simultaneously. Knee extension substitutes often involve hip flexion or ankle plantar flexion that creates a whip-like motion. Stabilizing proximal joints and isolating the target movement keeps the test valid and the grade accurate.
Enhancing Strength Grading with Objective Tools
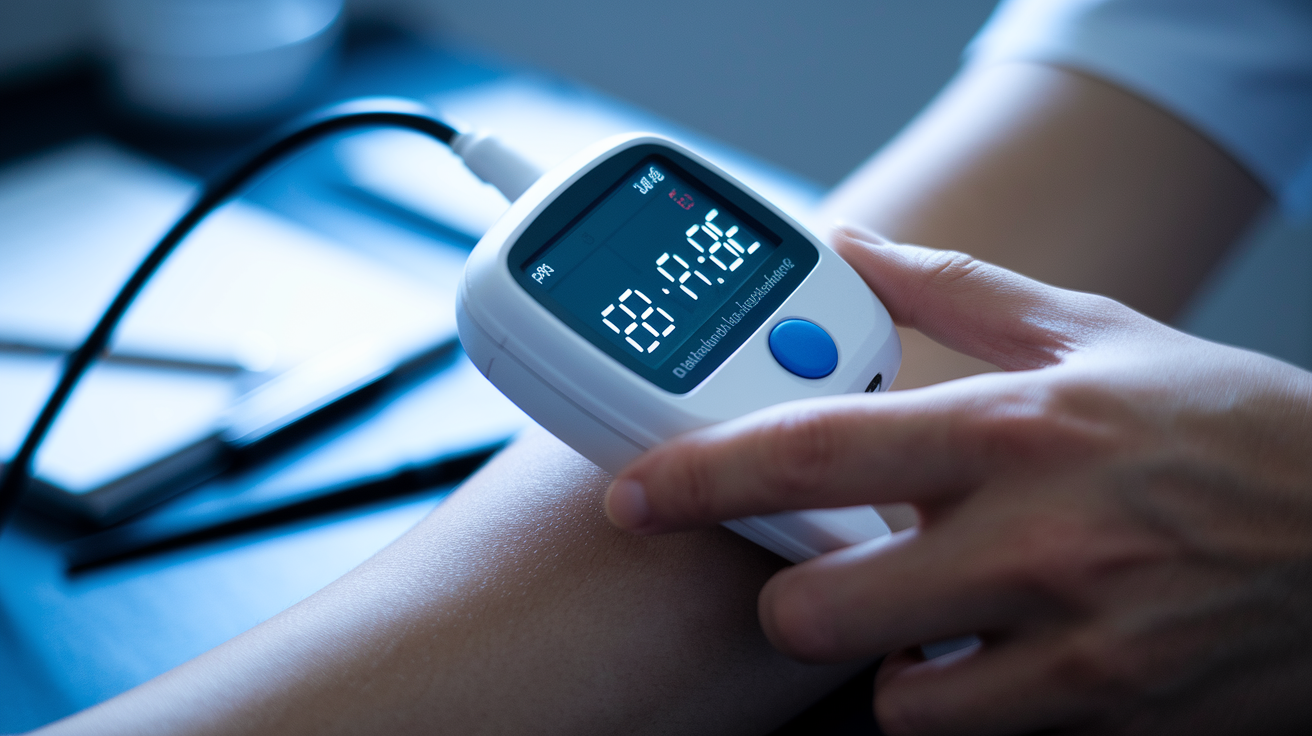
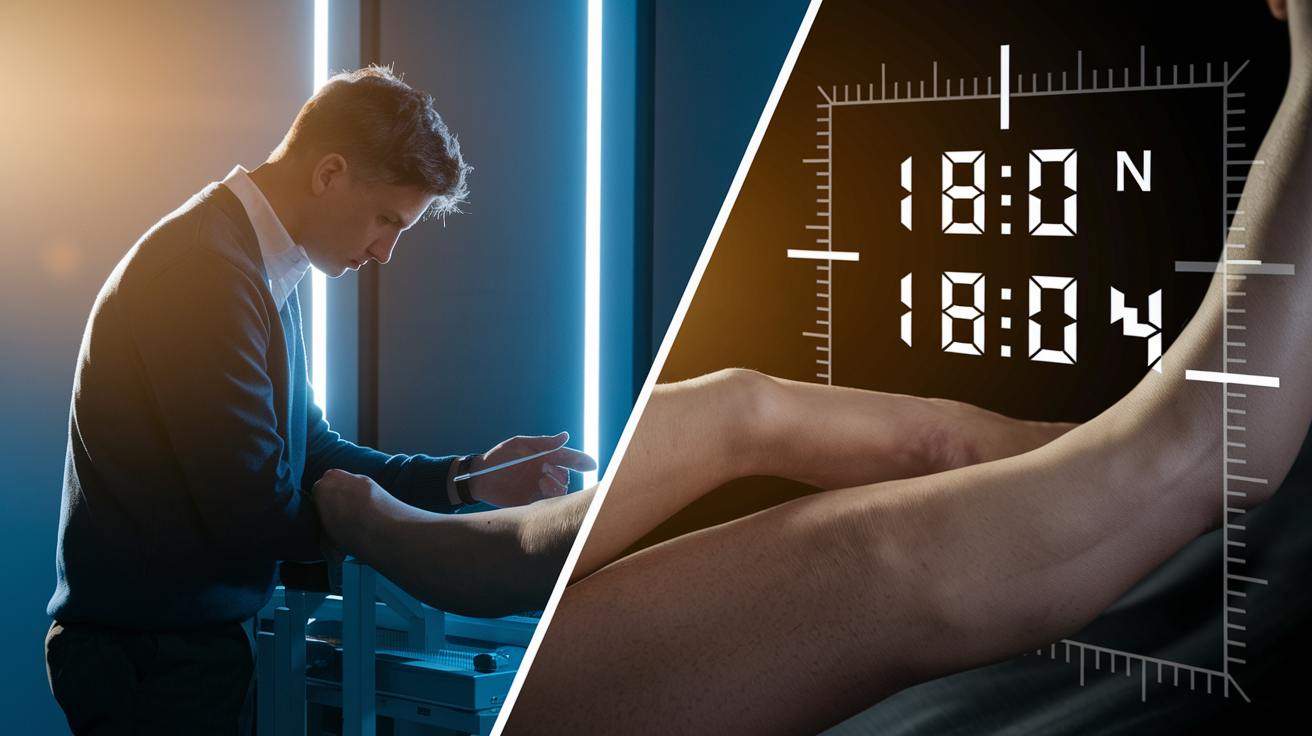
Handheld dynamometers turn subjective resistance into a number. Kilograms, pounds, or Newtons that track small changes manual testing can miss. You position the patient exactly as you would for a standard manual test, place the dynamometer’s pad at the same distal landmark where you’d normally apply your hand, and ask the patient to push or pull maximally against the device. The screen displays peak force, which you record alongside position, side, and the device model. These devices shine when you need to detect changes of 1 or 2 kilograms. Clinically important improvements that feel identical during a break test. They also reduce examiner bias, because the number doesn’t depend on your strength or how hard you pushed last visit.
Grip dynamometers measure hand strength by recording how many kilograms of force a patient squeezes into a calibrated handle. Normative tables organized by age and sex let you see whether a 60-year-old woman’s 18 kg grip is within expected range or below it. Grip strength correlates with overall upper-extremity function and general frailty, so a quick squeeze test can flag patients who need closer strength assessment elsewhere. Both handheld and grip dynamometers cost anywhere from around 200 dollars for basic digital units to over 1,500 dollars for research-grade models with Bluetooth data transfer and built-in statistics. The investment pays off when you track progress in post-surgical rehab, peripheral nerve recovery, or neuromuscular disease management.
Quantifies small changes: Detects 1 to 2 kg differences that feel the same during manual resistance.
Reduces examiner variability: The device applies consistent resistance; your strength doesn’t limit the test.
Supports goal setting: Numeric targets (e.g., “increase knee extension from 110 N to 140 N”) make progress concrete.
Enables side-to-side comparison: A 22 percent deficit between limbs guides rehab intensity better than “4/5 bilaterally.”
Documenting Muscle Strength Grades in Clinical Records

Every muscle strength entry should include the date, the side tested (right or left), the muscle or movement, the numeric grade with the denominator 5, and any relevant context. Pain level, number of repetitions completed, or position modifications. A clean example looks like this: “2026-05-02: R shoulder abduction 4/5, tested seated, pain 2/10 at end range, completed 3 repetitions.” That line tells the next clinician exactly what you did and what you found. If you tested with gravity eliminated, note it: “L ankle dorsiflexion 2/5 (gravity eliminated, side-lying position).” If you used a dynamometer, record the value and unit: “R knee extension 180 N (handheld dynamometer, seated, knee 90°); L 230 N.”
Many electronic health record templates include side-by-side fields for bilateral comparison, which speeds documentation and highlights asymmetry at a glance. A simple chart lists the muscle group in one column, right grade in the next, and left grade in the third. You can add a fourth column for pain or comments if your workflow needs it. Standardized formats make it easier to track trends over weeks and months. When you scan back through notes, you immediately see whether shoulder abduction climbed from 3/5 to 4/5 or plateaued. That tracking feeds into goal revision, discharge planning, and communication with referring physicians who need to know whether strength is improving, stable, or declining.
| Muscle Group / Movement | Right Grade | Left Grade |
|---|---|---|
| Shoulder abduction | 4/5 | 5/5 |
| Elbow flexion | 5/5 | 5/5 |
| Knee extension | 3/5 | 4/5 |
| Ankle dorsiflexion | 2/5 | 4/5 |
Interpreting Muscle Strength Grades in Clinical Scenarios
A single muscle graded at 2/5 or below flags a problem that usually needs urgent workup. Acute nerve compression, spinal cord injury, or stroke, especially when the deficit appeared suddenly or affects one side only. Patterns matter as much as individual grades. Focal weakness in one muscle group points toward a peripheral nerve lesion or nerve root compression. Diffuse proximal weakness in shoulders and hips suggests myopathy or a generalized neuromuscular disorder like polymyositis. Distal weakness in both legs with intact proximal strength raises suspicion for peripheral neuropathy. Acute asymmetry (right arm 5/5 yesterday, 1/5 today) demands imaging and specialist referral to rule out stroke or spinal cord compromise.
Grades of 3/5 or lower often predict significant functional limitations. A patient with knee extensors graded 3/5 bilaterally will struggle to stand from a standard-height chair without using arm rests, and stairs become slow and effortful. Shoulder abduction at 3/5 means overhead reaching is possible but fatiguing and often painful by the end of the day. Putting dishes away, hanging clothes. When you document these grades, adding a brief functional note helps the rehab team set realistic short-term goals: “Bilateral knee extension 3/5, patient requires arm push to stand from 18-inch chair; goal: independent stand from standard seat in 4 weeks.”
Strength grading also guides your differential diagnosis. Symmetric proximal weakness that spares sensation points toward muscular dystrophy or inflammatory myopathy. Asymmetric distal weakness with sensory loss suggests a mononeuropathy or plexopathy. Pure motor findings in a single limb distribution after trauma raise concern for nerve laceration or traction injury. Recognizing these patterns turns a list of grades into a diagnostic roadmap that directs imaging, electrodiagnostic testing, and referral decisions.
Acute unilateral weakness (0 to 2/5): Consider stroke, spinal cord injury, or acute nerve compression. Image and consult urgently.
Symmetric proximal weakness with normal sensation: Think myopathy or neuromuscular junction disorder. Order creatine kinase, consider EMG.
Distal lower-extremity weakness with sensory changes: Peripheral neuropathy likely. Check glucose, B12, and consider nerve conduction studies.
When Traditional Muscle Strength Grading Falls Short
Manual muscle testing measures concentric strength, the force a muscle generates while shortening, but it doesn’t capture eccentric strength (force during lengthening) or endurance (repeated contractions over time). A patient might hold a 4/5 grade on a single break test yet fail to lift a grocery bag ten times in a row, because the test never asked for sustained or repeated effort. The scale also bunches most healthy people into grade 5, creating a ceiling effect. Two patients both graded 5/5 can have measurably different strength on a dynamometer. One generates 200 Newtons, the other 280. But manual testing calls them equal.
Interrater reliability improves with training, but even experienced examiners disagree on whether a muscle is 4 or 5 more often than we’d like. That disagreement grows when the patient is very strong, because your own strength sets an upper limit on the resistance you can apply. If the patient is stronger than you, you can’t push hard enough to detect the difference between robust and normal strength. Pain, spasticity, and patient effort also muddy results. A patient with severe pain may not push fully, leading you to underestimate true strength. Spasticity can make a muscle feel stiffer than it actually is strong, inflating the grade.
Training and standardized protocols reduce variability. Testing the same muscle in the same position each visit, using the same verbal cue, and comparing to the same baseline. When precision matters more than bedside convenience, switching to dynamometry or functional testing fills the gap. Recognizing these limits doesn’t mean you abandon manual grading. It means you know when to supplement it with tools that measure what the 0 to 5 scale can’t.
Ceiling effect at grade 5: Most healthy individuals score 5/5, hiding meaningful strength differences.
Examiner strength dependency: Very strong patients can overcome your resistance, making grade 5 unreliable.
Limited eccentric and endurance assessment: The test measures one maximal concentric hold, not repeated or lengthening contractions.
Moderate interrater reliability: Even trained examiners disagree on 4 versus 5 more than other grades.
Using Functional Tests to Complement Muscle Strength Grading

Functional tests ask patients to perform real-world tasks. Standing up from a chair, walking across the room, climbing stairs. They record how many repetitions they complete in a set time or how long the task takes. These measures catch deficits that isolated muscle grading misses, especially endurance problems and coordination breakdowns that only appear during multi-joint movement. A patient with bilateral knee extensors graded 4/5 might complete only six repetitions on a 30-second chair stand test when the age-matched norm is twelve, revealing a performance gap that the static grade didn’t show.
The 30-second chair stand counts how many times a patient can stand fully and sit back down in 30 seconds without using arms. The 5-times sit-to-stand test flips the metric: you time how long it takes to complete five consecutive stands. Both correlate with lower-extremity strength and fall risk. Timed Up and Go measures the seconds needed to stand from a chair, walk three meters, turn around, walk back, and sit down. A compound task that blends strength, balance, and gait speed. Walking on toes for ten feet tests plantar flexor strength and balance. Walking on heels does the same for dorsiflexors. Rising from the floor without hand support evaluates hip and core strength plus mobility.
These tests take one to three minutes each, require no equipment beyond a chair and stopwatch, and produce a number you can compare to normative cutoffs or track visit to visit. When you pair functional results with muscle grades, you build a fuller picture: “Knee extension R 4/5, L 4/5; 30s chair stand 7 reps (below age norm of 12), prescribe progressive resistance training and reassess in 4 weeks.” That combination tells you the impairment (grade 4 strength) and the functional impact (low sit-to-stand reps), which sharpens your treatment plan and makes progress easier to explain to the patient.
30-second chair stand: Count repetitions in 30 seconds; low reps flag lower-extremity weakness or fall risk.
5-times sit-to-stand: Time to complete five consecutive stands; slower times correlate with reduced leg strength.
Timed Up and Go (TUG): Seconds to stand, walk 3 meters, turn, return, and sit; scores greater than 12 seconds suggest mobility impairment.
Toe/heel walking: Walk 10 feet on toes (tests plantar flexors) and on heels (tests dorsiflexors); inability signals specific muscle weakness.
Floor-rise test: Ability to rise from floor without hand support; difficulty indicates hip, core, or overall strength deficit.
Final Words
Use the 0-5 MRC scale to record what you see: 0 = no contraction up to 5 = full resistance. Know the test steps, standard positions, and the difference between break and make tests so your grades stay reliable.
Pair grades with specific muscle checks, handheld dynamometry when you need precision, and clear chart notes. Watch for patterns, red flags, and where the scale can miss endurance losses.
Keep using grading for muscle strength as a simple way to track change and guide care. Small, steady gains add up.
FAQ
Q: What does 4 +/ 5 muscle strength mean?
A: The 4+/5 muscle strength means the muscle moves against strong resistance but not full normal force. It’s slightly weak yet functional; clinicians use 4-, 4, 4+ to show gradations.
Q: How do you grade muscle strength?
A: You grade muscle strength using the 0–5 Medical Research Council scale: 0 no contraction, 1 trace, 2 movement with gravity eliminated, 3 against gravity, 4 against some resistance, 5 normal.
Q: What are the 7 types of muscle strength?
A: The seven types of muscle strength are: maximal (one-rep), explosive (power), relative, absolute, endurance, isometric (static), and eccentric (lengthening). Each describes force, speed, or contraction type.
Q: What is a Grade 5 muscle power?
A: A Grade 5 muscle power is normal strength: full range of motion against full resistance with no detectable weakness. Clinically it indicates no functional impairment from that muscle group.