

Think you can just jump back into heavy training after time off? Most athletes end up with a setback when they try.
Your body needs to relearn movement, rebuild tissue tolerance, and adapt to load.
Slow and steady wins.
This 12-16 week full-body return-to-training plan breaks the comeback into four clear phases.
You’ll train two to three full-body sessions a week, mix unilateral and bilateral lifts, schedule deloads, and track progress with simple metrics, like reps, weight, and how it felt, so you add load only when form is solid.
Program Overview: Structured 12–16 Week Return-to-Training Plan
Coming back from injury, illness, or just a long break doesn’t work if you treat it like flipping a switch. You can’t walk in and pick up where you left off. Your body needs time to remember the patterns, rebuild tolerance, and adapt to load again. Rush it and you’re setting yourself up for a setback. Take it in steps and you’ll actually get somewhere.
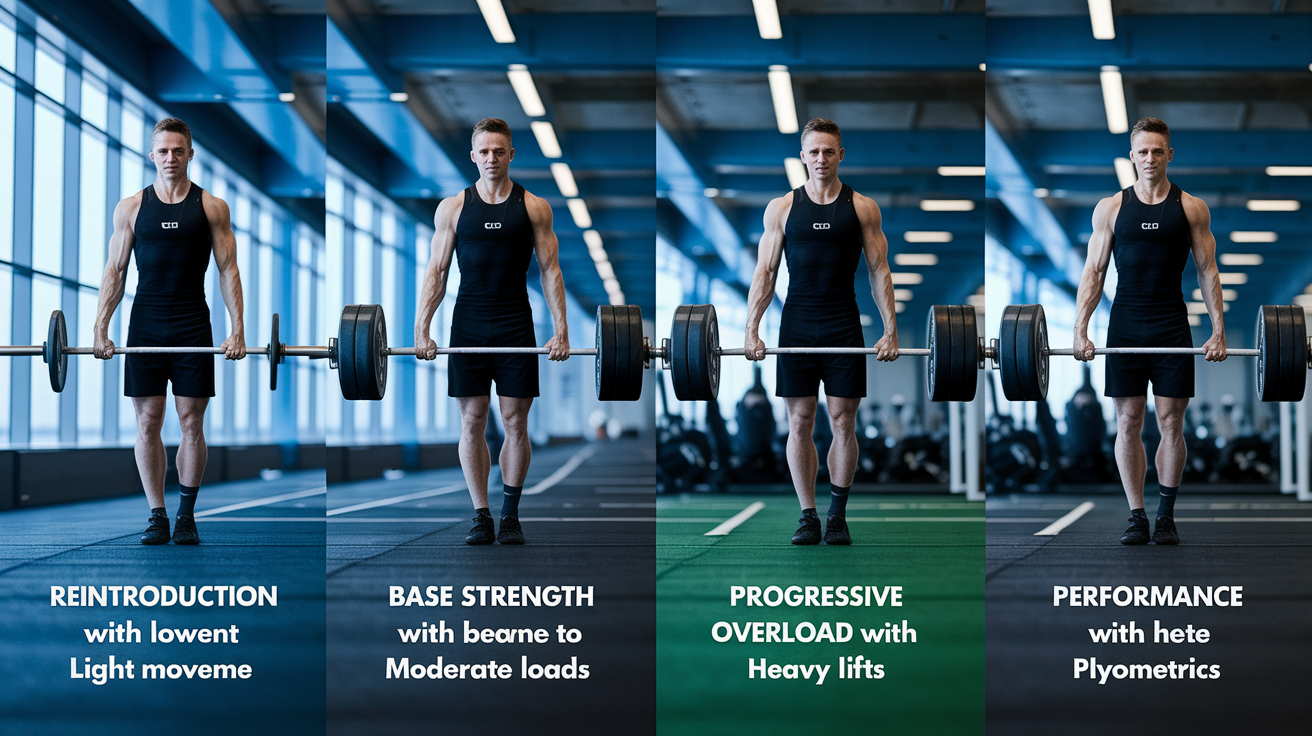
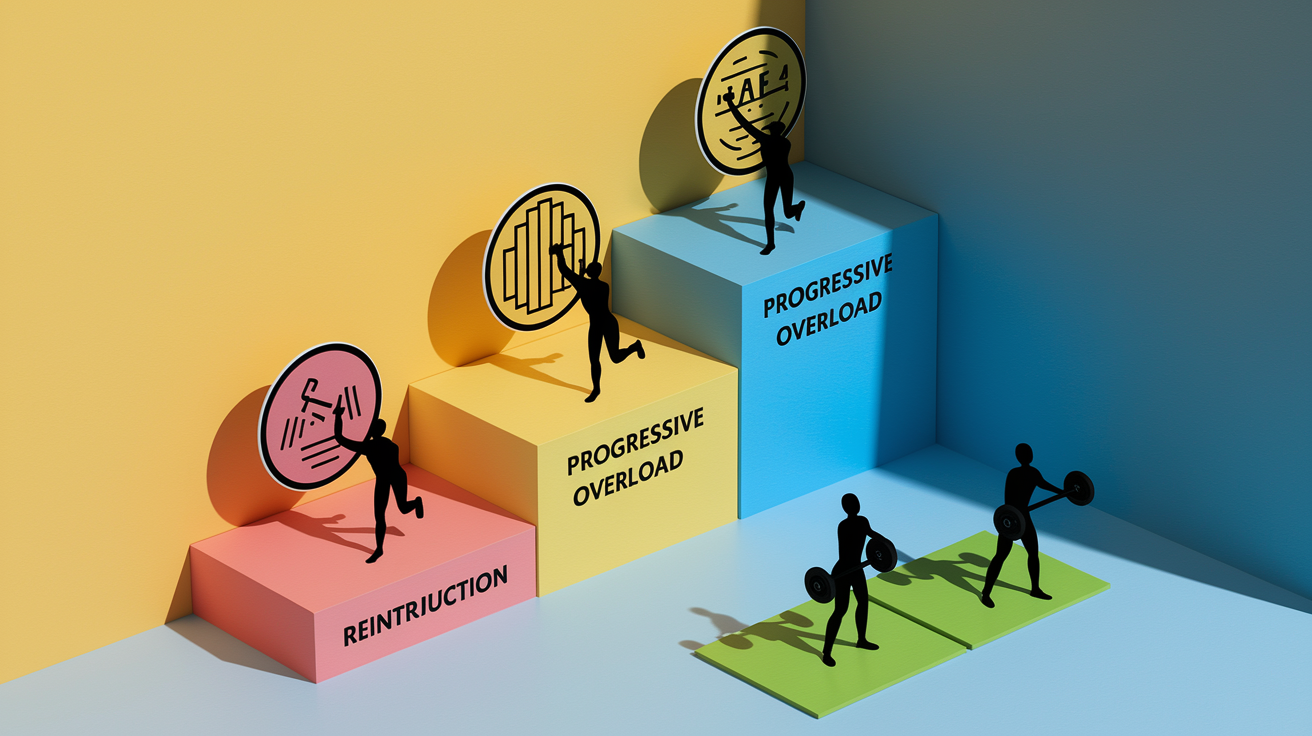
This 12–16 week plan breaks your return into four phases. Each one has a specific goal, a weekly setup, and a clear plan for how much weight to add and when. Early on, you’re focused on moving well with light loads. Later, you’re building real strength with heavier bilateral lifts. You’ll train full body two or three times a week, mixing unilateral and bilateral exercises. Rest days are built in. So are deload weeks.
You’ll track progress with simple metrics: reps completed, weight lifted, and how hard it felt (RIR, or reps in reserve). Log every session so you know exactly when to add weight. Consistency beats intensity here. Showing up twice a week beats crushing yourself once and then skipping the next two because you’re too sore to move.
| Phase | Duration | Primary Goal | Weekly Structure |
|---|---|---|---|
| Reintroduction | Weeks 1–4 | Relearn movement patterns, build tolerance | 2 full-body sessions; 2 sets × 8–12 reps; loads ≤60% 1RM |
| Base Strength | Weeks 5–8 | Increase volume and introduce moderate loads | 2–3 sessions; 3 sets × 6–10 reps; loads ~70–75% 1RM |
| Progressive Overload | Weeks 9–12 | Build strength and force output | 3 sessions; 3–4 sets × 4–8 reps; loads ~75–85% 1RM |
| Performance | Weeks 13–16 | Peak strength and integrate plyometrics | 3 sessions; 3 sets × 4–6 reps heavy; add plyometric work; loads >80% 1RM |
Safety considerations for return-to-training athletes:
Always warm up. Five to ten minutes of dynamic movement and activation drills before your working sets.
Don’t increase weekly load by more than 5–10% unless your movement quality and recovery are solid.
Schedule a deload week every 4–6 weeks. Drop volume by 40–60% or intensity by 10–20%.
Stop a set if pain shows up or your form starts to break. Use RIR 1–3 (stop 1–3 reps short of failure) for most working sets.
Track sleep, soreness, and energy in your log. If recovery signals stay low for more than three days, reduce load or add a rest day.
Warm-Up, Activation, and Mobility Essentials
A good warm-up does more than get your heart rate up. It primes your nervous system, activates stabilizers, and rehearses the movements you’re about to load. For athletes coming back after time off, the warm-up is where you check in and make sure everything moves without pain or compensation.
Dynamic warm-ups work better than static stretching before lifting. You want to move joints through full ranges, wake up your glutes and scapular muscles, and prepare your core to brace under load. Keep it short but deliberate. Five to ten minutes is enough if you hit the right targets.
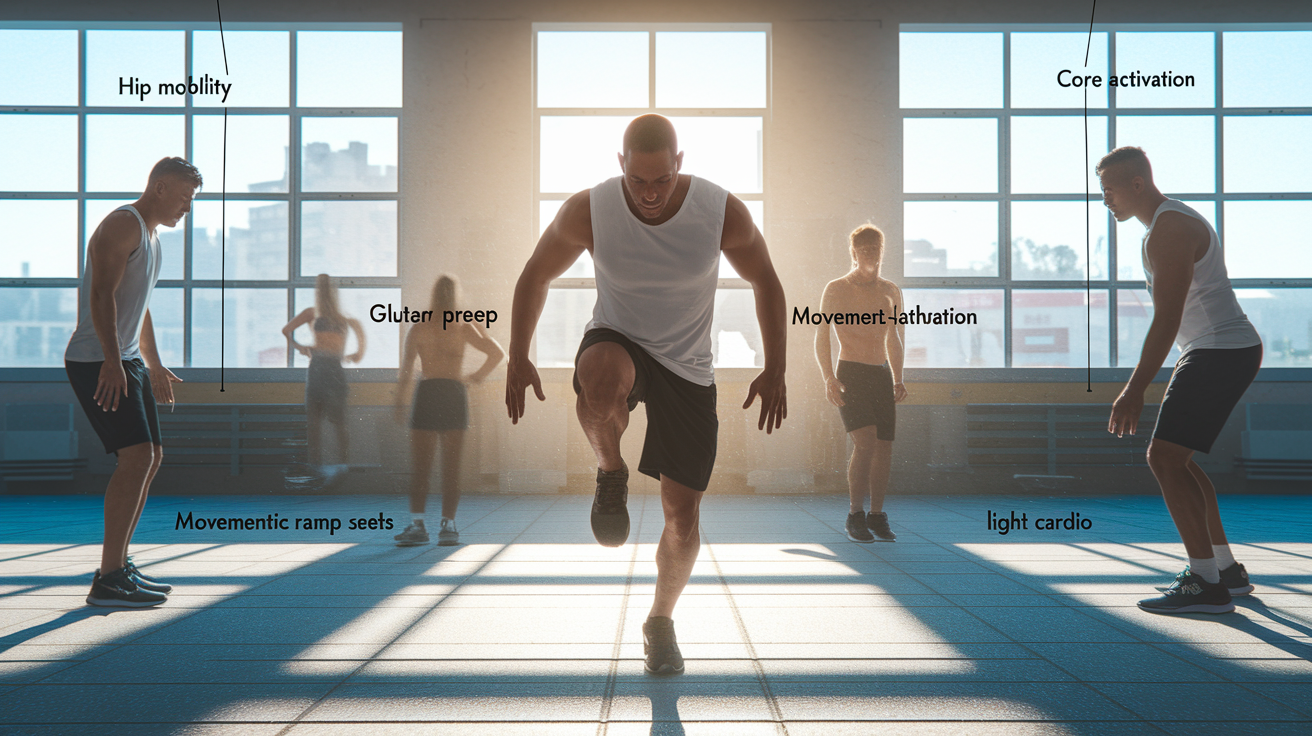
Start with low-intensity cardio to increase core temperature. Then layer in dynamic mobility drills that match the session ahead. Squatting or deadlifting? Prioritize hip and ankle mobility. Pressing or rowing? Focus on scapular control and thoracic rotation. Finish with a few light sets of the first exercise at 30–50% of your working load to groove the pattern and confirm you’re ready.
Six essential warm-up components:
Light cardio for 2–3 minutes (slow jog, bike, or row) to raise core temperature and breathing rate.
Hip mobility sequence: bodyweight squats, leg swings front to back and side to side, hip circles.
Glute activation: glute bridges, clamshells, or banded lateral walks to turn on the posterior chain.
Scapular and thoracic prep: wall slides, band pull-aparts, or quadruped T-spine rotations to improve shoulder position.
Core activation: dead bugs, bird dogs, or short planks to practice bracing and anti-rotation control.
Movement-specific ramp sets: 1–2 light sets of your first working exercise at 30–50% load to rehearse mechanics.
Phase-by-Phase Progression Framework
Reintroduction Phase
The reintroduction phase runs weeks one through four. You’re focused entirely on movement quality and tissue tolerance. Not chasing strength gains yet. You’re reminding your nervous system how to coordinate patterns like squatting, hinging, pushing, and pulling without compensating or feeling pain. Load selection stays conservative. Start with bodyweight, light dumbbells, or kettlebells you could easily move for 15 to 20 reps if asked. Your working sets will be 2 sets of 8 to 12 reps, leaving 3 to 4 reps in reserve every time.
Tempo control matters more than load here. Use a controlled 2-second eccentric (lowering), a 1-second pause at the bottom, and a smooth 1-second concentric (lifting). Slow tempo gives you time to feel the movement and correct your position mid-rep. If something feels off, stop the set and adjust. You should finish every session feeling like you moved well, not like you survived a test.
Movement quality focus means you’re watching for symmetry, stable joints, and smooth coordination. Film a set if you’re unsure. Look for knee valgus during squats, excessive low-back arch during hip thrusts, or shoulder shrugging during rows. Fix the pattern now, because once you add load, compensation becomes harder to spot and easier to reinforce.
Base Strength Phase
Base strength phase covers weeks five through eight. You’re introducing moderate loads and higher total volume. You’ll increase from 2 sets to 3 sets per exercise and tighten the rep range to 6 to 10 reps per set. Working load climbs to around 70–75% of your estimated 1RM, which should feel moderately challenging by the last two reps of each set. You’re aiming for RIR 2. Meaning you could complete two more reps if forced, but you choose to stop there.
This is where you reintroduce heavier bilateral lifts like back squats, trap-bar deadlifts, and barbell hip thrusts. Add one or two unilateral exercises per session to address any side-to-side imbalances that showed up during reintroduction. Weekly structure expands to two or three full-body sessions, with at least one rest day between sessions. If you’re also running or doing sport-specific conditioning, stack your strength session on the same day as your hard run or practice, separated by 4 to 6 hours if possible.
Total weekly sets per major movement pattern should reach 6 to 9 sets. For example, if you squat on Monday and perform Bulgarian split squats on Friday, you’ve hit 6 lower-body push sets for the week. Track your sets in the editable progress table so you can see weekly volume accumulate and plan small jumps in load or reps every 7 to 10 days.
Progressive Overload Phase
Progressive overload phase runs weeks nine through twelve. The program shifts toward measurable strength gains. Volume stays similar to base strength phase, but intensity climbs. You’ll perform 3 to 4 sets of 4 to 8 reps per exercise at 75–85% of your 1RM, leaving RIR 1–2 on working sets. Rest intervals between sets extend to 2 to 3 minutes for heavy compound lifts so you can recover enough force output to maintain quality reps.
Load progression follows a simple rule: when you complete all prescribed reps across all sets with RIR 1–2 and good form, add 2.5–5% load the following week. For example, if you hit 3 sets of 6 reps on trap-bar deadlifts at 185 pounds with one rep left in the tank each set, increase to 190–195 pounds next session. If form breaks down or you can’t complete the target reps, repeat the same load and work for cleaner execution.
Weekly progression guidelines recommend increasing load every 7 to 10 days, not every session. Some weeks you’ll repeat the same weights to consolidate the adaptation. Intensity manipulation also includes tempo work or paused reps. Add a 2-second pause at the bottom of a squat or a 3-second eccentric on a Romanian deadlift to increase time under tension without spiking absolute load. These variations build positional strength and prepare connective tissue for the heavier loads coming in the performance phase.
Unilateral and Bilateral Strength Balance Strategies

Unilateral exercises (movements performed one limb at a time) improve joint stability, reveal side-to-side strength differences, and reduce asymmetries that can lead to compensation patterns. Bilateral exercises (squats, deadlifts, hip thrusts) allow you to lift heavier total loads and build greater overall force output. A smart return-to-training plan uses both.
Start each training week with one or two heavy bilateral lifts to drive strength adaptation. Then follow with unilateral accessory work to address imbalances and improve single-leg control. For example, open a session with back squats or trap-bar deadlifts for 3 sets of 5 reps. Then perform Bulgarian split squats or single-leg Romanian deadlifts for 2 sets of 8 reps per side. The bilateral lift builds raw strength. The unilateral work corrects any wobble, weakness, or compensation you didn’t notice under the barbell.
Five example exercises that balance unilateral and bilateral strength development:
Trap-bar deadlift (bilateral) paired with single-leg Romanian deadlift (unilateral) to develop posterior-chain strength and hip-hinge stability.
Back squat or goblet squat (bilateral) paired with Bulgarian split squat (unilateral) to build quad and glute strength with improved balance.
Barbell hip thrust (bilateral) paired with single-leg glute bridge (unilateral) to maximize glute activation and correct left-right output differences.
Bench press or dumbbell chest press (bilateral or independent bilateral) paired with single-arm dumbbell row (unilateral) to balance upper-body push and pull.
Pull-up or lat pulldown (bilateral) paired with suspension row with staggered stance (unilateral emphasis) to build scapular control and unilateral pulling strength.
Re-Injury Prevention and Load Management
Managing your training load is the single most effective way to prevent setbacks during a return-to-training program. Load spikes (sudden jumps in volume, intensity, or frequency) are the leading cause of re-injury in athletes who felt ready to go harder than their tissues could tolerate. Gradual progression and close attention to recovery signals keep you on track.
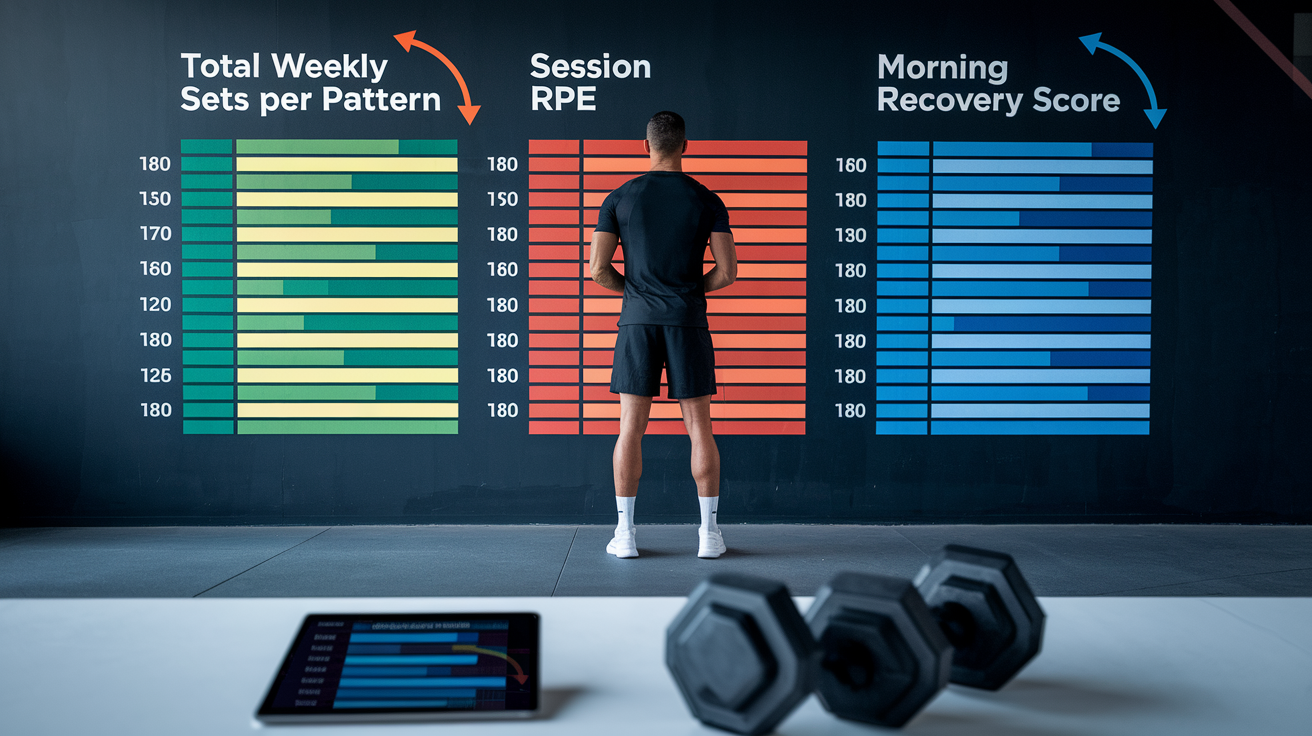
Track three key metrics every week: total weekly sets per movement pattern, average session RPE (rate of perceived exertion on a 1–10 scale), and subjective recovery score the morning after a training day. If weekly sets jump by more than 10%, or if your recovery score stays below 6 out of 10 for three consecutive days, reduce load or add an extra rest day. Small pullbacks now prevent forced breaks later.
Consistent progression beats aggressive progression every time. Adding 2.5 pounds per week to your squat might feel slow, but over 12 weeks that’s 30 pounds of sustainable strength gain. Trying to add 10 pounds every session usually ends in a tweak, a deload, or a return to square one. Patience during return-to-training isn’t cautious. It’s smart.
| Metric | Weekly Target | Purpose |
|---|---|---|
| Total weekly sets per pattern | 6–12 sets (squat, hinge, push, pull) | Track volume accumulation; flag spikes >10% week-to-week |
| Session RPE (1–10 scale) | Average 6–8 across the week | Monitor perceived effort; sustained RPE >8 signals overreach |
| Morning recovery score (1–10) | Average ≥6; no more than 2 days <6 | Gauge readiness; persistent low scores require load reduction or rest |
Recovery, Sleep, and Nutrition Support for Strength Gains

Strength adaptations happen during recovery, not during the workout. When you lift, you create the signal for your body to build stronger muscle and connective tissue. When you sleep, eat, and rest, your body completes the work. Shortchanging recovery means you’re training hard but adapting slowly. Or not at all.
Sleep is the foundation. Seven to nine hours per night, with as much consistency as possible in your sleep and wake times. Poor sleep reduces force production, slows tissue repair, and increases injury risk. If you’re returning after injury or illness, your body is already working overtime to heal. Skipping sleep is like skipping half your training sessions.
Protein intake supports muscle repair and should be spread across the day. Target 20 to 40 grams of protein within one to two hours after lifting. Aim for a daily total of around 1.6 to 2.2 grams per kilogram of body weight. Whole foods work well. Chicken, fish, eggs, Greek yogurt, legumes. But a protein shake after a session is fine if it’s convenient.
Six recovery habits that support strength gains during return-to-training:
Sleep 7–9 hours per night with consistent bed and wake times to maximize tissue repair and nervous system recovery.
Consume 20–40 grams of protein within 1–2 hours post-workout to support muscle protein synthesis.
Hydrate consistently throughout the day. Aim for pale yellow urine color as a simple hydration check.
Perform light active recovery on off days. Walk, easy bike, or mobility flow to promote blood flow without adding training stress.
Schedule a deload week every 4–6 weeks by reducing volume or intensity to allow accumulated fatigue to clear.
Monitor soreness, mood, and energy in your training log. If recovery signals decline for 3+ days, reduce load or add rest.
Printable and Downloadable Training Resources

Tracking your training isn’t optional if you want measurable progress. A simple log lets you see when you added reps, increased load, or noticed a pattern breaking down. It also gives you data to review during a deload or if something starts to hurt. The program includes downloadable PDF resources designed to keep your plan organized and your progression visible week to week.
Four downloadable resource types included with this program:
Full 12–16 week program PDF with exercise descriptions, set/rep schemes, progression guidelines, and phase-by-phase loading targets.
Editable progress-tracking table (Excel and Google Sheets) to log every session’s exercises, loads, reps, and subjective notes.
Warm-up and mobility routine checklist with movement cues, rep counts, and hold times for pre-session prep.
Exercise reference image library showing setup, execution, and common mistakes for all 11 program exercises plus the five highest-yield compound lifts.
Final Words
You’ve got a clear 12–16 week structure: phase goals, warm-ups, and practical weekly plans to get back to solid lifting.
The article breaks down reintroduction, base strength, progressive overload, unilateral vs bilateral work, load management, and recovery habits. There’s a table-driven overview, sample metrics, and downloadable tracking tools.
Use this full body strength training workout plan for return-to-training athletes as your map. Start conservative, track progress, and prioritize technique. Small, consistent steps bring you back stronger.
FAQ
What is the recommended duration for a return-to-training strength program?
A return-to-training strength program is recommended to last 12 to 16 weeks, divided into distinct phases. This structured timeline allows your body to gradually relearn movement patterns, rebuild base strength, and progress toward heavier loads without rushing the process or risking re-injury.
How often should I train each week during return-to-training phases?
You should train 2 to 4 days per week during return-to-training phases, depending on your current phase and recovery capacity. Early phases typically use 2 to 3 sessions focused on movement quality and low load, while later phases may include 3 to 4 sessions with higher intensity and volume.
What is the primary goal of the reintroduction phase?
The primary goal of the reintroduction phase is to relearn movement patterns with controlled tempo and light external loads. This phase prioritizes movement quality, joint stability, and neuromuscular reconnection rather than adding weight or pushing intensity, setting a safe foundation for later progression.
Why include both unilateral and bilateral exercises in strength training?
Unilateral exercises improve joint stability and reduce side-to-side strength imbalances, while bilateral exercises allow you to lift heavier total loads and build overall force output. Combining both movement types creates balanced strength development and reduces injury risk during your return to training.
How do I prevent re-injury during progressive strength training?
You prevent re-injury by managing load increases gradually, monitoring fatigue and soreness, and respecting recovery signals like persistent joint discomfort or form breakdown. Consistent weekly progression, proper warm-ups, and tracking key metrics help you avoid load spikes that commonly trigger setbacks.
What role does sleep play in strength training recovery?
Sleep plays a critical role in strength training recovery by improving force production, supporting muscle repair, and regulating hormones that drive adaptation. Prioritizing 7 to 9 hours of quality sleep each night helps your body respond better to training stress and progress more consistently.
What warm-up components are essential before strength sessions?
Essential warm-up components include core temperature elevation, dynamic mobility work, glute and scapular activation, movement-specific drills, and light loaded rehearsals of your main lifts. These elements prepare your neuromuscular system and reduce the risk of compensatory movement patterns during heavier work.
How should I track my training progress during return-to-training?
You should track training progress by logging weekly load, total sets per muscle group, perceived exertion, movement quality notes, and any pain or discomfort. Using a simple training log or downloadable template keeps your progression visible and helps you make informed decisions about when to advance.
What nutrition priorities support strength gains during recovery?
Nutrition priorities that support strength gains include adequate protein intake for muscle repair, consistent calorie intake to fuel training adaptations, and proper hydration to manage soreness and support performance. Eating enough total food and spacing protein throughout the day makes a measurable difference in your progress.
When should I progress to higher training loads?
You should progress to higher training loads when you can complete all prescribed sets and reps with solid form, minimal fatigue between sessions, and no lingering joint discomfort. Progressing too quickly based on ego or impatience increases re-injury risk; let movement quality and recovery guide your load jumps.