

You don’t need to train six days a week to get stronger.
This four-week, beginner-friendly push/pull/legs template gives you a simple 4-day plan (Push, Legs, Rest, Pull, Legs and Core).
Each workout fits into 45 to 60 minutes and keeps rest days built in so you can recover and practice good form.
Follow the progression: add small weight when you hit the reps, use Week 4 to ease off if needed, and you’ll finish 16 sessions with clearer technique, steady strength gains, and a routine you can repeat.
Complete 4‑Week Push/Pull/Legs Program Template for Beginners
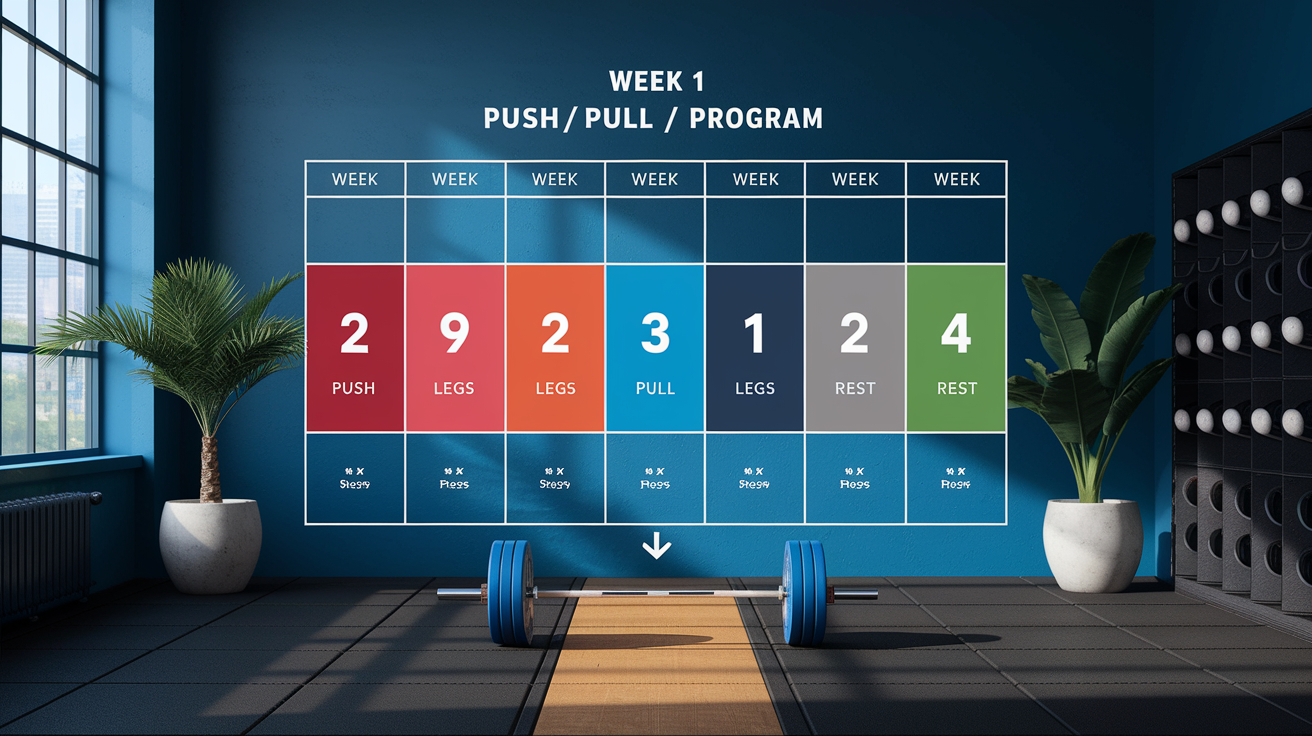
This four-week template splits your training into four sessions per week: Day 1 Push (chest, shoulders, triceps), Day 2 Legs (quads, glutes, hamstrings), Day 3 Rest, Day 4 Pull (back, biceps), and Day 5 Legs & Core, with Days 6 and 7 reserved for rest or light activity. Each workout takes 45 to 60 minutes and starts with 5 to 10 minutes of light cardio plus dynamic stretching to get your joints and muscles ready. The exercises below are organized by movement pattern so you don’t have to second-guess the order.
Week to week, your progression looks like this: Start Week 1 at an effort level where you could complete two or three more reps if you had to (called RPE 7, or roughly “3 reps in reserve”). When you complete all prescribed sets and reps with good form, add 2.5 to 5 pounds to upper-body lifts (bench, rows, presses) and 5 to 10 pounds to lower-body lifts (squats, deadlifts, lunges). Week 2 continues that same pattern. Small increases when earned. Week 3 follows the same rule, though you can also add one or two reps to an accessory move if you can’t increase the weight yet. Week 4 can serve as a deload week where you drop to RPE 6 (easier effort, lighter loads, or fewer sets), or you can push for an intensity peak if you feel fresh. Track your weights, reps, and perceived effort every session to know when to add load.
| Day | Workout Type | Exercises (Sets × Reps) |
|---|---|---|
| Day 1 | Push | Dumbbell Bench Press 3×8–10; Incline Push-ups 3×10–12; Dumbbell Shoulder Press 3×8–10; Lateral Raises 3×12–15; Tricep Dips (bench-assisted) 3×10–12 |
| Day 2 | Legs | Bodyweight Squats or Goblet Squats 3×10; Romanian Deadlifts 3×10; Step-ups 3×12 each leg; Glute Bridges 3×15; Calf Raises 3×20 |
| Day 3 | Rest or Active Recovery | Light walk, stretching, or complete rest |
| Day 4 | Pull | Lat Pulldown or Assisted Pull-ups 3×8–10; Dumbbell Rows 3×10; Face Pulls 3×12; Dumbbell Bicep Curls 3×10–12; Hammer Curls 3×12 |
| Day 5 | Legs & Core | Walking Lunges 3×10 each leg; Leg Press (if available) 3×10; Bicycle Crunches 3×20 (10 per side); Glute Kickbacks 3×15; Plank 3×30 seconds |
By the end of four weeks, you’ll have completed 16 training sessions and built a repeatable rhythm that balances work and recovery. The progression guidelines built into this template mean you never have to guess when to add weight. Your performance each session tells you exactly what to do next. Day 3 and Days 6–7 are intentionally programmed as rest or light activity to honor the 48-hour recovery window research recommends for muscle groups trained hard. This spacing prevents burnout, keeps your technique sharp, and gives your body the time it needs to adapt and grow stronger.
Understanding the Push/Pull/Legs Split for New Lifters
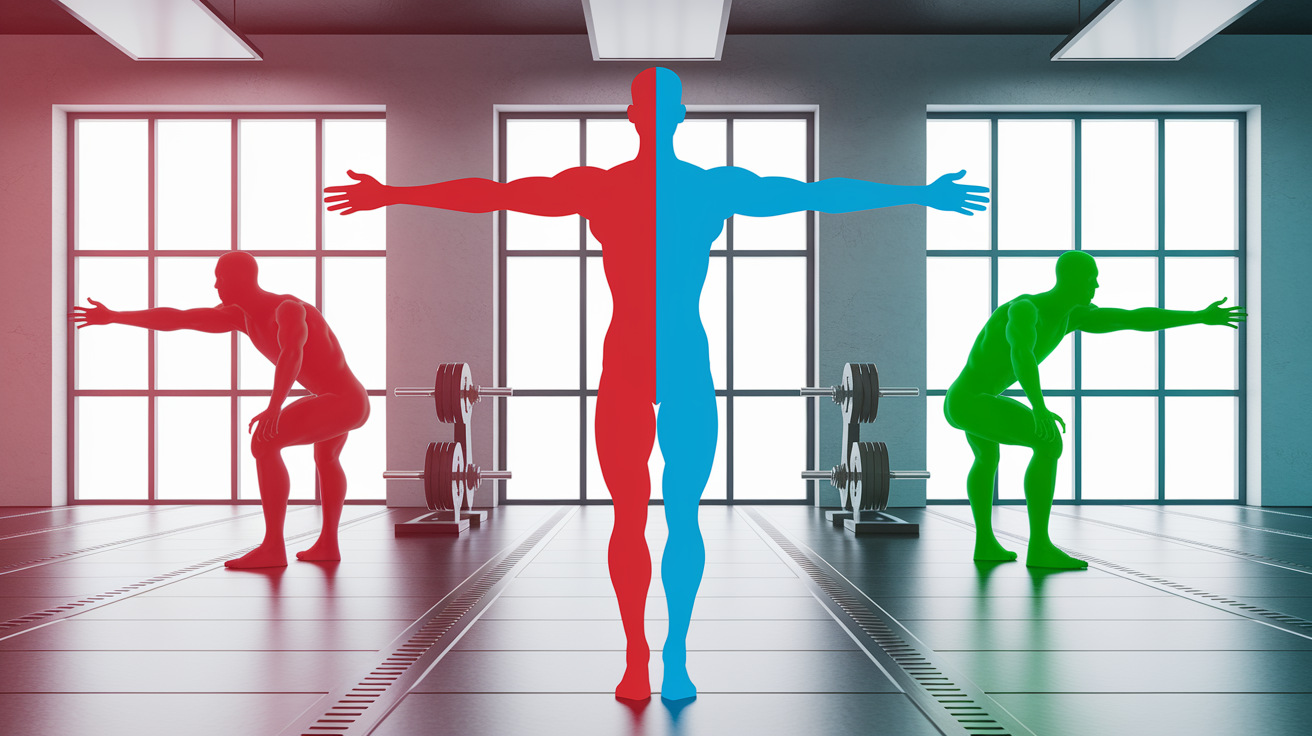
The push/pull/legs (PPL) split organizes your training by movement pattern rather than by individual muscles. Push days train the muscles that press weight away from your body: chest, shoulders, and triceps. Pull days target the muscles that draw weight toward you, back and biceps. Leg days focus on your quads, glutes, hamstrings, and calves, with optional core work added on the second leg session each week. This structure guarantees you never work the same muscle group two days in a row, which matters because training a muscle at high intensity creates micro-damage that needs at least 48 hours to repair and adapt.
For beginners, a four-day schedule creates a natural 48-hour recovery window between sessions. If you train Push on Monday, you rest or train a different movement pattern on Tuesday, so your chest, shoulders, and triceps are fresh again by Thursday. That built-in rest protects your joints, reduces injury risk, and keeps your technique from degrading session to session. The PPL approach also distributes your weekly training volume across multiple days, so each session stays short, manageable, and focused on quality reps instead of grinding through fatigue.
PPL works for new lifters because it teaches you to recognize movement patterns (pressing, pulling, hinging, squatting) instead of chasing muscle soreness. It limits overlap between sessions, so tired triceps from Push day don’t sabotage your Pull day performance. It fits into a realistic weekly schedule with three or four training days and built-in flexibility for rest or active recovery. You get higher total weekly volume per muscle group compared to single full-body sessions without requiring daily gym trips. And it creates a repeatable template you can follow for months, simply adjusting weights and reps as you progress.
Beginner Push Day Template and Exercise Options
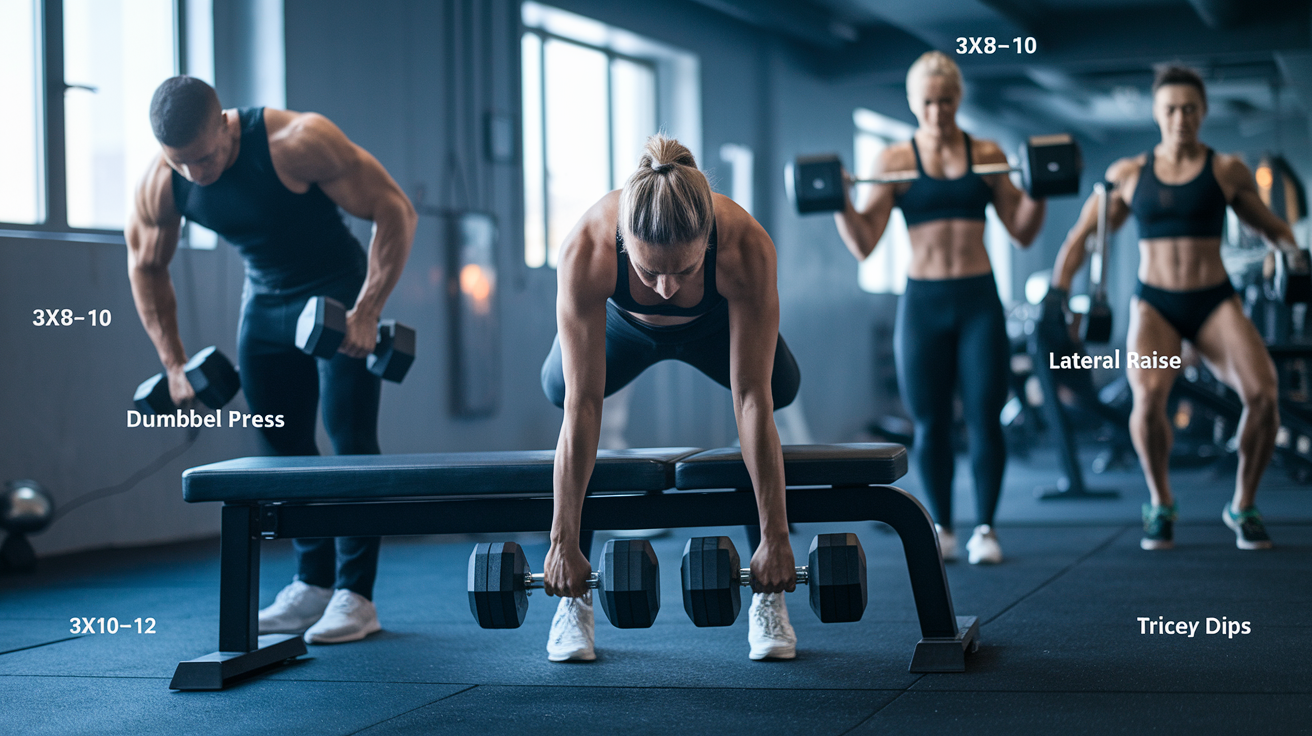
Your Push day opens with Dumbbell Bench Press for 3 sets of 8 to 10 reps, the primary horizontal pressing movement that builds your chest and front shoulders. After that, you perform Incline Push-ups for 3 sets of 10 to 12 reps to add upper-chest volume without requiring heavy weights. Next is Dumbbell Shoulder Press for 3 sets of 8 to 10 reps, a vertical press that strengthens your shoulders and triceps. Lateral Raises follow with 3 sets of 12 to 15 reps to target the side deltoid, the muscle that gives your shoulders width. You finish with bench-assisted Tricep Dips for 3 sets of 10 to 12 reps to lock in triceps volume and reinforce your pressing strength for future sessions.
Form comes before load every time. On the bench press, lower the dumbbells until your elbows reach roughly 90 degrees, pause briefly, then press back up in a controlled arc. For shoulder press, keep your core braced (firm, not stiff, imagine you’re about to take a light punch to the stomach) to prevent your lower back from arching excessively. Lateral raises should feel like you’re pouring water from two pitchers, elbows slightly bent, with the weight traveling out to the side rather than swinging forward. Dips can be scaled by placing your feet on the floor and using your legs to assist the press. As you get stronger, shift more load onto your arms. If any exercise feels awkward or causes joint pain, swap it for one of the alternatives below.
Beginner-friendly push substitutions you can use right away:
Floor Press instead of Dumbbell Bench Press if you don’t have a bench (lie on the floor, lower until elbows touch, press up). Pike Push-ups instead of Shoulder Press if you’re training at home without weights (elevate your hips, press your body toward the floor). Resistance Band Lateral Raises if dumbbells feel too heavy to control for 12 to 15 smooth reps. Wall Push-ups or Knee Push-ups instead of Incline Push-ups to build initial pressing strength. Overhead Dumbbell Extension instead of Dips if shoulder discomfort makes dips uncomfortable. Close-Grip Push-ups as a triceps finisher when dip bars or a sturdy bench aren’t available.
Beginner Pull Day Template and Exercise Options
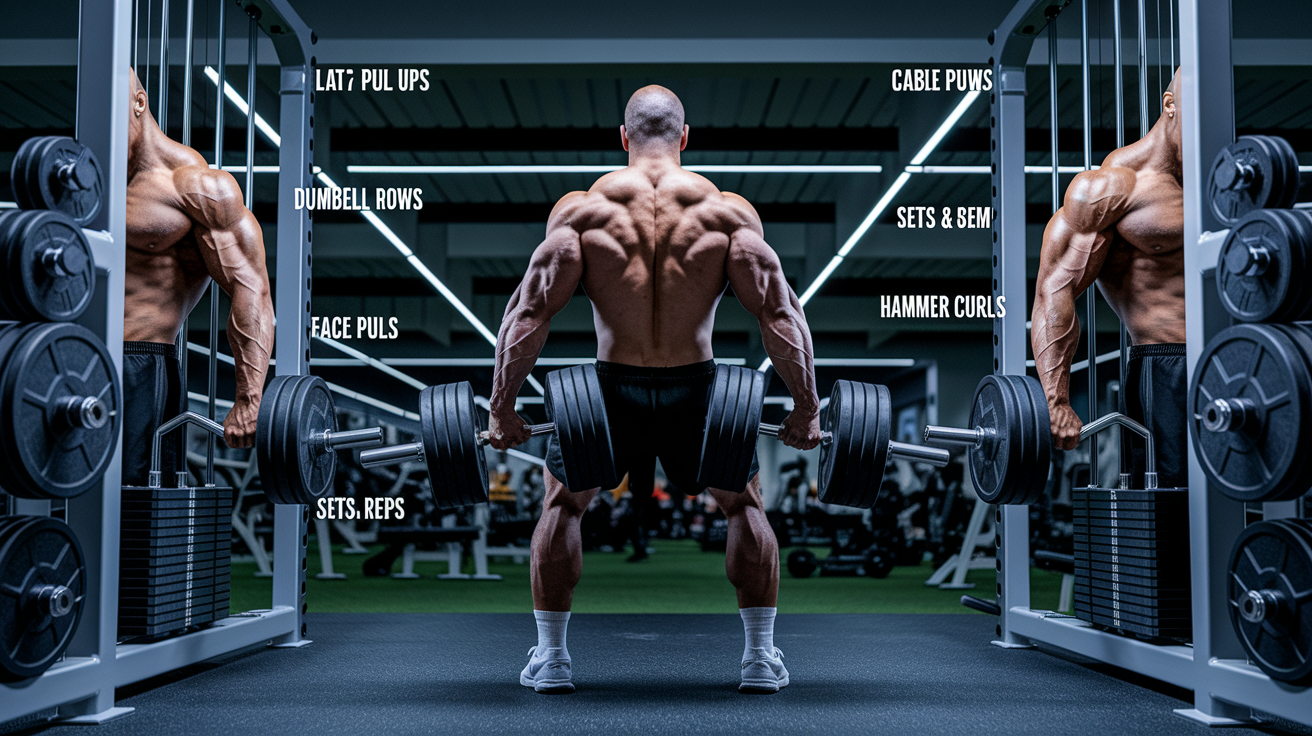
Day 4 Pull begins with Lat Pulldown or Assisted Pull-ups for 3 sets of 8 to 10 reps, the cornerstone vertical pulling movement that develops your lats and biceps. From there, you move to Dumbbell Rows for 3 sets of 10 reps, a horizontal pull that strengthens your mid-back and teaches you to stabilize one side of your body while the other works. Face Pulls come next with 3 sets of 12 reps, a rear-deltoid and upper-back exercise that counters all the forward pressing you did on Push day. You finish with Dumbbell Bicep Curls for 3 sets of 10 to 12 reps and Hammer Curls for 3 sets of 12 reps to build arm strength and grip endurance for heavier rows and deadlifts later.
Pull-day mechanics revolve around leading with your elbows and squeezing your shoulder blades together at the end of each rep. On the lat pulldown, imagine pulling your elbows down toward your hips rather than yanking the bar with your hands. You should feel the work in your lats (the muscles along the sides of your back) rather than your forearms. For dumbbell rows, brace one hand and one knee on a bench, keep your torso nearly parallel to the floor, and row the dumbbell toward your hip, not your chest. Face pulls require a rope attachment or resistance band anchored at face height. Pull the handles toward your temples while flaring your elbows out and squeezing your shoulder blades together.
If you can perform one or two strict pull-ups, go ahead and do them for as many reps as possible (AMRAP), then switch to the lat pulldown or band-assisted pull-ups to complete your sets. Curls are straightforward. Control the weight on the way down, squeeze at the top, and avoid swinging your torso to generate momentum. Hammer curls use a neutral grip (palms facing each other) and hit a slightly different part of your biceps and forearms, adding balance to your arm development.
Beginner Leg & Core Days (Two Variations for the 4‑Week Block)

You train your lower body twice each week in this template, but the two sessions are structured differently to balance strength, volume, and recovery. Day 2 Legs emphasizes foundational squat and hinge patterns with higher load potential: Bodyweight Squats or Goblet Squats for 3 sets of 10 reps teach you to sit back into your hips and drive through your heels, Romanian Deadlifts for 3 sets of 10 reps build your hamstrings and glutes through a controlled hip hinge, Step-ups for 3 sets of 12 reps per leg challenge single-leg stability and quad strength, Glute Bridges for 3 sets of 15 reps activate your glutes and teach hip extension under fatigue, and Calf Raises for 3 sets of 20 reps round out lower-leg development.
Day 5 Legs & Core shifts to unilateral work and core stability: Walking Lunges for 3 sets of 10 reps per leg, Leg Press for 3 sets of 10 reps (if your gym has one), Bicycle Crunches for 3 sets of 20 total reps (10 per side), Glute Kickbacks for 3 sets of 15 reps, and Plank holds for 3 sets of 30 seconds. The first leg session prioritizes bilateral movements that let you load heavier over time. The second session addresses imbalances, builds endurance, and layers in anti-rotation core work to support your big lifts.
Two leg days per week give your quads, glutes, and hamstrings enough stimulus to grow without leaving you too sore to walk for days. Spacing them with Push and Pull sessions in between lets your lower back and hips recover fully before the next squat or deadlift variation. The core work on Day 5 strengthens the muscles that stabilize your spine during heavy squats and deadlifts, making it a practical accessory block rather than a standalone “abs day.” You should feel fatigue in your legs and core by the end of each session, but never joint pain. If your knees or lower back hurt, reduce the range of motion, lighten the load, or swap to one of the alternatives below.
Beginner-friendly leg and core alternatives:
Bulgarian Split Squats (rear foot elevated on a bench) instead of Walking Lunges if balance is a limiting factor early on. Glute Bridges with a resistance band around your knees instead of barbell hip thrusts to build glute activation before adding load. Lying Leg Curls or Slider Leg Curls if Romanian Deadlifts feel too technical in the first week or two. Goblet Squats with a single dumbbell held at chest height instead of back squats if you’re training without a rack. Dead Bugs (lie on your back, extend opposite arm and leg while keeping your lower back flat) instead of Bicycle Crunches if coordination is still developing.
Progressive Overload Plan for the 4 Weeks
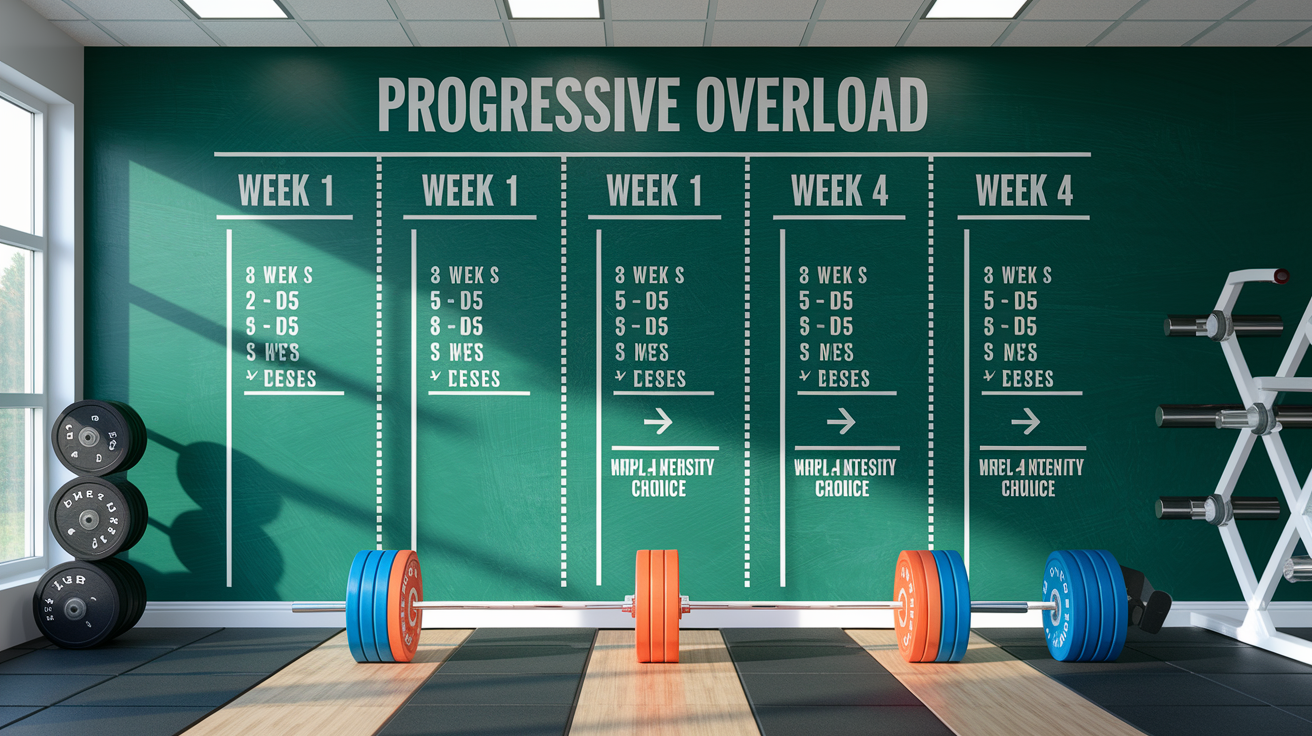
Progressive overload means adding a little more challenge each week so your body has a reason to adapt and grow stronger. For this four-week template, start Week 1 at RPE 7, which feels like you could complete two or three more reps if someone forced you to keep going. That effort level is hard enough to create stimulus but leaves room to recover and refine your technique. Record the weight, sets, and reps you complete for every exercise in a notebook or phone app. When you finish all prescribed sets and reps with clean form (meaning no excessive swinging, no collapsing posture, and no joint pain), you add weight the following week: 2.5 to 5 pounds for upper-body lifts (bench, rows, presses, curls) and 5 to 10 pounds for lower-body lifts (squats, deadlifts, lunges, leg press).
Week 2 follows the same rule. If you completed Dumbbell Bench Press for 3 sets of 10 reps at 30 pounds in Week 1, you attempt 32.5 or 35 pounds in Week 2. If you only managed 3 sets of 8 reps at the new weight, you stay at that load until you can complete all 3 sets of 10, then add weight again. Week 3 continues this pattern, but if you find yourself stuck at the same weight for two sessions in a row, you can increase reps instead. Push from 10 reps to 11 or 12 on your accessory work (lateral raises, curls, face pulls), then resume adding weight once the reps feel manageable.
Week 4 can serve two purposes depending on how you feel: if you’re fatigued, treat it as a deload by dropping to RPE 6 (reduce load by 10 to 15 percent or cut one set from each exercise), or if you feel fresh and recovered, use it as an intensity week where you push closer to RPE 8 or 9 (one or two reps in reserve) to test your progress before starting a new training block.
| Week | Intensity Target | What to Increase |
|---|---|---|
| Week 1 | RPE 7 (~3 reps in reserve) | Establish baseline weights; focus on technique and full range of motion |
| Week 2 | RPE 7–8 (~2–3 reps in reserve) | Add 2.5–5 lb upper body, 5–10 lb lower body if all reps completed in Week 1 |
| Week 3 | RPE 7–8 | Continue adding weight when able; increase reps by 1–2 if stuck at same load |
| Week 4 | RPE 6 (deload) or RPE 8–9 (intensity) | Deload: reduce load 10–15% or drop 1 set per exercise; Intensity: push closer to failure to test strength gains |
Tracking RPE requires honest self-assessment. If you finish a set and think, “I could have done two more reps with good form,” that’s RPE 8. If you think, “Maybe one more rep, maybe not,” that’s RPE 9. If you complete the set and know you couldn’t do another rep without your form breaking down, that’s RPE 10 or true failure. Most of your work in this four-week block should sit at RPE 7 to 8, leaving enough in the tank to recover for the next session while still creating enough fatigue to drive adaptation. Week 4’s flexibility lets you listen to your body. If life stress, poor sleep, or accumulated fatigue have you dragging, deload and return stronger in Week 5. If you feel energized and your technique has improved, push a little harder and see what you’re capable of before cycling back to baseline intensity.
Warm‑Up, Cool‑Down, and Mobility for PPL Success
Every session begins with 5 to 10 minutes of light cardio (rowing, biking, brisk walking, or jumping jacks) followed by dynamic stretches that prepare the specific joints and muscles you’re about to load. Dynamic stretching means moving through ranges of motion rather than holding static stretches, which research shows is more effective at preparing your nervous system and connective tissue for work. This warm-up raises your core temperature, increases blood flow to your muscles, and gives you a low-stakes rehearsal of the movement patterns you’ll perform under load.
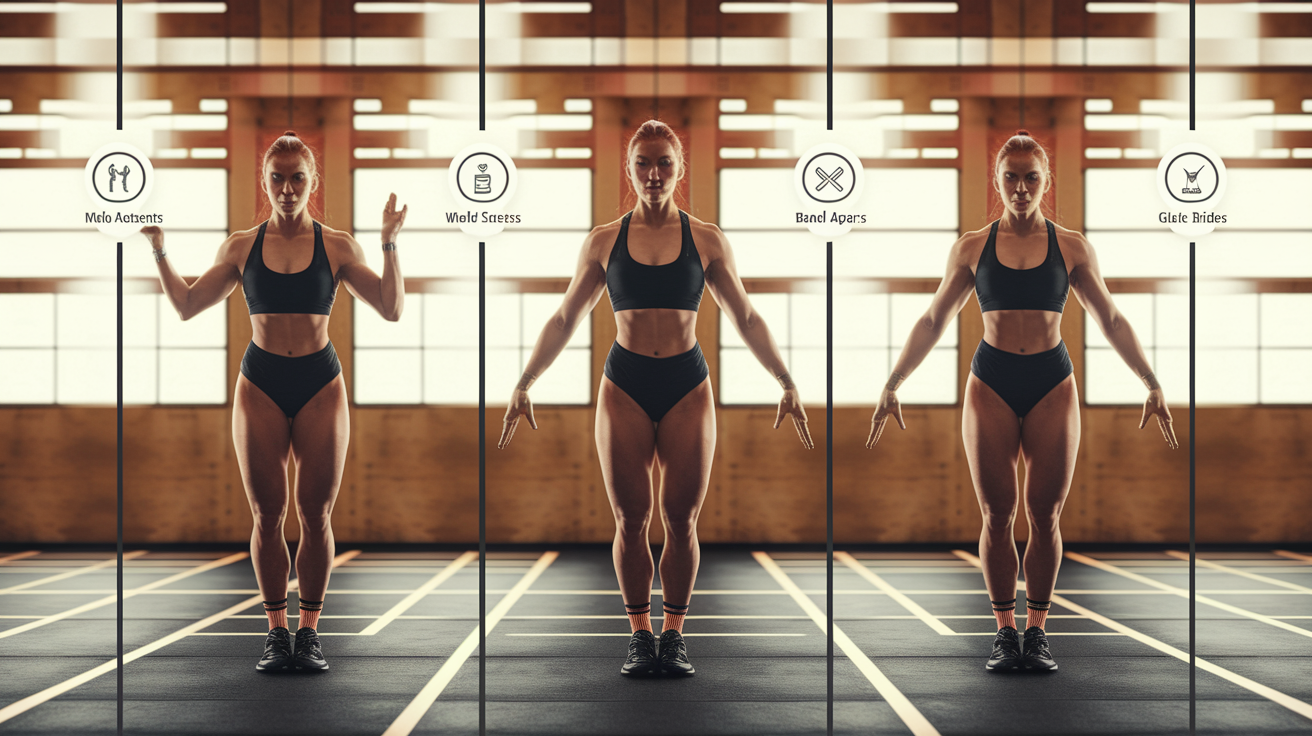
Sample warm-up and mobility drills for PPL sessions:
Arm circles (forward and backward, 10 reps each direction) before Push day to open up your shoulders. World’s Greatest Stretch (lunge position, rotate torso toward front leg, reach arm overhead, hold 2 seconds, switch sides; 5 reps per side) before any session to mobilize hips, thoracic spine, and shoulders. Bodyweight squats (10 slow reps, focus on sitting back and driving knees out) before Leg day to rehearse squat mechanics. Band pull-aparts (15 reps with a light resistance band, squeezing shoulder blades together) before Pull day to activate your upper back. Single-Leg Romanian Deadlift (bodyweight, 12 reps per side, slow and controlled) before Leg day to reinforce hip-hinge mechanics and single-leg balance. Glute bridges (15 reps, bodyweight, 2-second squeeze at the top) before lower-body sessions to wake up your glutes. Foam rolling on quads, lats, and glutes (45 seconds per area) if you feel tight or sore from the previous session.
After your working sets, spend 3 to 5 minutes cooling down with light movement and static stretches. Walk slowly for a minute or two to bring your heart rate down, then hold stretches for 20 to 30 seconds each. Doorway chest stretch for Push day, seated forward fold for Leg day, or a lat stretch (reach one arm overhead and lean to the opposite side) after Pull day. Cooling down signals your nervous system to shift from work mode to recovery mode, reducing next-day soreness and keeping your joints healthy over the long term. If you skip the warm-up or cool-down to save five minutes, you increase injury risk and reduce the quality of your working sets. Those few minutes are an investment, not a waste.
Equipment Options and Home-Friendly PPL Modifications
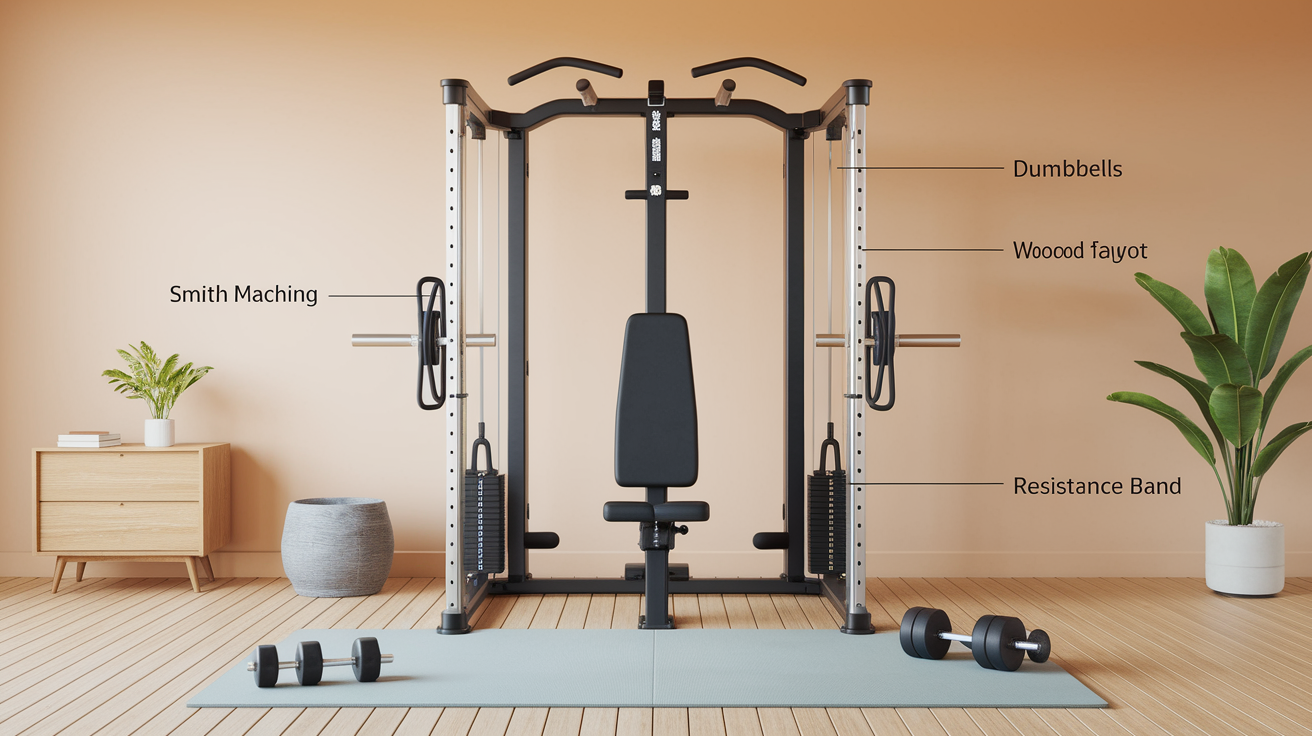
You can complete roughly 80 to 85 percent of this four-week template with a single multi-functional Smith machine, a pair of dumbbells, and one resistance band. A Smith machine handles your bench presses, rows, squats, and deadlifts by guiding the barbell along a fixed vertical or near-vertical path, which adds stability and confidence for beginners still learning movement patterns. Dumbbells cover shoulder presses, lateral raises, bicep curls, and single-arm rows. A resistance band provides the tension for face pulls, glute kickbacks, and band-assisted pull-ups if your gym doesn’t have an assisted pull-up machine. If you’re training at home or in a minimal-equipment setting, you can substitute nearly every exercise with a bodyweight or dumbbell variation that hits the same muscles and movement patterns.
For Push day, replace barbell bench press with floor press (lie on the floor with dumbbells, press up until arms are straight, lower until elbows touch the ground). Swap Smith machine shoulder press for standing dumbbell press or pike push-ups (elevate your hips, walk your feet toward your hands, press your head toward the floor). Use a sturdy chair or coffee table for bench-assisted dips, or replace dips entirely with close-grip push-ups. On Pull day, loop a resistance band over a door anchor or pull-up bar for band-assisted pull-ups, or perform inverted rows under a table if you don’t have a lat pulldown machine. Single-arm dumbbell rows work anywhere you have a bench, chair, or sturdy surface to brace against. Face pulls can be done with a band anchored at head height to a door or post.
Common at-home and minimal-equipment substitutions:
Goblet Squats (hold a single dumbbell vertically at chest height, squat, stand) instead of barbell back squats. Single-Leg Romanian Deadlifts with a dumbbell (hold one dumbbell in the hand opposite your working leg, hinge at the hip, lower the weight toward the floor while extending your free leg behind you) instead of barbell RDLs. Inverted Rows under a sturdy table instead of seated cable rows or dumbbell rows if you have no bench. Resistance Band Lateral Raises (stand on the center of a band, raise handles out to the side) instead of dumbbell lateral raises. Glute Bridges with a resistance band around your knees instead of barbell hip thrusts. Plank variations (standard plank, side plank, plank shoulder taps) instead of any machine-based core work.
The key is matching the movement pattern and intensity, not replicating the exact exercise. A goblet squat trains your quads, glutes, and core just like a barbell back squat, even though the load is lighter and held in a different position. A single-leg Romanian deadlift challenges your balance and hamstrings in ways that prepare you for heavier bilateral deadlifts later. Focus on controlling the weight, hitting the target rep range, and progressively adding load or reps over the four weeks. Equipment variety matters less than consistency, effort, and technique.
Recovery, Nutrition, and Weekly Rest Guidance for Beginners
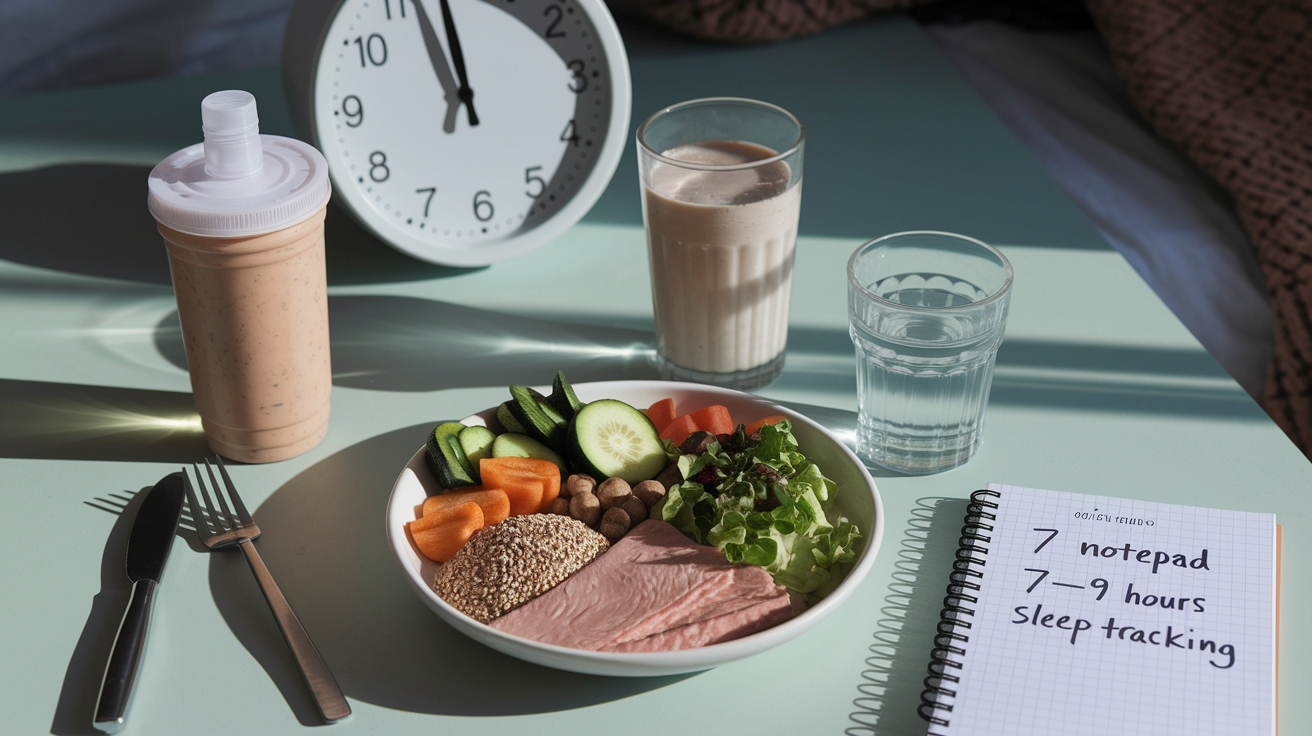
Your muscles grow and your strength improves during recovery, not during the workout itself. Training creates the stimulus (small tears in muscle fibers, depletion of energy stores, and fatigue in your nervous system), but adaptation happens when you rest, eat, and sleep. For this four-week PPL template, aim for 1.6 to 2.2 grams of protein per kilogram of body weight each day, spread across three or four meals. If you weigh 70 kilograms, that’s roughly 112 to 154 grams of protein per day, which supports muscle repair and keeps you feeling full and energized. Protein sources include chicken, fish, eggs, Greek yogurt, cottage cheese, tofu, lentils, and protein powder if whole-food sources don’t fit your schedule. Pair that protein with enough carbohydrates to fuel your workouts. Rice, oats, potatoes, fruit, and whole grains restock the glycogen your muscles burn during sets of squats and deadlifts. Include healthy fats from sources like olive oil, nuts, and avocado to support hormone production and joint health.
Sleep is non-negotiable. Aim for 7 to 9 hours per night, every night, throughout the four weeks. During deep sleep, your body releases growth hormone, repairs damaged tissue, and consolidates the motor learning that improves your technique session to session. If you regularly sleep fewer than 7 hours, your recovery will lag, your performance will plateau, and your injury risk will climb. Hydration also matters. Drink water throughout the day, not just during your workout, and watch for signs of dehydration like dark urine, persistent fatigue, or muscle cramps. On your scheduled rest days (Day 3, Days 6–7), you can stay completely sedentary, or you can perform light active recovery like a 20-minute walk, easy bike ride, or mobility circuit. Research recommends 2 to 3 sessions of 20 minutes of moderate-intensity cardio per week for heart health, and rest days are a natural time to fit that in without interfering with your lifting sessions.
Consistency beats perfection every time. If you miss a workout, don’t try to cram two sessions into one day. Just pick up where you left off and continue the weekly rotation. If you eat less protein one day, don’t panic. Aim to hit your target most days over the four weeks. If you sleep poorly one night, prioritize an earlier bedtime the next night and consider reducing training intensity slightly if you feel sluggish. Your body is resilient and adaptive, but it needs time and resources to respond to the training stress you’re applying. Treat recovery as seriously as you treat your working sets, and you’ll finish these four weeks stronger, leaner, and more confident in your ability to keep progressing.
Common Beginner Mistakes in PPL and How to Avoid Them
One mistake is skipping the scheduled rest days because you feel guilty or impatient. Training four days per week might feel like “not enough” compared to the six- or seven-day programs you see online, but frequency isn’t the same as effectiveness. Your muscles need at least 48 hours to repair and adapt after a hard session, and adding extra workouts on your rest days will degrade your performance, increase injury risk, and stall your progress. Stick to the template as written for the full four weeks before deciding it’s not enough.
Five common beginner PPL mistakes and how to fix them:
Training too close to failure too often. Pushing every set to RPE 9 or 10 accumulates fatigue faster than you can recover. Keep most work at RPE 7–8, saving true max effort for Week 4’s intensity option or occasional AMRAP sets.
Ignoring the warm-up to save time. Cold muscles and stiff joints dramatically increase injury risk. Spend the 5 to 10 minutes warming up. It improves performance and keeps you healthy enough to train next week.
Choosing weights that are too heavy for the prescribed rep range. If the program calls for 3 sets of 10 and you can only complete 3 sets of 5, the weight is too heavy. Drop the load until you can hit the target reps with good form, then build back up.
Never tracking weights, sets, or reps. Without a written log, you have no objective way to know if you’re progressing. Write down every working set in a notebook or app so you know exactly what to beat next session.
Adding extra exercises or sets because “more is better.” Beginners don’t need 20 sets per muscle group each week. The template provides enough volume to grow. Adding more will compromise recovery and technique. Trust the plan for four weeks before modifying it.
How to Track Your First 4 Weeks and Measure Real Progress
Tracking turns guesswork into data. At the start of each session, write down the date, the exercises you’re about to perform, and the weights you plan to use. After each working set, record the weight, reps completed, and your perceived effort (RPE). At the end of four weeks, you’ll have 16 complete workout logs showing exactly how much weight you added, how many reps you improved, and which exercises progressed fastest. That information tells you what’s working and what needs adjustment when you start your next training block.
Beyond the workout log, you can measure body composition changes with a DEXA scan (the gold standard for tracking muscle and fat mass), weekly weigh-ins at the same time of day under the same conditions (first thing in the morning, after using the bathroom, before eating), or simple tape measurements around your waist, hips, chest, arms, and thighs. Progress photos taken every two weeks in the same lighting, same clothing, and same poses give you a visual record that’s often more motivating than the scale. If you don’t have access to a DEXA scan or don’t want to track body measurements, lifting performance alone is a valid progress metric. If your Dumbbell Bench Press climbed from 25 pounds to 35 pounds over four weeks while your technique stayed clean, you built strength and likely added muscle.
Five practical tracking methods for beginners:
Workout log (notebook or app). Record exercise name, weight, sets, reps, and RPE every session. Review weekly to identify where you added load or reps.
Weekly body weight. Weigh yourself once per week at the same time of day. Expect small fluctuations from water and food, but look for trends over the full four weeks.
Tape measurements. Measure waist, hips, chest, biceps, and thighs every two weeks using the same tape measure and same landmarks (belly button, widest part of hips, nipple line, mid-biceps, mid-thigh).
Progress photos. Take front, side, and back photos in underwear or form-fitting clothing every two weeks in the same spot with consistent lighting.
Performance benchmarks. Test max reps at bodyweight for push-ups or assisted pull-ups at the start and end of the four weeks to quantify strength gains outside your main lifts.
Final Words
Jump in: this post gives a ready-to-use 4-week push/pull/legs plan with daily workouts, warm-ups, and exact sets and reps.
The schedule runs Day 1 Push, Day 2 Legs, Day 3 Rest, Day 4 Pull, Day 5 Legs & Core. Sessions are 45–60 minutes. Progression is simple—add 2.5–5 lb upper, 5–10 lb lower once you hit all reps.
Track weights, reps, and RPE, use the home-friendly substitutions, and treat Week 4 as a deload or test week.
This beginner-friendly push pull leg split template 4 weeks is practical and doable—stick with it, track small wins, and you’ll be stronger in a month.
FAQ
Q: What is the weekly schedule for the 4‑week Push/Pull/Legs program?
A: The weekly schedule is Day 1 Push, Day 2 Legs, Day 3 Rest, Day 4 Pull, Day 5 Legs & Core, and Days 6–7 rest or light activity, with each session designed for 45–60 minutes.
Q: What are the exact sets and reps for each workout day?
A: The sets and reps are: Push (3×8–10, 3×10–12, 3×8–10, 3×12–15, 3×10–12), Legs (3×10, 3×10, 3×12 each, 3×15, 3×20), Pull (3×8–10, 3×10, 3×12, 3×10–12, 3×12), Legs & Core (3×10 each, 3×10, 3×20, 3×15, 3×30s).
Q: How should I warm up and how long will sessions take?
A: You should warm up with 5–10 minutes light cardio plus dynamic stretches; sessions should last about 45–60 minutes, including main sets and a short cool‑down.
Q: How do I progress week to week and what RPE should I use?
A: Progress by adding 2.5–5 lb to upper lifts and 5–10 lb to lower lifts once you complete all prescribed reps; start at RPE 7 (~3 RIR), and Week 4 can be a deload at RPE 6 or an intensity week.
Q: What does a beginner Push day include and what substitutions work?
A: A beginner Push day includes dumbbell bench press 3×8–10, incline push‑ups 3×10–12, dumbbell shoulder press 3×8–10, lateral raises 3×12–15, and tricep dips 3×10–12; use assisted dips or lighter dumbbells if needed.
Q: What does a beginner Pull day include and how can I modify it?
A: A beginner Pull day includes lat pulldown/assisted pull‑ups 3×8–10, dumbbell rows 3×10, face pulls 3×12, dumbbell biceps curls 3×10–12, and hammer curls 3×12; use assisted or banded variations if needed.
Q: What are the two lower‑body day plans and why have two leg days?
A: The two lower‑body days are Day 2 (squats/goblet squats 3×10, RDL 3×10, step‑ups 3×12 each, glute bridges 3×15, calf raises 3×20) and Day 5 (walking lunges 3×10 each, leg press 3×10, bicycle crunch 3×20, glute kickbacks 3×15, plank 3×30s) to balance quads, glutes, hamstrings, and core stability.
Q: Can I follow this program at home with minimal equipment?
A: You can follow this at home using a Smith machine for about 80–85% of exercises; dumbbells plus resistance bands cover most accessory work and substitute for pull‑ups, dips, and leg press.
Q: What nutrition and recovery guidelines should beginners follow?
A: Aim for 1.6–2.2 g/kg protein daily, 7–9 hours sleep, hydrate well, do 2–3 weekly 20‑minute moderate cardio sessions, and use scheduled rest days from the weekly plan to recover.
Q: What common beginner mistakes should I avoid and how do I fix them?
A: Common mistakes are skipping rest, using poor form, not tracking, progressing too fast, or lifting too heavy; fix them by following rest days, practicing technique, logging sessions, and sticking to RPE 7–8 guidance.
Q: How should I track progress through the first four weeks?
A: Track progress by logging weights, sets, reps, and RPE each session, take weekly photos, tape measurements, and optional body composition checks to measure strength and size improvements.
Q: What should I do if I feel overly fatigued or need to deload?
A: If you’re overly fatigued, drop intensity or volume, aim for a deload week at RPE 6, add an extra rest day, or swap a session for light activity until you recover.