

Think carries are just farmer walks for show?
They’re the fastest way to build full-body, usable strength, training grip, core, shoulder stability, and gait while you move under load.
This post lays out a clear ladder: bilateral carries, suitcase/unilateral, rack, overhead, and mixed positions, with hands-on load and distance targets so you always know when to progress.
Follow it, and you’ll get stronger in ways that matter outside the gym, like carrying kids, hauling bags, or staying steady when you’re tired.
Loaded Carry Progression Overview: The Fastest Path to Building Functional Strength

Loaded carry progressions follow a natural order. You start with stable bilateral patterns that build foundational tension and control. Then you move toward unstable or asymmetric positions that challenge your core, gait, and shoulder girdle. Each stage builds on what came before. You get stronger, tighter, more capable of handling load in unpredictable conditions. It’s not random variation. It’s systematic overload that turns grip, core, and posture into practical tools you use outside the gym.
Complexity increases through three mechanisms: load distribution, stability demand, and range of motion. Early bilateral carries let you use the heaviest total weight because both hands share the load and your base stays symmetrical. As you shift to unilateral, rack, or overhead positions, absolute load drops but stabilization demands spike. Your obliques fire harder. Shoulders work overtime. Your feet and ankles activate more to keep you from drifting or rotating. That extra challenge is the point.
This progression builds functional strength because it teaches your body to produce and control force while moving. Static holds matter, but walking under load forces your nervous system to stabilize through every step, every breath, every micro-adjustment. The result? Strength you can apply when you’re tired, off balance, or holding something awkward. That’s what makes carries different.
Major progression stages:
- Bilateral carries (farmer’s walk with two weights)
- Unilateral carries (suitcase carry with one weight)
- Suitcase refinement with gait drills and load increases
- Rack position carries (weights at shoulder height)
- Overhead carries (weights locked out above shoulder)
- Mixed position carries (combining two positions at once)
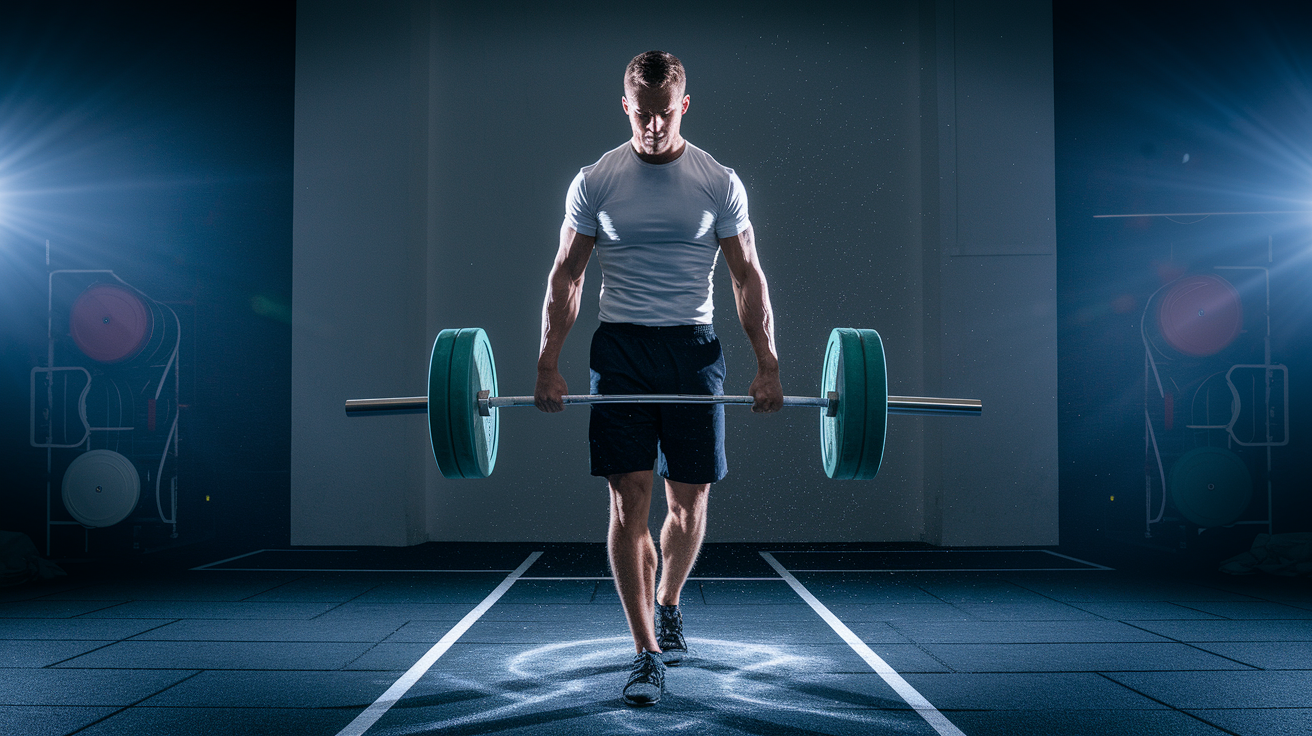
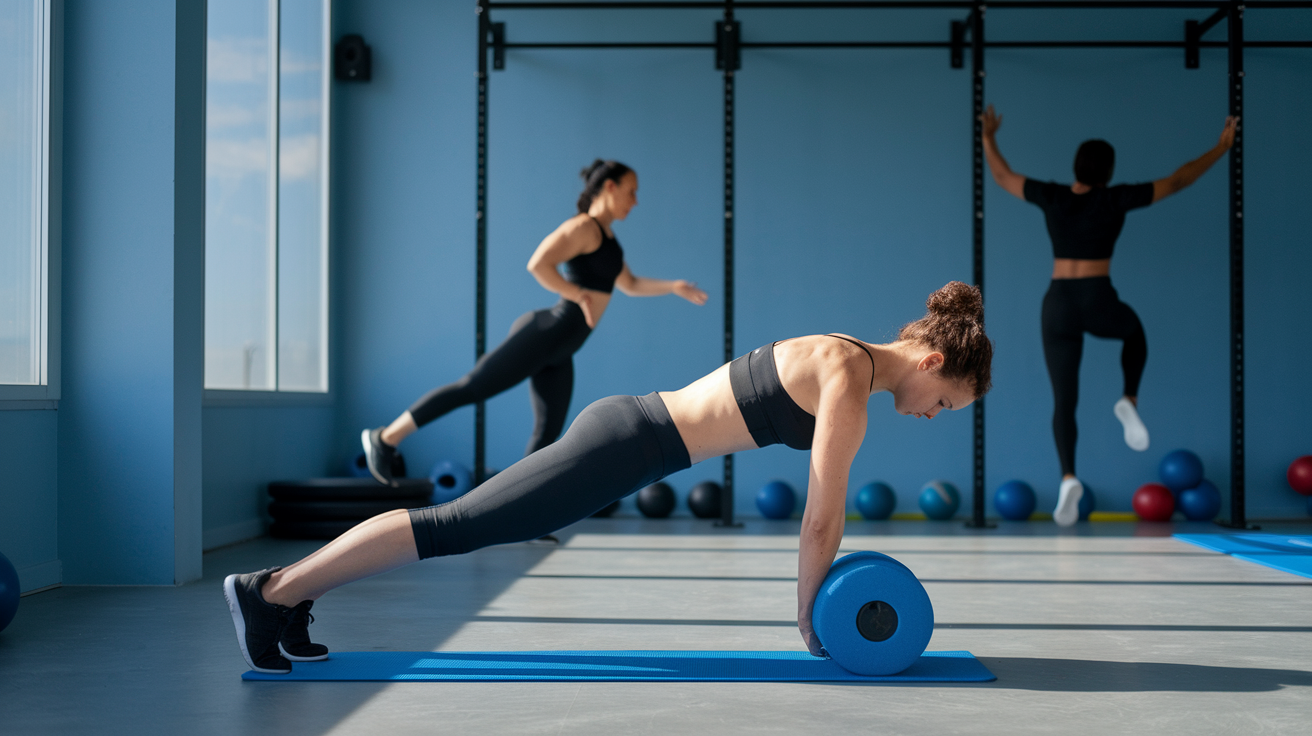
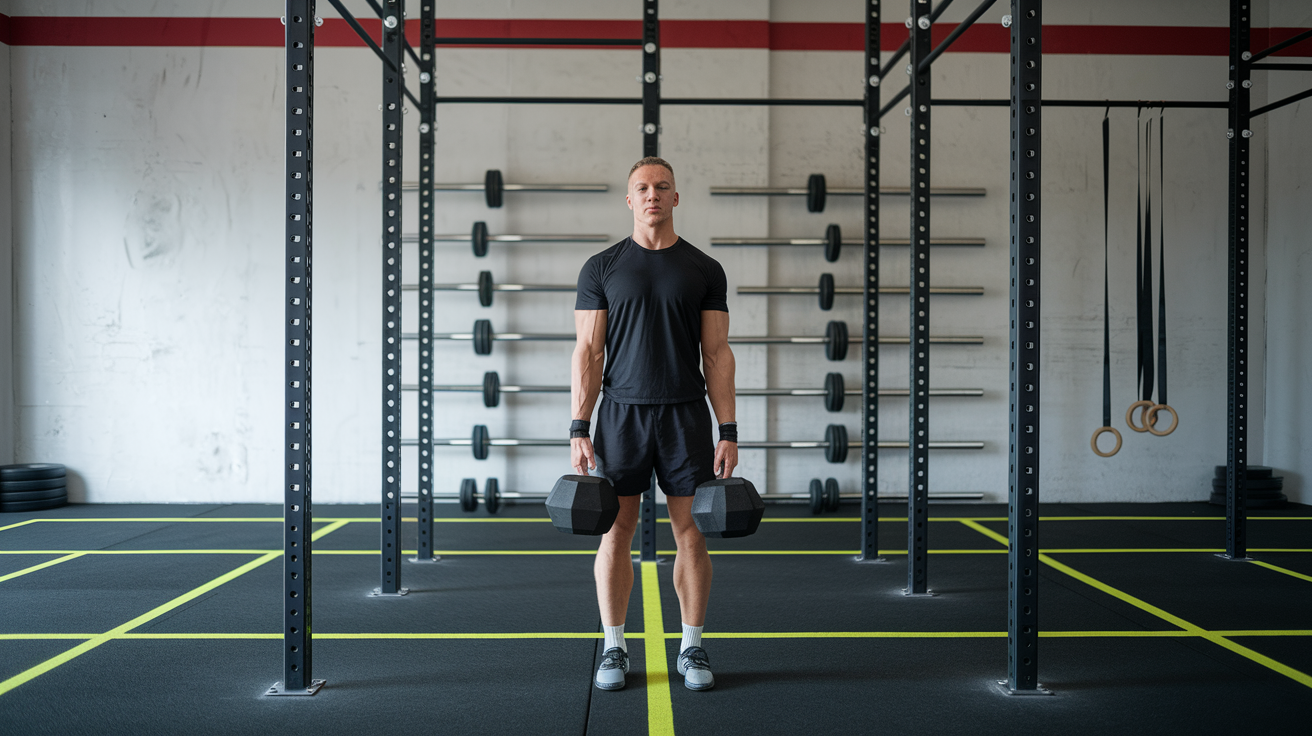
Bilateral Carry Foundations: Establishing Stability and Baseline Strength

Start here. Stand tall with a weight in each hand, shoulders pulled back and down, ribs stacked over pelvis. Your feet should point straight or slightly inward. Take small, quick steps like you’re walking on a narrow beam. Brace your core like someone’s about to tap your stomach. Don’t lean forward, backward, or to either side. The weights shouldn’t bounce against your legs. That’s the standard.
Most beginners use 25 to 50 percent of bodyweight per hand. If you weigh 180 pounds, that’s roughly 45 to 90 pounds per hand. Start lighter than you think you need. Your grip will fail before your legs or core do. That’s fine. Grip strength builds fast once you start challenging it consistently. Walk for distance, not time. Aim for 20 to 40 meters at first. When your form breaks down (leaning, shifting, or losing shoulder position), stop. That’s one set.
Progressive steps for bilateral carries:
- Master upright posture and tight shoulder position with light loads (20 to 30% bodyweight per hand)
- Increase distance from 20 meters to 60 meters while maintaining form
- Increase load to 50% bodyweight per hand, then progress toward bodyweight per hand
- Add time under tension protocols like paused walks or tempo changes
Unilateral Carry Development: Enhancing Anti-Rotation and Lateral Stability
Holding weight on one side while walking creates an immediate pull to rotate and side bend. Your body fights that pull using your obliques, quadratus lumborum, and deep spinal stabilizers. This is where carries start to feel different. You’re not just strong. You’re stable against torque.
Keep your shoulders level. Imagine balancing a cup of water on each shoulder. The unloaded side wants to hike up, and the loaded side wants to drop. Resist both. Your hips should stay square. Walk on an imaginary line, feet nearly inline but not quite (think six inch wide path). If your hips shift side to side or your foot flares out, you’re compensating instead of stabilizing.
Start with 25 to 40 percent of bodyweight in one hand. Walk 15 to 30 meters, set it down, switch sides, repeat. As you get stronger, increase the load before you increase the distance. Unilateral carries expose imbalances fast. If one side feels significantly harder or shakier, that’s useful information. Train both sides equally and let the weaker side catch up naturally over a few weeks.
Rack Position Carry Progressions for Core and Upper Body Bracing
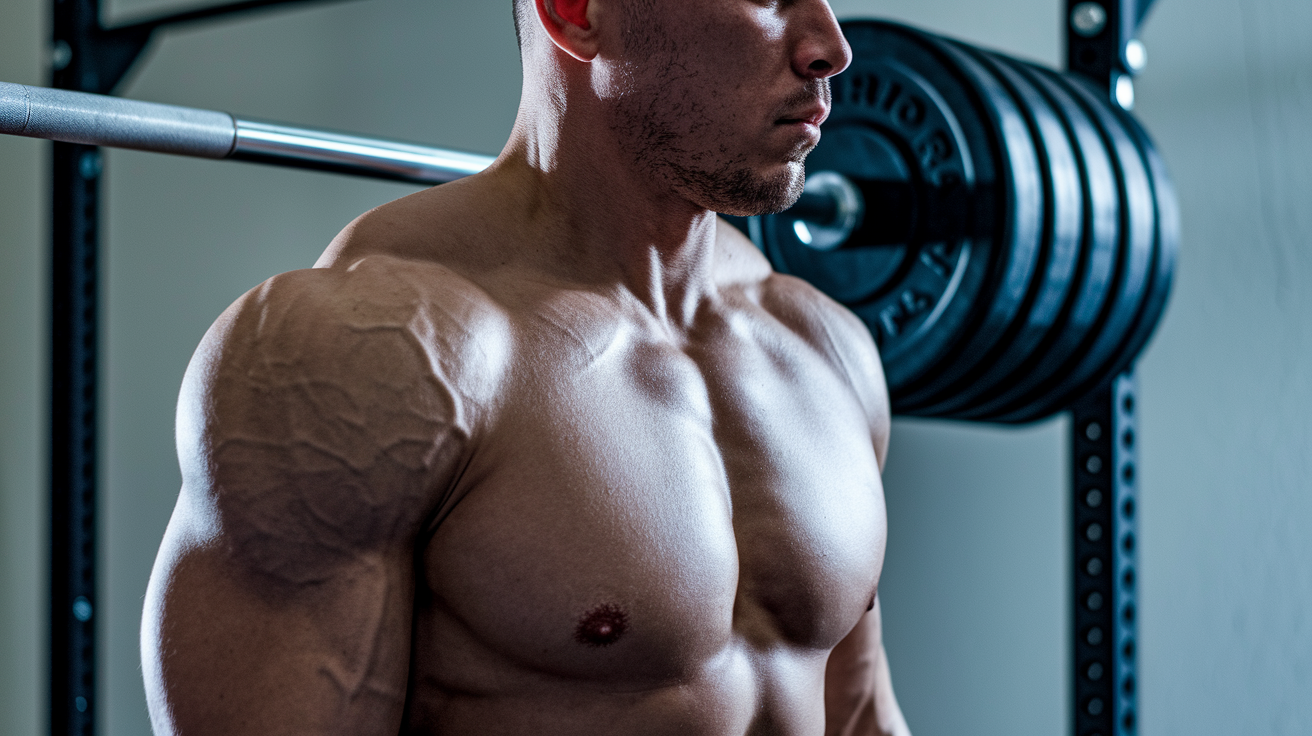
Rack carries put the weight at shoulder height with your elbow bent and tucked close to your ribs. The load rests in the space between your forearm and bicep if you’re using a kettlebell, or on top of your shoulder if you’re using a dumbbell. This position locks your anterior core in tight. Your abs have to work constantly to keep your torso from collapsing forward or hyperextending backward.
Breathing becomes the main challenge. You can’t let your ribs flare, but you also can’t hold your breath. Practice short, controlled breaths behind the brace. Your core stays tight the whole time. Start with one weight on one side (single arm rack carry), then progress to bilateral rack carries once you can maintain posture and breathing under load.
Rack carry progression steps:
- Single arm rack carry with 20 to 30% bodyweight for 15 to 20 meters
- Increase single arm load to 40% bodyweight and extend distance to 30 to 40 meters
- Add bilateral rack carry with matched weights (20 to 30% bodyweight per side)
- Increase bilateral load progressively, keeping distance at 30 to 50 meters
- Mix tempos: slow controlled steps, normal pace, or brief pauses mid walk
Overhead Carry Progressions for Shoulder Stability and Total Body Integration
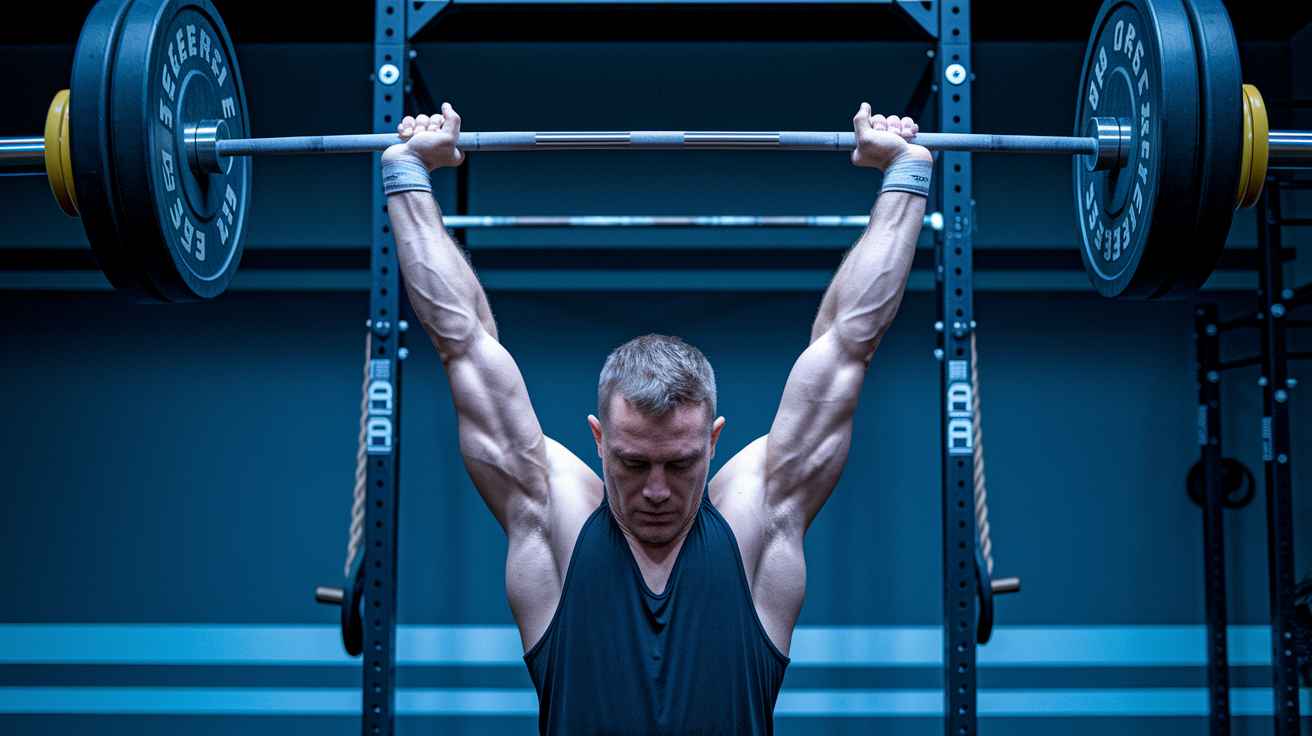
Overhead carries demand more from your shoulders, upper back, and breathing mechanics than any other variation. The weight is locked out directly overhead. Your bicep should be next to your ear. Your wrist stacks over your shoulder, elbow fully extended. If your shoulder or thoracic spine lacks the mobility to get into this position safely, don’t force it. Work on overhead mobility first.
Start with a single weight overhead and the opposite hand free or holding a lighter load at your side. This is called a waiter’s carry. Your core has to resist side bending while your shoulder stabilizes the overhead load. It’s harder than it sounds. Use 15 to 25 percent of bodyweight to start. Walk 10 to 20 meters. If the weight starts to drift forward or your elbow bends, stop.
Progress by increasing the overhead load slightly (never more than 5 to 10 pounds at a time), extending the distance, or moving to bilateral overhead carries where both arms are locked out. Bilateral overhead carries are extremely demanding. They expose any loss of midline control instantly. Keep your ribs down, glutes lightly engaged, and core braced. Walk with small, controlled steps. This variation builds shoulder endurance and reinforces full body tension under unstable conditions.
Mixed Position Carries for Advanced Functional Strength

Mixed position carries combine two different load positions at the same time. One common example: suitcase carry in one hand, overhead carry in the other. Another: rack position on one side, farmer’s carry on the other. These variations create competing demands. Your body has to stabilize multiple planes of movement simultaneously while maintaining gait mechanics and posture.
Start with lighter loads than you’d use for single position carries. If you can suitcase carry 70 pounds and overhead carry 35 pounds, use 50 and 25 for the mixed version. Walk 15 to 25 meters, switch positions, repeat. Bottom up kettlebell carries (holding the kettlebell upside down by the handle) fall into this category too. They require extreme grip tension and shoulder stability. Even a light kettlebell becomes a serious challenge when held inverted. Progress slowly. These variations are about control and integration, not max load.
Programming Guidelines: Volume, Load, Frequency, and Progression Timelines
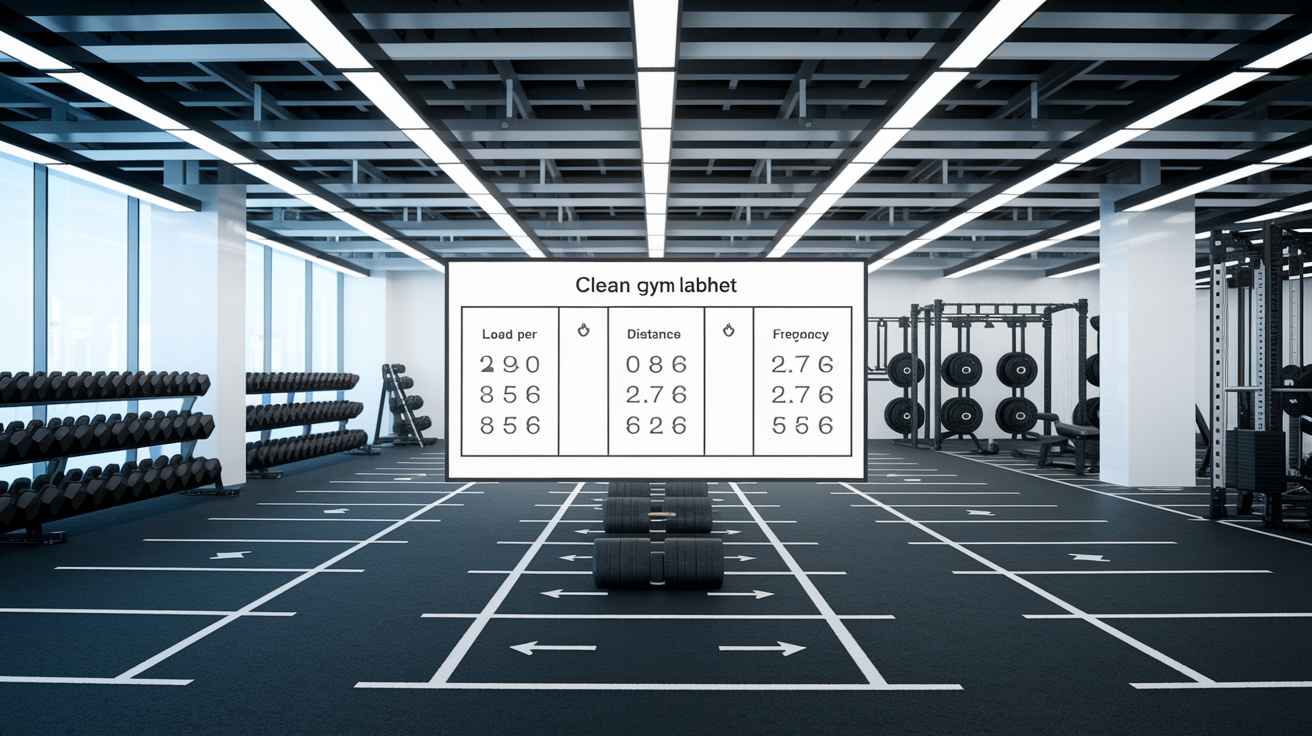
Most carry programming uses short to moderate distances, multiple sets, and weekly progression. Grip fatigue hits before your legs or core give out, especially early on. That’s normal. You’re not trying to destroy your hands. You’re building capacity over time. Two or three carry sessions per week works well for most people. Place carries at the end of your session after heavy lifts and explosive work, or use lighter carries during your warm up to activate your core and grip.
| Parameter | Beginner | Intermediate | Advanced |
|---|---|---|---|
| Load per hand | 25 to 40% bodyweight | 50 to 75% bodyweight | 75 to 100%+ bodyweight |
| Distance | 15 to 30 meters | 30 to 60 meters | 60 to 100+ meters |
| Set count | 3 to 4 sets | 4 to 5 sets | 5 to 6 sets |
| Frequency | 2x per week | 2 to 3x per week | 3x per week |
Prerequisite Mobility and Stability Requirements
You need baseline thoracic extension to safely load overhead carries. If your upper back rounds forward and you can’t comfortably raise your arms overhead without your ribs flaring or lower back arching, work on thoracic mobility first. Simple drills like wall slides, foam rolling your mid back, and segmental cat cow stretches help. Overhead carries aren’t going anywhere. Build the foundation first.
Hip stability matters more than people realize. If your hips shift side to side with every step during a bilateral carry, your gait mechanics are compensating for weak or inactive glutes and lateral hip stabilizers. Single leg balance drills, glute bridges, and clamshells address this. Your hips should stay level and quiet during carries. Any excessive movement is wasted energy and increases injury risk.
Scapular control and neutral spinal mechanics come next. Can you retract and depress your shoulder blades under load and hold that position while walking? Can you brace your core without holding your breath or hyperextending your lower back? If not, spend time with lighter loads, shorter distances, and deliberate focus on these positions. Carries reinforce whatever pattern you bring to them. If you bring poor posture and unstable mechanics, that’s what gets reinforced.
Common Mistakes and How to Fix Them
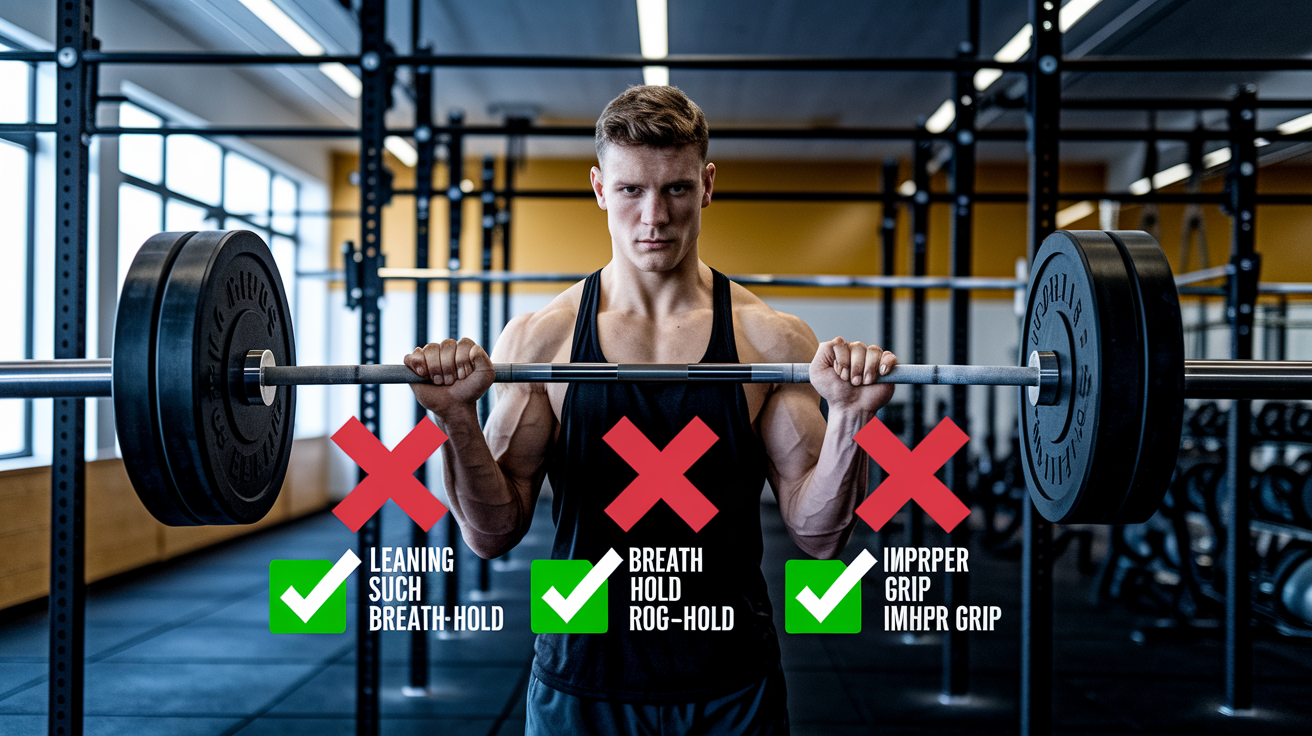
Start with posture. Most people lean forward slightly, rounding their upper back and letting their shoulders roll forward. This puts unnecessary strain on the lower back and reduces core activation. Fix: Pull your shoulders back and down before you start walking. Imagine you’re trying to squeeze a pencil between your shoulder blades. Keep your chest tall.
Common mistakes and corrections:
- Excessive side to side lean during unilateral carries. You’re not bracing hard enough through your obliques. Slow down, reduce the load slightly, and focus on keeping your shoulders level. Walk on a line to give yourself a visual reference.
- Holding your breath. You can’t brace effectively if you’re not breathing. Practice short, controlled breaths through your nose while maintaining core tension. Exhale gently without collapsing your posture.
- Gripping too far toward your fingertips. This fatigues your forearms and hands faster. Grip deep in your palm where your fingers meet your hand. Let the weight rest in the meat of your hand, not just your fingers.
- Taking long, lumbering steps. This creates bounce and instability. Shorten your stride. Take quicker, more controlled steps. Imagine you’re carrying a full cup of water on your head and you don’t want to spill it.
- Letting weights bounce against your legs. This means the weights are too close or you’re swinging them. Hold the weights slightly away from your body (2 to 3 inches). Keep your arms straight and still.
- Looking down at your feet. This rounds your neck and upper back. Look straight ahead at the horizon. Your head position influences your entire spine.
Regression Strategies for Beginners and Post Injury Trainees
If full distance carries feel too hard or you’re returning from an injury, regress the movement without losing the training effect. Lighter implements help. Use kettlebells or light dumbbells instead of heavy farmer’s walk handles or trap bars. Kettlebells are easier to control and less intimidating for beginners. They also force better posture because any deviation shows up immediately.
Shorten the distance. Instead of 30 meters, walk 10 or 15. Complete more sets with full rest between them. This keeps the total volume reasonable while giving you more opportunities to practice good mechanics. You can also reduce instability by using bilateral carries before progressing to unilateral or mixed position variations. Build confidence and capacity in stable positions first.
Top regression methods:
- Use kettlebells or light dumbbells (10 to 20 pounds) for initial practice and postural reinforcement
- Cut distance in half or more, increasing set count to maintain volume
- Start with bilateral carries only, delaying unilateral and overhead progressions
- Walk on flat, predictable surfaces before introducing terrain variation or agility patterns
Grip Variations and Their Functional Applications
Neutral grip (palms facing your body) is standard for most farmer’s carries. It’s the strongest grip position and allows the heaviest loads. This is where you start. As your hands and forearms get stronger, you can experiment with towel grips, where you loop a towel through a kettlebell handle and grip the towel instead. This increases forearm demand significantly and builds crushing grip strength.
Axle bar or fat grip carries use a thicker handle, forcing your hands to work harder to maintain the hold. You’ll use less total weight, but the grip stimulus is higher. This variation is useful if your grip is lagging behind your core and leg strength. Alternating grips (one hand overhand, one underhand) or pinch grips (holding weight plates by pinching the smooth sides) add variety and hit different parts of your hand and forearm. Use these strategically, not as your main carry method. Neutral grip bilateral and unilateral carries should make up the majority of your volume.
Real World and Athletic Applications of Loaded Carries
Loaded carries translate directly to any activity that requires you to move while holding, pushing, or pulling something heavy. Construction workers, firefighters, parents carrying kids and groceries, movers, and landscapers all rely on the same strength and stability that carries build. You’re training your body to handle unpredictable loads without compensating or breaking down.
Athletes use carries to improve sprint mechanics, change of direction stability, and contact resilience. Grapplers and fighters benefit from the core and grip endurance. Strongman competitors rely on farmer’s walks, yoke carries, and frame carries as primary events. Even recreational lifters find that strong carries improve their deadlifts, squats, and overhead presses because the stabilization carryover is significant.
Real world applications:
- Carrying luggage, groceries, furniture, or equipment without compensating through your lower back or shoulders
- Improving sprint posture and reducing energy leaks during acceleration and deceleration
- Building endurance for grappling, clinch work, or sustained contact in combat sports
- Strengthening postural muscles used during long shifts in physically demanding jobs
- Enhancing general physical preparedness for outdoor activities like hiking with a loaded pack
Final Words
You moved straight into the loaded carry progression, from bilateral farmer walks to unilateral, suitcase, rack, overhead, and mixed-position carries. Each step builds stability, core control, better gait, and grip strength.
The article gave clear cues, programming ranges, regressions, and common fixes so you can practice safely and keep progressing. It also flagged the mobility and bracing you need before going overhead.
Use carry and farmer walk progressions for full body functional strength as your go-to template: start simple, add a bit each week, and track small wins. Steady work pays off.
FAQ
Q: Do farmers carry build functional strength?
A: The farmer carry builds functional strength by training grip, core bracing, posture, and gait under load, improving real-world carrying ability and overall total-body stability.
Q: What is the 3 3 3 rule for walking? What is the 3-3-3 rule at the gym?
A: The 3-3-3 rule usually means simple progressions: for walking it’s often three 3-minute effort intervals (or warm/mid/cool phases); in the gym it commonly means three sets of three reps for pure strength work.
Q: What is the 6 6 6 rule in walking?
A: The 6-6-6 rule in walking is an interval plan: six minutes brisk, six minutes moderate, six minutes easy or recovery, repeated to build endurance and controlled pacing.