

Think deadlifts are the risky move?
The real risk is skipping the hip hinge and letting your low back do the work instead of your glutes and hamstrings.
This guide walks you step by step, from simple bodyweight drills to Romanian deadlifts and barbell work.
You’ll learn practical checks—dowel drills, wall taps, glute bridges—and when to add load.
No jargon, no guessing. A clear, safe progression so you build strength the right way.
Mastering the Beginner Hip Hinge Pattern Before Deadlifts
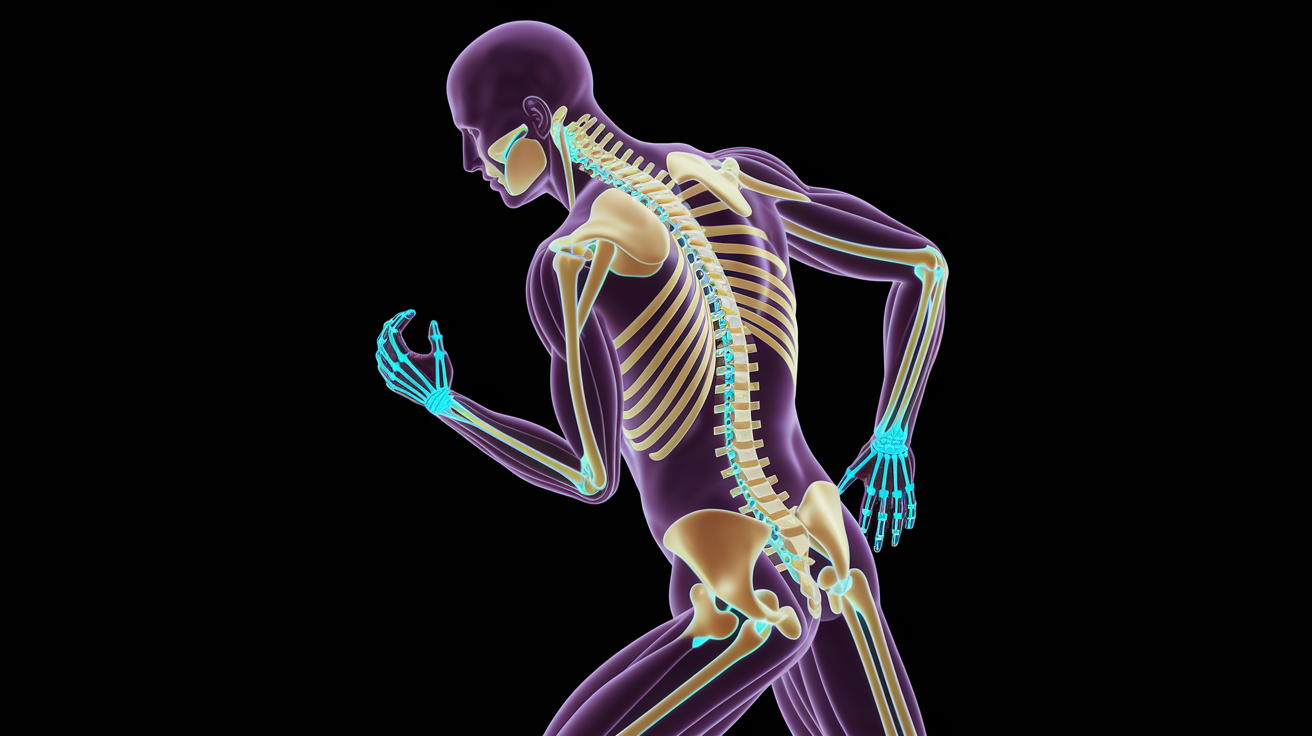
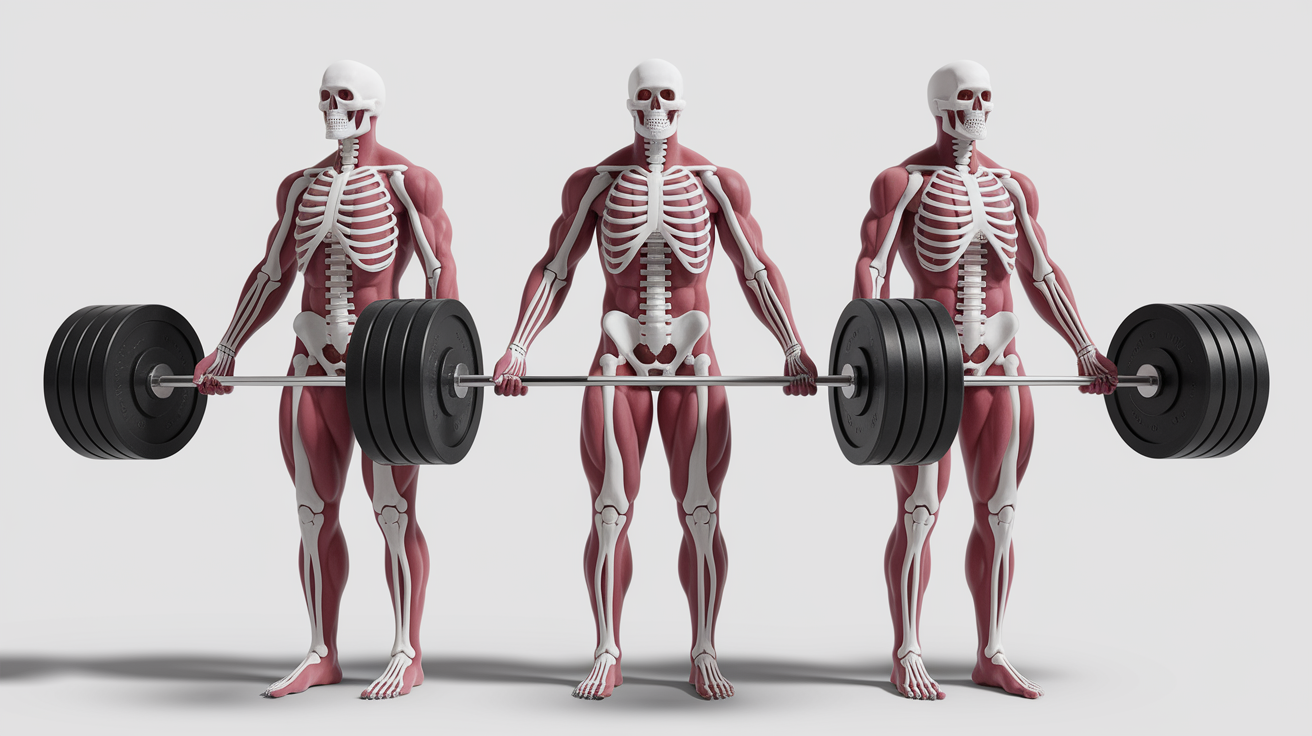
The hip hinge is the single most important movement pattern you need to learn before touching a barbell for deadlifts. It teaches your pelvis to tilt forward and backward while your spine stays neutral. Your spine “comes along for the ride” instead of bending under load. Without a solid hinge, deadlifts turn into a back-bending exercise instead of a glute and hamstring builder. That’s where most injuries start. The hip hinge trains your posterior chain: lats and spinal erectors stabilize the spine while glutes and hamstrings drive the movement.
Before you add weight, you need to own the pattern with just your bodyweight. Stand with feet hip width apart. Squeeze your glutes, brace your abs like you’re about to take a light punch to the stomach, and keep your elbows at your sides. Soften your knees slightly. Don’t lock them, but don’t bend them like a squat. Now push your hips backward and tilt your pelvis forward, like you’re tipping water out of a bucket held at your waist. Your chest moves forward, but your spine stays neutral. Return by driving your hips forward and squeezing your glutes hard, exhaling as you stand up. That’s one rep.
Practice 10 reps twice a day. Once in the morning and once in the evening. Simple, repeatable, and the fastest way to hard wire the pattern. Add hinge practice into your weight training warm ups too. Most beginners get the movement clean in two to three weeks of daily practice.
Common beginner hinge errors and how to spot them:
- Rounding the lower back. Your spine flexes forward instead of staying neutral; chest collapses down instead of leading forward. Fix: use dowel feedback (explained below).
- Squatting instead of hinging. Knees bend forward too much and hips drop straight down. Fix: cue “push hips back” rather than “sit down.”
- Lifting the toes. Weight shifts to heels and toes come off the floor. Fix: keep weight distributed through your whole foot; press through the floor evenly.
- Rising from the lower back. You arch your lumbar spine to stand up instead of driving from the glutes. Fix: think “squeeze glutes to finish” rather than “stand up tall.”
- Hips rotating or opening. One hip slides back or twists to the side. Fix: keep hips square and level; imagine headlights on your hip bones pointing straight forward.
Foundational Drills for Early Hip Hinge Progressions
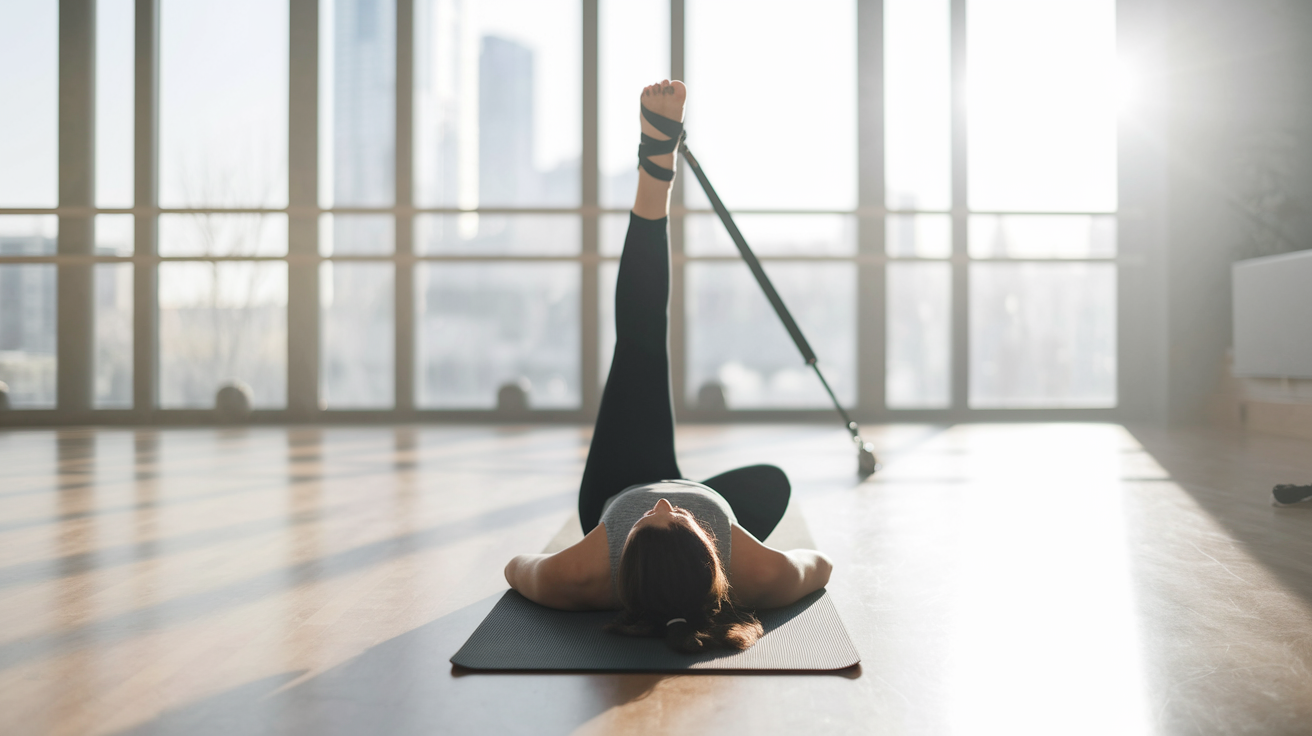
If you can’t perform a clean bodyweight hinge, or if your hamstrings feel like steel cables, start with simple mobility and activation regressions. These drills teach your brain the movement and your muscles the range before you ever hinge standing up. The active straight leg raise screen is a quick test: lie on your back and raise one leg straight up while keeping the other leg flat on the floor. Pass = your bony ankle clears a perpendicular edge like a doorframe (that’s an FMS score of 2). If you can’t pass, these regressions are non-negotiable.
Leg lowering variations improve hamstring mobility and teach your hips to move independently from your spine. Bent knee leg lowering: lie on your back, raise one leg perpendicular to the floor with the knee slightly bent, and take a few belly breaths. Slowly lower the leg until your lower back starts to lift off the floor. That’s your stopping point. Hold the opposite leg down for reference. Progress to band assisted straight leg lowering by looping a long band or rope around your raised foot; the band supports the leg while you slowly lower it, holding the stretch for about five belly breaths. Finally, remove the band and perform straight leg lowering with control. Warning: secure the band carefully to prevent snapping.
Glute bridges build the hip extension strength you’ll need to finish every hinge and deadlift. Start on the floor with knees bent and feet flat. Take a belly breath, brace your abs, and squeeze your glutes to lift your hips. Don’t arch your lower back. Exhale forcefully and think “ribs down” to keep your core locked. Once you can perform 15 controlled reps, progress to shoulders elevated glute bridges: rest your upper back on a bench or couch edge with your hips lower than the pivot point and knees bent about 90 degrees.
Signs you should stay at these regressions before advancing:
- You can’t keep your lower back flat on the floor during leg lowers.
- Your hamstrings cramp or pull sharply during straight leg work.
- You arch your lower back during glute bridges instead of driving from the hips.
- You fail the active straight leg raise screen on either leg.
- You feel sharp pain in the hips, lower back, or hamstrings during any drill.
- You can’t hold a neutral spine position for five controlled breaths during band assisted lowers.
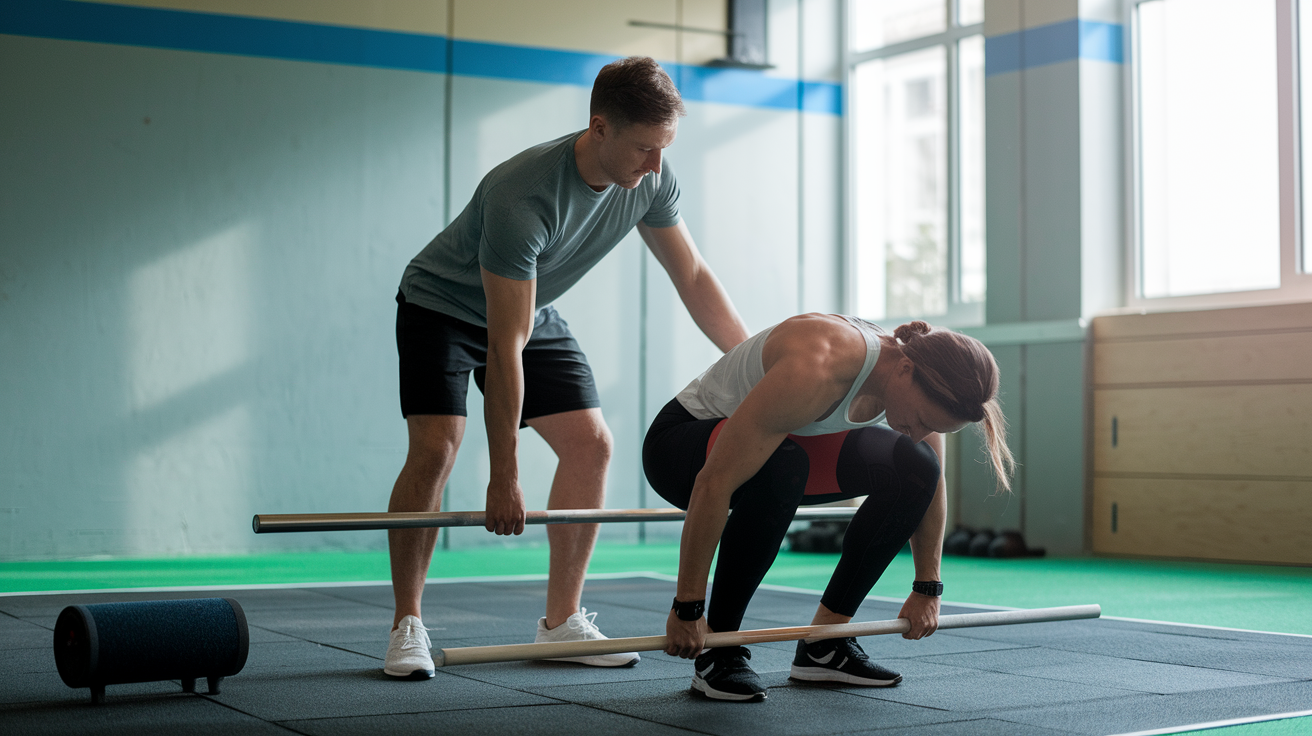
Learning the Hip Hinge Pattern with Feedback Tools
Once you can move your hips cleanly during the floor drills, add external feedback to refine your standing hinge. The dowel hinge drill is the gold standard: hold a dowel, broomstick, or PVC pipe vertically along your spine with one hand behind your head and the other at your lower back. The dowel should touch three points: back of your head, between your shoulder blades, and your tailbone. Stand about one inch away from a bench. Push your hips back and hinge forward. The dowel should stay in contact with all three points through the entire range. If the dowel loses contact, your spine is rounding. If your knees touch the bench, you’re squatting instead of hinging.
Weighted wall taps add a light load to challenge your pattern under tension. Hold a 10 to 25 pound plate, kettlebell, or sandbag at your chest. Stand about six inches from a wall, facing away. Hinge until your hips tap the wall, then stand back up. As your form improves, step farther from the wall. Your training distance is the farthest point where you can still tap the wall cleanly without your spine rounding or your knees bending forward.
| Drill | Purpose | Key Cue |
|---|---|---|
| Dowel hinge with bench spacing | Teach neutral spine and prevent squatting | Maintain three point dowel contact; knees stay ~1 inch from bench |
| Weighted wall tap (10–25 lb) | Add light load and depth challenge | Hinge until hips touch wall; step back to increase difficulty |
| Slow tempo bodyweight hinge | Build control and time under tension | 3 second descent, pause, drive hips forward in 1 second |
Romanian Deadlifts as the First Loaded Hinge for Beginners

Romanian deadlifts are the cleanest way to add real weight to your hinge because the bar or dumbbells stay close to your body, your knees stay slightly bent, and the entire focus is on hip movement and hamstring stretch. This is where your hinge turns into measurable strength. The two leg RDL is your starting point and your technique foundation. Every progression builds from here.
Two Leg RDL
Stand with feet hip width apart and a slight bend in your knees. Hold dumbbells at about 45 degrees to your thighs, or a barbell resting against your thighs. Keep the dowel cues in your head. Neutral spine, chest lifted, shoulders back. Push your hips backward and let the weight travel close to your shins as you hinge. You should feel a stretch in your hamstrings, not a pull in your lower back. Drive your hips forward and squeeze your glutes to return to standing. Do 3 sets of 10 reps and stay here until it feels easy and controlled.
Asymmetrical RDL
Step one foot behind you in a staggered stance. Don’t step it forward. Your front leg does most of the work. Hinge over the front leg while the back foot stays lightly planted for balance. This variation increases the demand on one side and teaches your hips to stay square under uneven loading. Perform 3 sets of 10 reps per leg when you’re ready to progress from the two leg version.
Rear Foot Elevated RDL
Place your back foot on a bench or elevated surface with your standing leg slightly bent. This increases the unilateral load even more and challenges your balance and hip stability. Your hips should stay level. Don’t let the elevated side drop or rotate. The standing leg drives the hinge and controls the descent.
Single Leg RDL
Stand on one leg with the toes of your rear foot resting lightly on the ground for balance. Keep a slight bend in your standing knee. Use a dowel initially to monitor your spinal alignment. This variation maximizes stability, balance, and unilateral glute and hamstring strength. Progress here only when the rear foot elevated RDL is controlled and pain free. Single leg work exposes every weakness, so expect to regress your load significantly at first.
Kettlebell and Dumbbell Hinge Variations for Building Confidence
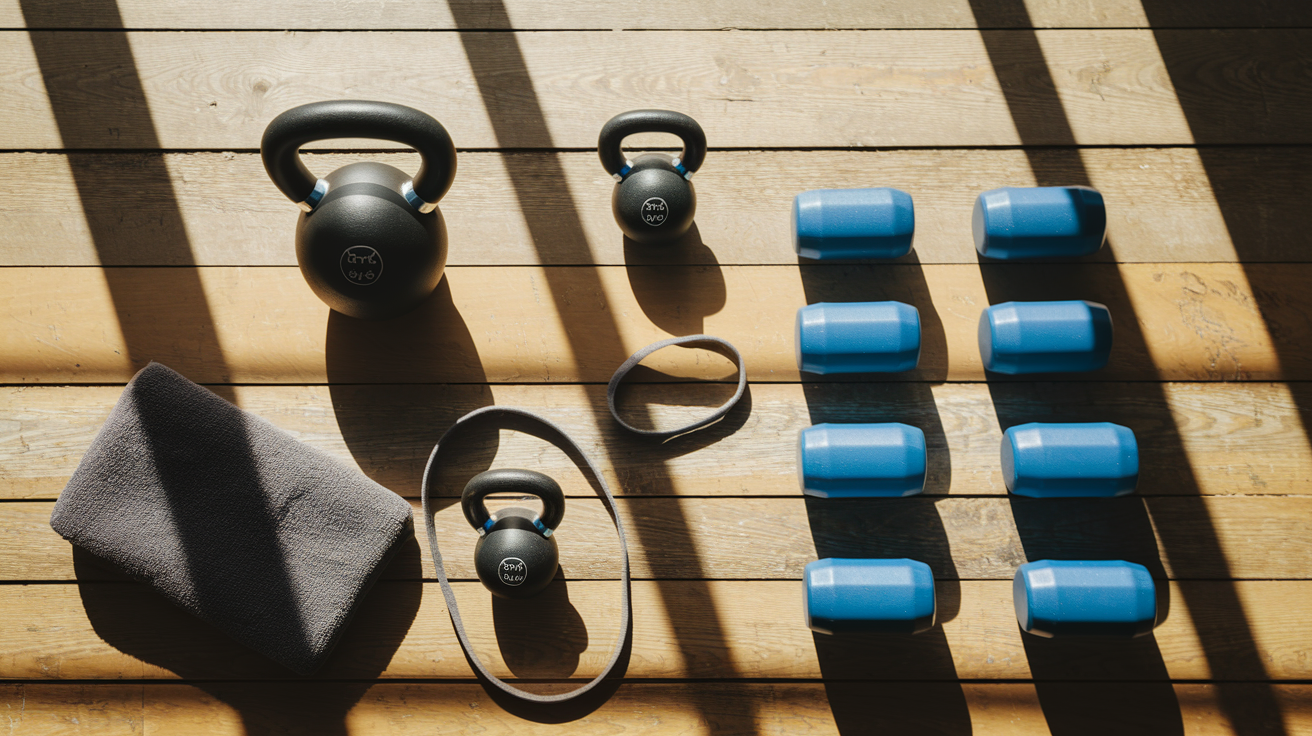
Kettlebells and dumbbells make hinge training less intimidating than a barbell, especially for beginners who don’t have access to a cable machine or who feel nervous around a loaded bar. Dumbbells let you find your natural hand position and keep the load symmetrical without rigid bar path constraints. Kettlebells allow a closer center of mass and are excellent for learning the posterior weight shift. Both tools are perfect for Romanian deadlifts and can be used through the entire progression sequence outlined above.
When no cable station is available, starting with light dumbbell or kettlebell RDLs is completely acceptable. You’re learning the same pattern with a simpler setup. Start with a load light enough that you can perform 10 to 12 controlled reps without your lower back rounding. Respect the pattern first; the weight will come later.
Common kettlebell and dumbbell hinge cues:
- Hold dumbbells or kettlebells at arm’s length, close to your body, not swinging away from your shins.
- Keep your shoulders packed. Don’t let them roll forward or shrug up toward your ears.
- Hinge until you feel a stretch in your hamstrings, not until the weights touch the floor.
- Drive through your feet evenly and finish each rep by squeezing your glutes, not arching your lower back.
- Breathe in during the descent, brace hard, and exhale forcefully as you drive your hips forward to stand.
Progressing to Deadlift Variations Safely and Effectively
Once your Romanian deadlift is solid and you can hinge confidently under load, you’re ready to explore full deadlift variations that start from the floor. These movements require more than a pure hinge. They blend a hinge with a slight squat to reach the bar on the ground. That’s why they’re called modified hinges. The three most common beginner friendly deadlift variations are conventional, sumo, and trap bar deadlifts. Each has different demands and benefits.
Conventional deadlifts use a hip width stance with hands just outside your legs. The bar travels close to your shins and requires strong posterior chain control and hip mobility. Sumo deadlifts use a wider stance with toes turned out and hands inside your legs. The wider base shortens the range of motion and shifts some demand to the adductors and quads. Trap bar deadlifts position your hands at your sides and allow a more upright torso, which reduces the lever arm on your lower back and often feels easier for beginners.
Most beginners will find trap bar or sumo deadlifts easier to learn because the torso stays closer to vertical. Conventional deadlifts require the most hinge proficiency and hamstring mobility, so save them for last unless your body type naturally suits a narrow stance and forward torso angle. All three variations should be practiced with light weight and coached feedback before adding serious load.
| Variation | Benefits | Beginner Notes |
|---|---|---|
| Conventional deadlift | Builds pure posterior chain strength; transfers to Olympic lifts | Requires best hip mobility and hinge skill; start light and film your sets |
| Sumo deadlift | Shorter range of motion; recruits adductors and quads; easier on lower back | Wider stance feels awkward at first; practice setup and foot angle before loading |
| Trap bar deadlift | More upright torso; reduced shear on spine; easier to learn quickly | Best first barbell deadlift for most beginners; mimics a modified squat hinge blend |
Breathing, Bracing, and Neutral Spine Control for All Hinge Levels
Breathing and bracing aren’t optional. They’re the difference between a safe hinge and a back injury. Before every rep, take a deep belly breath and brace your abs like you’re about to take a punch. That intra abdominal pressure stabilizes your spine under load. Hold your breath during the descent and the hardest part of the lift, then exhale forcefully as you finish the rep by driving your hips forward. Never let your breath out early or your brace will collapse.
Neutral spine means your lower back maintains its natural curve. Not flat, not arched. Use dowel feedback during unloaded practice to learn what neutral feels like. During loaded hinges, film yourself from the side or ask a coach to watch. The most common failure is lumbar rounding at the bottom of the hinge when fatigue sets in. That’s why you should never take hinge sets to failure. Stop one or two reps before your form breaks. Rounding under load is the most common deadlift injury mechanism.
Five bracing cues to lock in before every hinge rep:
- Take a full belly breath before you start the descent. Fill your stomach, not just your chest.
- Brace your abs hard, as if someone is about to poke your stomach with a stick.
- Keep your ribs down and avoid flaring them upward or arching your back.
- Hold your breath through the sticking point (the hardest part of the lift).
- Exhale forcefully only after your hips are fully extended and the rep is finished. Don’t let air out early and lose tension.
Beginner Loading, Set/Rep Schemes, and Weekly Progressions
Beginners should prioritize movement quality and volume over heavy weight. Start with higher reps and lighter loads to build pattern consistency, then gradually add weight as your form stays clean. For mobility and activation work like leg lowers, use 2 to 3 sets of 6 to 12 reps per leg. Glute bridges should be 2 to 4 sets of 8 to 15 reps. Dowel hinge practice works well at 3 sets of 8 to 12 slow, controlled reps with a focus on the three contact points.
Weighted wall taps can be performed for 3 to 4 sets of 6 to 10 reps, increasing distance from the wall before adding more weight. Once you progress to paused Romanian deadlifts with a barbell, use 3 to 5 sets of 3 to 8 reps with a 3 second pause at the bottom to emphasize the stretch and control. Keep the load light enough that your form doesn’t break on the last rep of the last set. Add 5 to 10 pounds per week only if your technique stays clean.
Simple weekly model: practice unloaded hinges and mobility work on your off days. Perform loaded RDLs or deadlifts twice per week with at least two days of rest between sessions. If you’re sore or your form starts to slip, take an extra day off or drop the weight by 10 percent and rebuild. Beginners don’t need complicated periodization. They need consistent practice and gradual load increases, slowly doing a little more over time.
| Exercise Stage | Sets | Reps |
|---|---|---|
| Leg lowers (bent knee, band assisted, straight leg) | 2–3 | 6–12 per leg |
| Glute bridges (floor or shoulders elevated) | 2–4 | 8–15 |
| Dowel hinge or bodyweight hinge practice | 3 | 8–12 |
| Weighted wall taps (10–25 lb) | 3–4 | 6–10 |
| Paused Romanian deadlifts or loaded RDL variations | 3–5 | 3–8 |
Safety, Mobility, and Pain Management Considerations for Hinge Training
Hip hinge training is safe when you respect the prerequisites and listen to your body. Most hinge related pain comes from skipping steps, adding load too fast, or ignoring mobility limitations. If your hamstrings or hips are tight, address that first with the leg lowering progressions and active stretching. If your core is weak, spend extra time on glute bridges and bracing drills. Weak links will show up under load, and that’s when injuries happen.
Pain is different from discomfort. A hamstring stretch during an RDL is normal. A sharp pull, pinch in the lower back, or shooting pain down your leg is not. Stop immediately if something hurts. Find a regression that’s pain free, often a less loaded variation or a different stance, and work back up slowly. If pain persists, see a physical therapist or coach who understands hinge mechanics.
Six quick safety tips for all hinge training:
- Master the bodyweight hinge before adding any load. No exceptions.
- Learn proper breathing, bracing, and core stability before lifting heavy.
- Never let your form fail; avoid taking hinge sets to muscular failure because lumbar rounding under fatigue is the most common injury mechanism.
- Favor non vertical loaded hinge options like cable pull throughs, kettlebell RDLs, or dumbbell RDLs when learning or if your back is sensitive.
- Strengthen weak links with dedicated core stability work, lateral glute exercises, and hamstring isolation to support your hinge.
- Stop if it hurts; find a pain free alternative and address the root cause before progressing.
Final Words
in the action we broke down the hip hinge: why it matters, how to practice unloaded hinges, and the daily 10‑rep routine. We covered regressions, dowel and bench feedback drills, and why RDLs are the first loaded hinge.
Use kettlebell and dumbbell variations to build confidence, then progress toward conventional, sumo, or trap bar deadlifts with proper breathing and bracing. Keep volume modest and don’t train hinges to failure.
Stick with the cues and steady practice. These deadlifts and hinge progressions for beginners give a safe, clear path forward. You’ve got this.
FAQ
Q: How to hinge when deadlifting?
A: To hinge when deadlifting, push your hips back with soft knees, keep a neutral spine and chest long, keep the bar close to your shins, then drive hips forward and squeeze glutes to stand.
Q: What is a good deadlift progression?
A: A good deadlift progression starts with unloaded hip-hinge drills, moves to RDLs or kettlebell/dumbbell hinges, then to trap-bar or conventional deadlifts while increasing load slowly and keeping technique solid.
Q: Can deadlifts help a herniated disc or sciatica?
A: Deadlifts can sometimes help herniated discs and sciatica when done pain-free, starting with gentle non-vertical loads and strict hinge mechanics, only after medical clearance and stopping if sharp pain occurs.