

Ever wonder why your knees cave or your lower back burns during squats, even when your legs feel strong?
Glute activation exercises wake up the three glute muscles so they lead the movement instead of other parts compensating.
These low-load, high-control drills teach your nervous system to fire glutes first, reduce compensations, and improve squats, deadlifts and runs, so pick 3 to 5 based on what you need.
Read on for step-by-step cues, band options, and progressions that take five to ten minutes and actually change how you move.
Essential Movements to Begin Your Glute Activation Routine
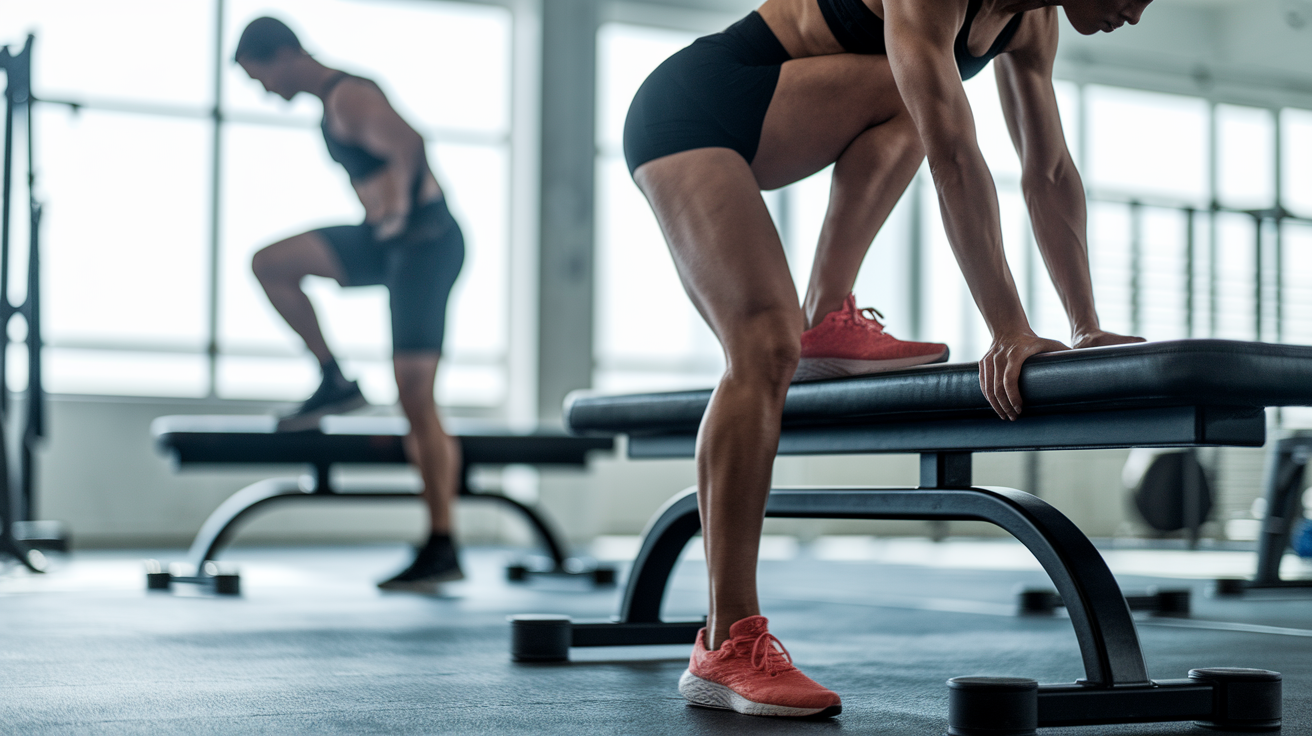
Glute activation means waking up your three glute muscles before you lift, run, or do anything that demands your lower body. You’re not chasing a pump here. You’re teaching your body to fire glutes first instead of dumping the work onto hamstrings, quads, or your lower back.
These drills are low load, high control. They feel easy compared to a working set of squats. But that’s the point. You’re rehearsing what it feels like when glutes actually show up, so your nervous system remembers that pattern during your main session.
Pick three to five of these based on what you’re training and where you need the most help. You don’t need to run through all ten every time.
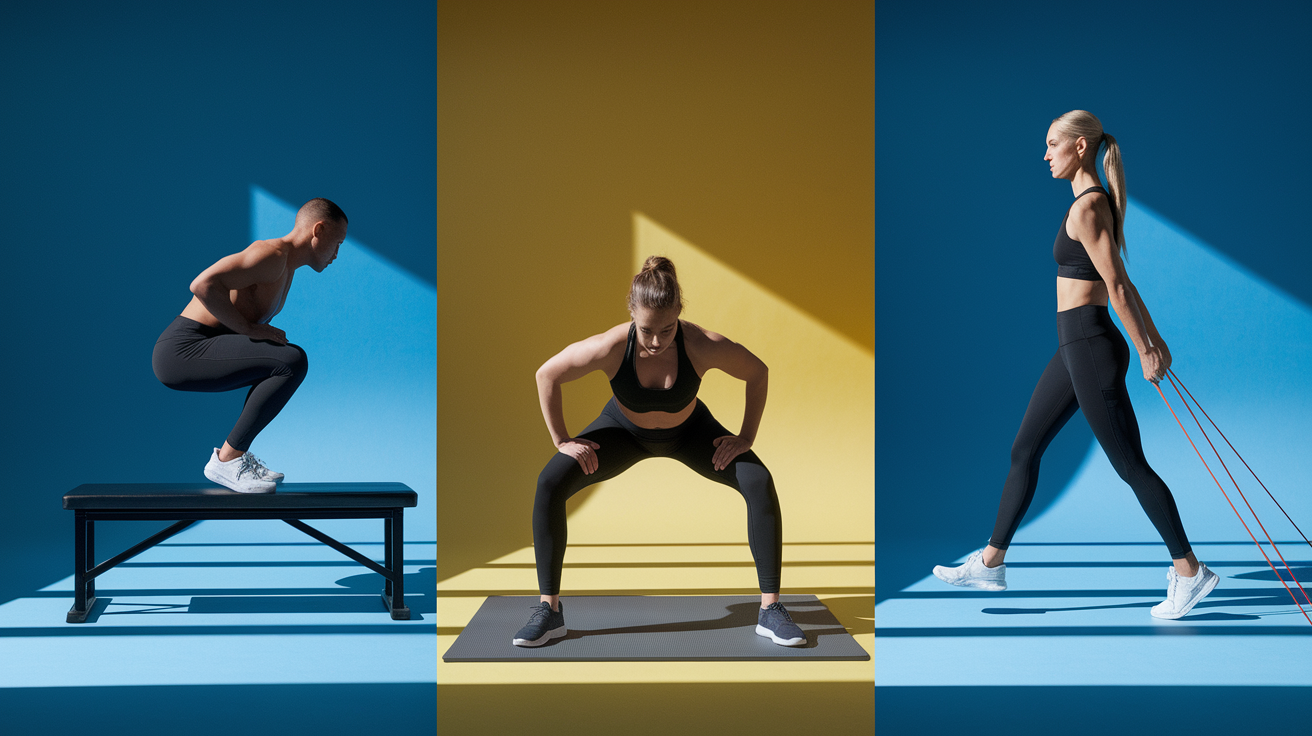
- Hip Thrust – Drive hips into full extension against a bench. 10–12 reps.
- Step-Up – Single leg pattern that forces glutes to lift bodyweight through a full range. 10–12 reps per side.
- Banded Lateral Walk – Resists hip collapse and fires gluteus medius. 8–10 steps each direction.
- Standing Hip Abduction – Isolates the side of the hip. 12–15 reps per leg.
- Lateral Step-Up – Combines abduction and hip extension in one move. 10–12 reps per side.
- Clamshell – Opens the knee laterally while hips stay stable. 15–20 reps per side.
- Single-Leg Deadlift – Balance on one leg and hinge at the hip to wake up medius and minimus. 8–10 reps per side.
- Single-Leg Squat – Use a chair for assistance as you sit and stand on one foot. 8–10 reps per side.
- Side-Lying Hip Abduction – Lift top leg straight up without rotating hips. 15–20 reps per side.
- Single-Leg Glute Bridge – Press hips up on one leg while the other extends in the air. 8–10 reps per side, or hold for 10–20 seconds.
Some of these hammer the big glute muscle in back. Others target the smaller hip stabilizers. Each has a job.
Understanding Glute Muscle Activation and What Makes These Exercises Work
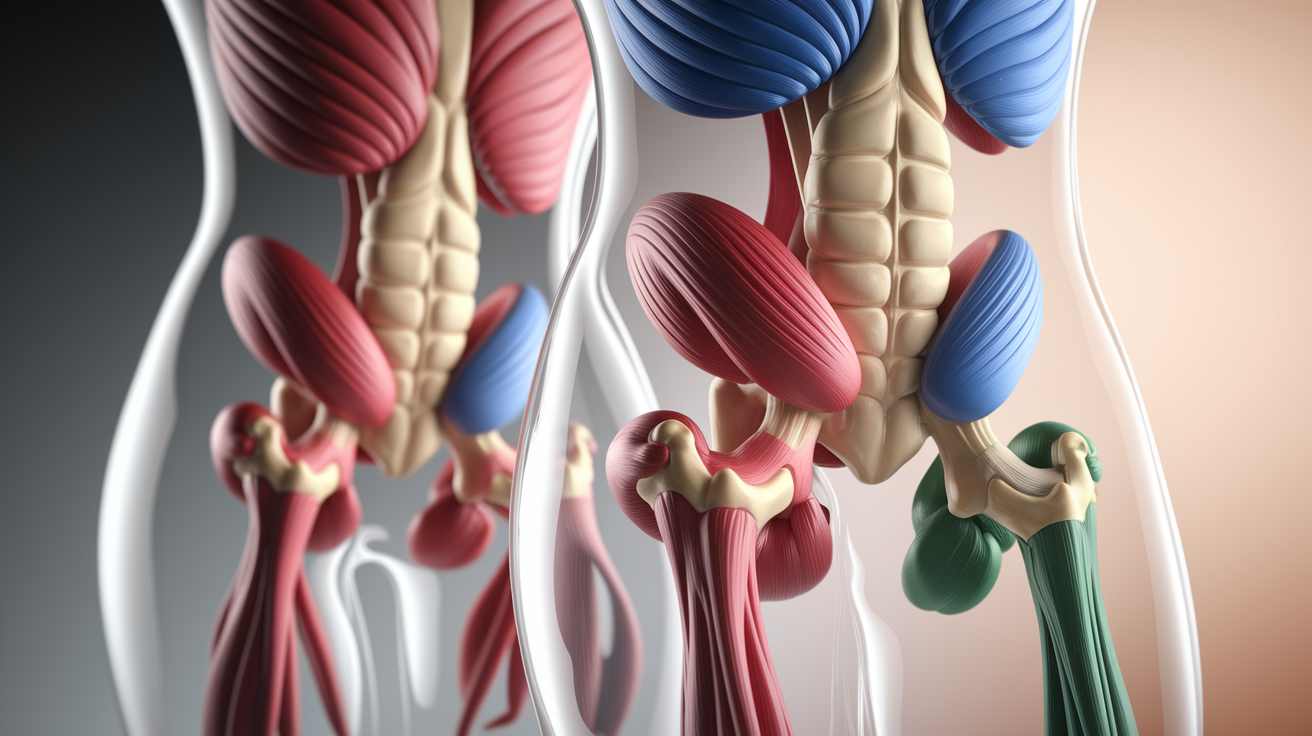
Your glutes are three muscles, and they don’t all do the same thing. Gluteus maximus is the biggest and strongest. It extends your hip when you stand up from a squat, climb stairs, or sprint. Gluteus medius sits on the side and stops your hip from collapsing inward when you’re on one leg. Gluteus minimus is the smallest, tucked beneath the medius. It helps with hip rotation and stability during gait. Together, they control nearly every movement pattern involving your lower body.
Research using electromyography shows certain movements light up these muscles more than others. Hip thrusts consistently produce the highest activation in gluteus maximus. Single-leg glute bridges increase recruitment of gluteus medius compared to two-legged versions because one side has to stabilize the pelvis alone. Exercises that move the leg out to the side, like clamshells, lateral walks, and standing abductions, isolate medius and minimus. Those muscles don’t get much stimulus from straight-ahead squats or deadlifts.
Activation exercises work because they ask your nervous system to rehearse the exact firing pattern you need before you load it. When glutes fire late or weakly, something else compensates. By cueing those muscles in isolation first, you build a short-term pathway that carries into heavier, more complex movements.
- Hip thrusts and bridges hit gluteus maximus hardest.
- Single-leg bridges add gluteus medius demand.
- Lateral walks and clamshells target medius and minimus.
- Single-leg deadlifts recruit medius and minimus for balance and hip control.
It’s a rehearsal, not a replacement.
Causes of Weak or Inactive Glutes and Why Activation Exercises Are Necessary
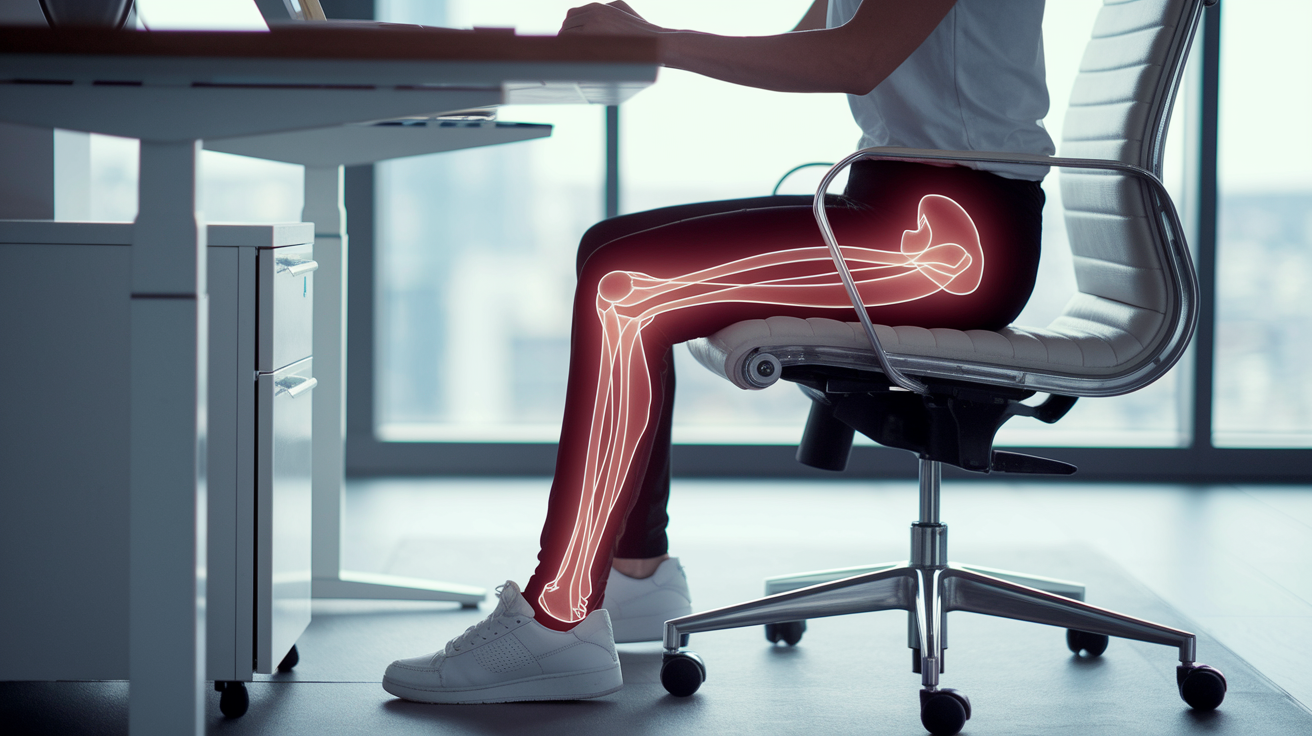
Glutes weaken or shut off for a few predictable reasons. The most common is sitting all day. When you sit, your hip flexors shorten, your glutes stay lengthened, and your nervous system stops sending strong signals to muscles that aren’t doing much. Over time, your body learns to skip glutes and rely on hamstrings, quads, and lower back to pick up the slack.
Not an injury yet. But it’s the setup for one.
Quad dominant training makes the problem worse. If every leg day is squats, leg press, and lunges with no hip hinge or posterior chain focus, your quads get strong and your glutes stay quiet. Age, injury, or medical conditions can also weaken glutes, but even young, healthy people develop glute amnesia if their training and lifestyle don’t demand glute work.
When glutes don’t fire on time, your body compensates. Hamstrings overwork and get tight or strained. The tensor fasciae latae tries to stabilize the hip, which tightens the iliotibial band. Your knee collapses inward during single-leg tasks. Your lower back arches to extend the hip because the glutes won’t do it.
Activation exercises reset the pattern by making glutes the first responder again. Those compensations don’t have to become your default.
Step-by-Step Glute Activation Exercise Instructions With Sets and Reps
Proper technique matters more than effort during activation. You’re not chasing fatigue. You’re chasing connection. Move slowly, pause at the top of each rep, and ask yourself if you feel the glute working. If you feel your hamstrings or lower back instead, adjust your setup.
-
Hip Thrust: Place your upper back against a bench, feet flat and hip width apart. Drive through your heels and lift your hips until your shoulders, hips, and knees form a straight line. Squeeze your glutes hard at the top, then lower by hinging at the hip. Don’t arch your lower back to extend farther. Do 10–12 reps. Bodyweight is enough to start. You can add a barbell or plate across your hips later.
-
Glute Bridge: Lie on your back, knees bent, feet flat. Press through your heels to lift your hips off the floor until you make a straight line from shoulders to knees. Hold the top position for a second, then lower under control. Do 10–12 reps, or hold the bridge for 15 seconds per rep if you want a longer contraction.
-
Banded Lateral Walk: Place a mini loop band around your thighs, just above the knees. Bend your knees slightly, keep your chest up and core tight, then step sideways while maintaining constant tension on the band. Don’t let your knees cave inward. Take 8–10 steps in one direction, then return. You can place the band around your ankles or feet to increase difficulty.
-
Clamshell: Lie on your side with your hips and knees bent, heels together. Keep your feet touching and your hips stacked. Don’t let your pelvis roll backward. Open your top knee as high as you can without tilting your hips, then control the return. Do 15–20 reps per side. You can loop a band above your knees to add resistance.
-
Single-Leg Glute Bridge: Start in a normal bridge position, then lift your hips into a bridge and extend one leg straight out in the air. Your shoulders, hips, and planted knee should stay in line. Hold for a beat at the top, lower with control, and repeat. Do 8–10 reps per side, or hold the top position for 10–20 seconds if reps feel too hard at first.
-
Standing Hip Abduction: Stand tall and shift your weight onto one foot. Lift the opposite leg straight out to the side without leaning or tilting your torso. Don’t let the lifted foot touch the ground between reps. Do 12–15 reps per side. You can loop a band around your ankles to increase resistance.
-
Single-Leg Deadlift: Stand on one leg and hinge forward at the hip, keeping your back flat. Lift the non-standing leg behind you as you lower your torso until both are roughly parallel to the floor. Return to standing by driving your hip forward, not by arching your back. Do 8–10 reps per side. Start with bodyweight, then add a dumbbell or kettlebell in one or both hands.
-
Lateral Step-Up: Stand parallel to a step or bench. Place your outside foot on the step, then drive through that foot to lift your body up laterally onto the step. Step back down slowly. Do 10–12 reps per side. Keep your torso upright and don’t push off the ground foot. Make the working leg do the lift.
Using Bands and Equipment for Glute Activation

Resistance bands are the simplest way to increase glute activation, especially for medius and minimus. A mini loop band placed just above your knees creates constant outward resistance, which forces those stabilizer muscles to work harder. Moving the band down to your ankles or feet increases difficulty because the lever arm is longer and the tension is harder to control.
You don’t need much equipment for effective activation. Most drills work with bodyweight alone. A step or bench helps with step-ups, lateral step-ups, and elevated hip thrusts. A chair makes single-leg squats safer by giving you a target to sit back to.
Optional weights come into play once bodyweight feels too easy, but they’re not necessary for warm-up activation.
Use bands when:
- You’re targeting gluteus medius or minimus (lateral walks, clamshells, standing abductions).
- You want to maintain tension throughout a movement without adding load.
- You need feedback. Bands force you to resist collapse, so you feel whether your glutes are working.
Glute Activation Exercise Progressions and How to Increase Difficulty

Activation exercises are meant to stay relatively easy, but that doesn’t mean they never progress. As your glutes wake up and strengthen, you’ll need to increase the challenge to keep the drills effective. The simplest way is to add more reps or hold the contraction longer. Moving from 10 reps to 15, or holding a single-leg bridge for 20 seconds instead of 10.
Adding external resistance is the next step. Loop a band around your knees during bridges or squats. Hold a dumbbell across your hips during hip thrusts. Wear a band around your ankles during lateral walks.
You can also shift from bilateral (two leg) to unilateral (one leg) versions of the same movement. Single-leg bridges, single-leg deadlifts, and single-leg squats all demand more from your glutes and core because one side has to stabilize everything alone.
| Variation | Difficulty Change | Example |
|---|---|---|
| Add resistance | Increases load on glutes | Place a mini band above knees during bridges |
| Hold isometric | Increases time under tension | Hold single-leg bridge for 20 seconds |
| Switch to single-leg | Demands more stability and strength | Move from two-leg bridge to single-leg bridge |
| Elevate surface | Increases range of motion | Use a bench for hip thrusts instead of the floor |
Avoiding Common Glute Activation Mistakes

The biggest mistake is letting your lower back do the work. During hip thrusts and bridges, people often arch their lumbar spine to get their hips higher instead of squeezing their glutes to extend the hip. If you feel pressure in your lower back, reset and focus on a posterior pelvic tilt. Tuck your tailbone slightly and drive your hips up by contracting your glutes, not by arching.
Another common error is letting your hips tilt or rotate during single-leg movements. When you do a single-leg deadlift or single-leg bridge, your pelvis should stay square to the floor. If one hip hikes up or rotates backward, you’re compensating instead of stabilizing. Slow down, reduce the range of motion, and focus on keeping both hips level.
Losing band tension is also a problem. If the band goes slack during lateral walks or clamshells, you’re not challenging the glutes anymore. Maintain constant outward pressure. Don’t let your knees cave in or your feet drift together. And during standing abductions, don’t touch your lifted foot to the ground between reps. That breaks the muscle tension and turns a continuous set into a series of rest breaks.
- Drive through your heels, not your toes, during bridges and thrusts to keep the load in your glutes and hamstrings.
- Maintain a slight posterior pelvic tilt to prevent lumbar compensation.
- Keep hips square and level during all single-leg work. Use a mirror or record yourself to check.
- Feel the glute contract at the top of every rep. Pause for one second to reinforce the connection.
- Control the lowering phase. Don’t drop or rush. The eccentric builds control and awareness.
When to Perform Glute Activation and How Often
Glute activation works best as a warm-up before lower body training, running, cycling, or any high intensity interval work. The purpose is to prime the nervous system so glutes contribute during the subsequent activity instead of letting hamstrings or quads dominate. Five to ten minutes of focused activation drills before your main workout is enough.
You’re not trying to fatigue the muscle. You’re turning it on.
For general health and injury prevention, perform glute activation two to three times per week. If your goal is hypertrophy or strength, increase frequency to three to four times per week and consider adding glute focused exercises at both the start and end of your session. Activation drills to warm up, then compound lifts in the middle, then optional isolation finishers like single-leg bridges or banded walks to accumulate more volume.
Sport-Specific Glute Activation Benefits for Runners and Cyclists

Runners benefit from glute activation because strong, responsive glutes improve stride mechanics and reduce compensatory strain. When glutes fire on time during hip extension, you generate more power with each push-off and reduce reliance on hamstrings and the iliotibial band. Weak glutes force the hamstrings to overwork, which leads to tightness and tendinopathy. They also allow the knee to collapse inward, which increases stress on the patellar tendon and can contribute to runner’s knee.
Cyclists gain improved hip stability and power transfer. When you push down on the pedals, glutes should be the primary hip extensors. If they’re weak or slow to fire, your quads take over and your hips shift side to side, which wastes energy and can lead to lower back discomfort or IT band irritation. Activation drills before a ride remind your nervous system to recruit glutes early, so your pedal stroke is cleaner and more efficient.
- Improved stride power and gait mechanics for runners.
- Reduced hamstring overload and ITB tightness across both sports.
- Better hip alignment and force transfer during repetitive, endurance based movements.
Final Words
Jump into action: use the 10 core drills — hip thrusts, step-ups, banded lateral walks, clamshells, and single-leg moves — briefly before workouts to wake your glutes.
You learned what each glute muscle does, why weakness happens, step-by-step cues, band placement, and progressions to make drills harder.
Practice the cues, avoid the common mistakes, and do activation before lower-body work or 2–4× weekly depending on your goal.
Stick with these glute activation exercises and you’ll move better, lift more confidently, and reduce aches—small habits, big returns.
FAQ
Q: What is the best glute activation exercise?
A: The best glute activation exercise is the hip thrust. It fires the glute max well, so do 10–12 controlled reps, squeeze at the top, and start with a band or bodyweight.
Q: What is the 8 8 8 rule for glutes?
A: The 8 8 8 rule for glutes is a simple plan: perform three different exercises for eight reps each to target multiple glute areas—pick a hip hinge, an abduction, and a single‑leg move.
Q: How to activate an inactive glute?
A: You activate an inactive glute by starting with low‑load isolation drills like clamshells, banded lateral walks and single‑leg bridges, focusing on a firm belly brace, heel drive and slow, controlled reps.
Q: Do strong glutes help knees?
A: Strong glutes help knees by improving hip stability, reducing inward knee collapse, and taking load off the joint during squats, runs and jumps, which often lowers pain and injury risk.