

What if tight ankles, not weak quads, are what’s holding your squat back?
Ankle stiffness makes your heels pop up, your torso dump forward, or your knees cave in.
Most people blame tight calves and stop there.
But the real problem can be a joint block at the talus or tight calf muscles, and you need to fix the joint first.
This post walks you through a simple three-step routine of banded mobilizations, foam rolling, and position-specific stretches so you can test gains right away and lock in deeper, safer squats.
Key Fixes to Improve Ankle Mobility for Deeper Squats

Your ankle mobility decides how deep you can squat without your heels popping up, your torso dumping forward, or your knees collapsing inward. Most people blame tight calves and call it a day, but ankle restrictions actually come from two different places: the joint itself and the soft tissue around it. Joint restrictions feel like sharp pinching at the front of your ankle when you try pushing your knee past your toes. That pinch is usually a bony block, a sign your talus (the bone sitting on top of your heel) isn’t sliding backward the way it should. Soft tissue stiffness shows up as pulling in your calf muscles, mainly the gastrocnemius (your bigger calf muscle) and the soleus (the deeper one closer to your ankle). You’ve got to fix the joint problem first, then work on the muscles.
This three-step sequence hits both restrictions in the right order and gives you immediate, testable improvements in squat depth. After you finish all three steps, retest your ankle mobility with a simple wall test or drop into a bodyweight deep squat to see if your heels stay planted and your torso stays taller. Plenty of people notice a difference right away. But the real goal? Lock those changes in with consistent practice so your squat mechanics improve for good.
-
Banded ankle mobilization (posterior talar glide) – Loop a strong resistance band around a sturdy post at ankle height. Wrap the band around the front of your ankle joint, step back to create tension, and sink into a half-kneeling or standing lunge. Drive your knee forward over your toes while the band pulls your talus backward. Move in and out of dorsiflexion slowly for 10 to 15 reps per side. Common mistake: sticking the band too high on your shin. That pulls your tibia instead of your talus, which can actually wreck your mobility. The band sits right at the crease of your ankle, not halfway up your shin.
-
Foam rolling the lower leg (2+ minutes each area with ankle pumps) – Roll slowly up and down your calf, hitting the gastrocnemius and soleus. When you find a tender spot, pause there and place your opposite leg on top to crank up the pressure. Hold that spot for about 10 seconds while you flex and point your ankle (ankle pumps) to actively move tissue under the roller. Spend at least 2 minutes total on each lower leg. Daily if you can swing it.
-
Position-specific stretching (heel drop and weighted deep squat shifts) – For the heel drop stretch, stand on the edge of a step or plate with your heels hanging off. Slowly lower one heel toward the ground until you feel a stretch in your lower calf. Hold 30 seconds, then switch. For the weighted deep squat shift, grab a light kettlebell or plate at chest height, drop into the deepest squat you can manage, shift most of your weight onto one foot, and push that knee forward over your toes until you feel a stretch in your calf and ankle. Hold 10 seconds, then shift to the other side. This drill teaches your ankle to handle dorsiflexion while you’re actually squatting.
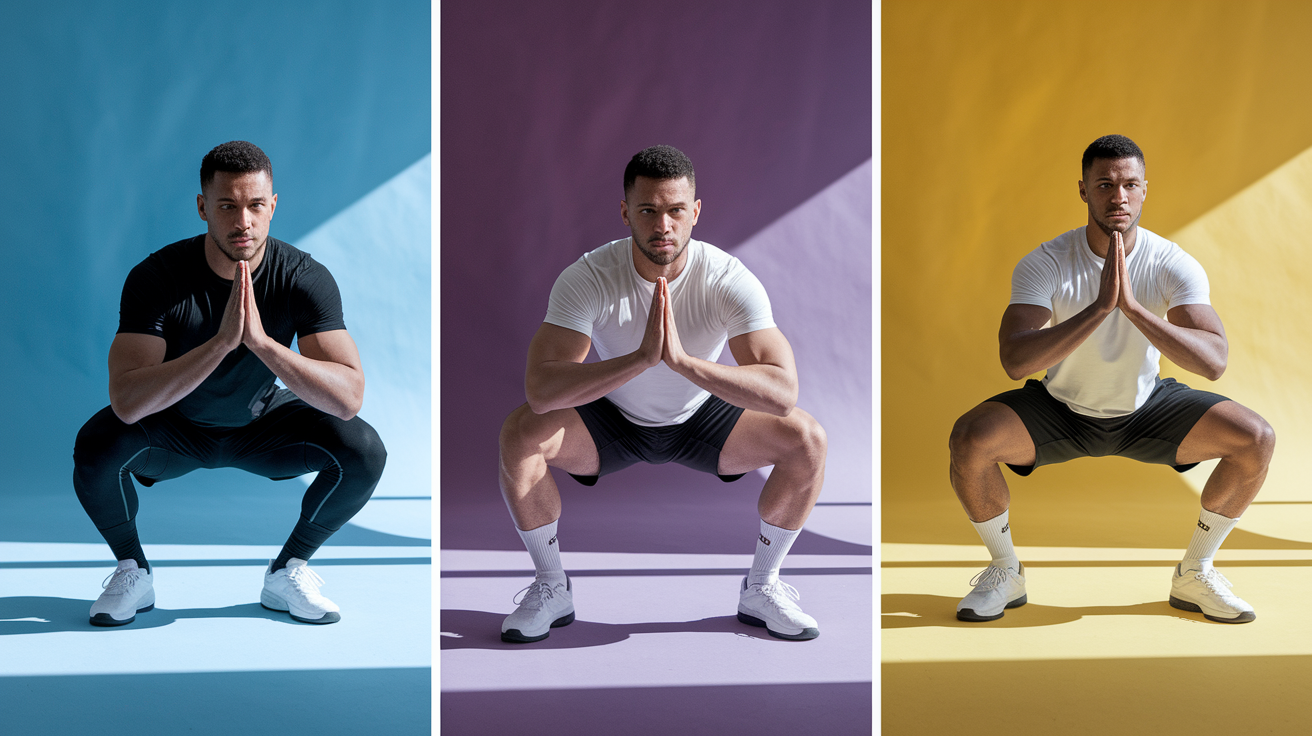
Understanding How Limited Ankle Mobility Impacts Squat Mechanics

When your ankle can’t dorsiflex enough, your body finds a workaround so you can still get lower. None of these compensations help. All of them crank up your injury risk or limit how much weight you can safely move. If your heels lift off the ground, you lose your stable base and shift your weight forward onto your toes, making it nearly impossible to drive through your whole foot and engage your glutes properly. If your torso leans too far forward, your lower back works overtime to keep the bar (or your body) balanced, and your quads do most of the work instead of spreading the load across your hips and legs. When your knees cave inward (valgus), you stress your knee ligaments and usually lose tension in your glutes. And when your pelvis tucks under at the bottom, a pattern called “butt wink,” your lower back rounds and your spinal discs take on shear forces they’re not built to handle.
What most people don’t realize is that ankle dorsiflexion doesn’t happen alone. Your tibia (shin bone) also rotates slightly as your knee travels forward, and that tibial rotation is a required partner to dorsiflexion in a proper deep squat. If your ankle joint is stiff or your lower leg muscles are tight, that rotation gets blocked and your whole squat pattern breaks down. Addressing both the joint and the soft tissue gives you the multiplanar movement your ankle needs to support a clean, deep squat.
- Heels lifting off the ground
- Excessive forward torso lean
- Knees caving inward (valgus collapse)
- Butt wink (posterior pelvic tilt and lower back rounding at the bottom)
How to Assess Your Current Ankle Mobility Before Squatting
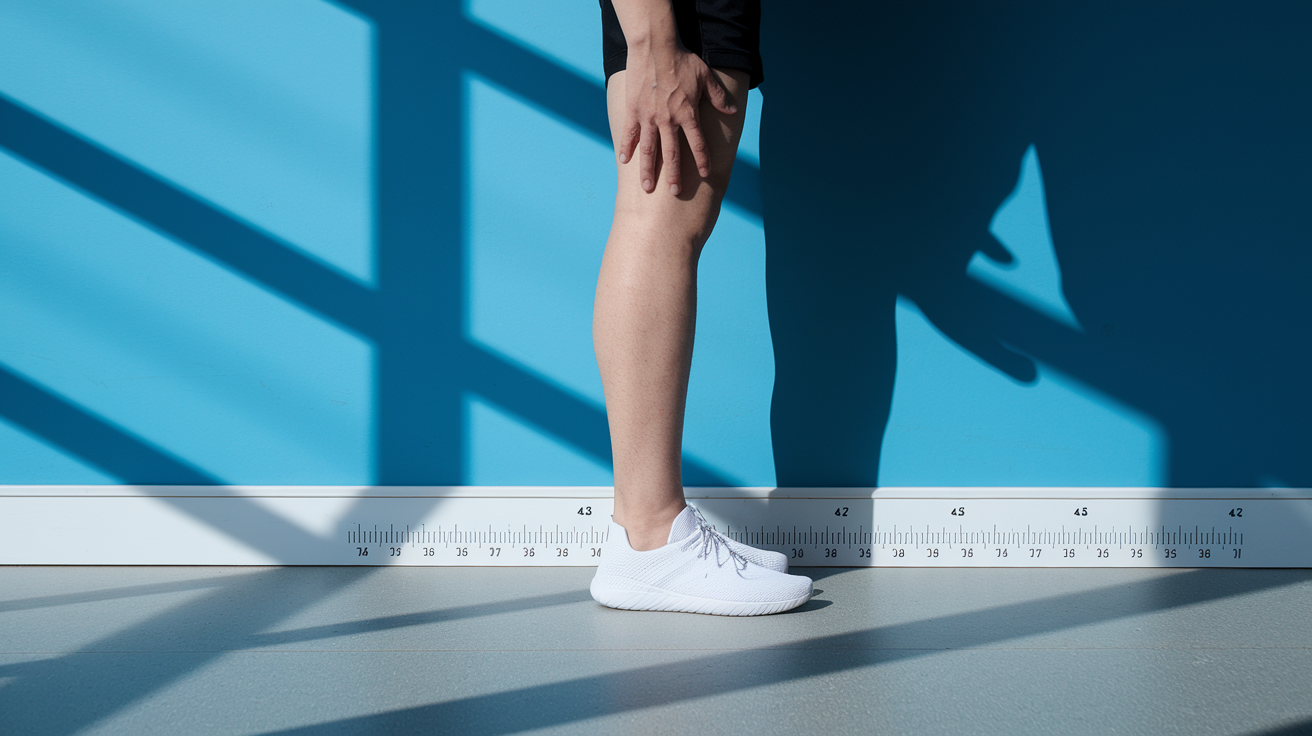
Testing your ankle mobility before you start any drills gives you a baseline and helps you figure out whether your restriction comes from the joint, the muscles, or both. The simplest and most reliable test is the wall ankle mobility screen (also called the knee to wall test). Stand facing a wall with one foot a few inches back from the baseboard and your other foot behind you for balance. Keeping your front heel flat on the ground, drive your knee forward toward the wall. If your knee touches the wall without your heel lifting, measure the distance from your big toe to the wall. A healthy ankle should let you touch the wall when your toes are about 4 to 5 inches away. If your knee can’t reach, or if your heel lifts before contact, you’ve found a restriction.
Pay attention to what you feel during the test. Sharp pinching at the front of your ankle? That’s a joint restriction, probably a bony block or a talus that isn’t gliding backward. Strong pulling or stretching in your calf? That’s soft tissue tightness. Knowing the difference tells you which fix to prioritize. After you run through your mobility drills, retest the same way. Also drop into a deep bodyweight squat and try a pistol squat (single leg squat) on each side if you can. These functional checks show whether your new range of motion actually transfers into your squat pattern, or if you still have work to do on hip or thoracic mobility.
The Wall Ankle Mobility Test
Set up about an arm’s length from a wall. Place one foot forward with your toes a few inches from the baseboard, and stagger your other foot behind you for balance. Brace your core lightly, keep your front heel glued to the floor, and slowly push your front knee toward the wall. Your goal is to touch the wall with your knee without your heel coming up. If you can do that, slide your front foot back an inch and try again. Keep moving back until your knee can no longer reach the wall while your heel stays down. Measure the distance from your big toe to the wall at that furthest successful position. Compare both sides. A difference of more than an inch between your left and right ankle is a red flag. This test helps you identify whether you have a true joint restriction (you’ll feel pinching) or muscular tightness (you’ll feel pulling in the calf or Achilles).
Additional Drills to Improve Ankle Mobility

Once you’ve worked through the joint mobilizations and foam rolling, these three drills take your ankle through deeper ranges and build both flexibility and control. They use a technique called contract relax, a type of PNF (proprioceptive neuromuscular facilitation) stretching that tells your nervous system to relax protective tension and let you access more range safely. You’re not just passively hanging in a stretch. You’re actively contracting the muscle, then relaxing it, then stretching a little deeper. This method tends to produce faster, longer lasting improvements than static stretching alone.
Contract Relax Calf Stretch
Stand in a staggered stance with your front foot elevated on a weight plate, a low block, or the edge of a slant board. Your back leg stays straight and acts as a brace. Lean forward gently until you feel a moderate stretch in your front calf and Achilles. Hold that end range for 30 to 60 seconds. Then, while staying in the stretch, push the ball of your front foot down into the plate as if you’re trying to point your toes (plantarflexion), and hold that contraction for 3 to 5 seconds. You should feel your calf muscles tighten. Relax completely for 5 to 10 seconds, then lean a little deeper into the stretch. Repeat that contract relax cycle 3 to 5 times per side. This targets the gastrocnemius, the larger calf muscle that crosses both your knee and ankle.
Deficit Calf Raises
Stand with the balls of your feet on the edge of a step, a slant board, or a wedge, with your heels hanging off into space. Start with both feet for balance. Lower your heels slowly toward the ground until you feel a stretch in your calves, then press up onto your toes as high as you can. Perform 10 to 25 controlled reps. This drill trains your ankle through a full range of motion under load, building both strength and flexibility at the same time. When bodyweight becomes easy, hold a dumbbell or kettlebell, or progress to single leg calf raises. Single leg work also improves balance and highlights any side to side differences.
Half Squat Contract Relax
Kneel on one knee and place your other foot flat on the ground in front of you, so your shin is vertical or leaning slightly forward. Your setup should look like a half kneeling position, but your front knee is bent deeper than 90 degrees. Lean forward gently to push your front knee over your toes, keeping your heel down. You’ll feel this stretch lower in your calf, closer to your ankle, because this position emphasizes the soleus muscle (which only crosses the ankle joint, not the knee). Hold the stretch for 30 to 60 seconds. Then contract by trying to pull your toes up toward your shin (dorsiflexion), activating your tibialis anterior on the front of your shin. Hold that contraction for 3 to 5 seconds, relax for 5 to 10 seconds, and lean a little deeper. Repeat 3 to 5 cycles per side.
Foam Rolling and Soft Tissue Work to Reduce Ankle Stiffness

Foam rolling breaks up adhesions and improves tissue quality in the muscles and fascia that cross your ankle. If you skip this step and go straight to stretching, you’re trying to lengthen tissue that’s stuck, and you won’t get very far. The key to effective foam rolling isn’t speed. It’s slow, focused pressure combined with active movement. Roll up and down your lower leg at a pace that lets you actually feel the tissue under the roller. When you hit a tender or tight spot, stop and hold that position. Place your opposite leg on top of the rolling leg to add extra pressure (this is called “tacking down”), and hold that spot for about 10 seconds. While you hold, flex and point your ankle slowly, a movement called ankle pumps. This active motion moves the muscle and fascia under the sustained pressure and helps release deeper restrictions.
Spend at least 2 minutes on each area of your lower leg. Aim to do this daily if your ankles are tight. Consistency matters more than intensity. You don’t need to roll until you’re wincing in pain. Moderate pressure with focused attention works better and keeps you coming back tomorrow. Foam rolling is also a great time to check in with your body and notice which areas feel worse on one side than the other, so you know where to spend a few extra seconds.
- Gastrocnemius (upper calf) – The large, visible calf muscle. Roll from just below your knee down to mid calf. This muscle crosses both your knee and ankle, so it tightens easily if you sit a lot or wear shoes with any heel height.
- Soleus (lower calf) – The deeper muscle closer to your ankle. Roll from mid calf down toward your Achilles tendon. This is the muscle that limits your squat depth the most, because it’s active when your knee is bent.
- Tibialis anterior (front of shin) – The muscle that runs down the front of your shin. It lifts your toes and controls how your foot lands. Roll from just below your knee to your ankle. This area gets tight in people who run or do a lot of jumping.
Strengthening Drills That Support Long Term Ankle Mobility

Mobility without strength is just flexibility, and flexibility alone doesn’t transfer into better squats. Your ankle joint needs to be strong and stable through the new range you’re building, or your nervous system will keep that range locked down as a protective measure. Strengthening drills teach your body that it’s safe to use that extra dorsiflexion under load, and they build the small stabilizing muscles that keep your ankle tracking properly when you add weight to the bar.
Tibial CARs (Controlled Articular Rotations) are one of the best ways to build active control through your ankle and lower leg. Deficit calf raises, which we covered earlier, double as a strengthening drill because they load your ankle at end range. But the real unlock for most people is learning to control tibial rotation, the slight internal and external spin of your shin bone that has to happen alongside dorsiflexion when you squat. Training that rotation actively, instead of just stretching into it, builds coordination and reduces compensations.
Tibial CARs for Joint Control
Sit on the ground or on a bench with one leg extended in front of you. Start by flexing your ankle (pulling your toes toward your shin), then slowly rotate your entire lower leg inward and outward while keeping tension through the movement. Your goal is to trace the largest, smoothest circle you can with your shin and ankle, moving through flexion, rotation, and extension. Go slowly. This isn’t about speed. It’s about feeling and controlling every degree of motion. Perform 5 to 8 slow circles in each direction, then switch legs. This drill wakes up the small muscles around your ankle and knee and teaches your nervous system to coordinate dorsiflexion with tibial rotation, the exact combination your body needs in a deep squat.
Using Equipment to Improve Ankle Mobility for Squats
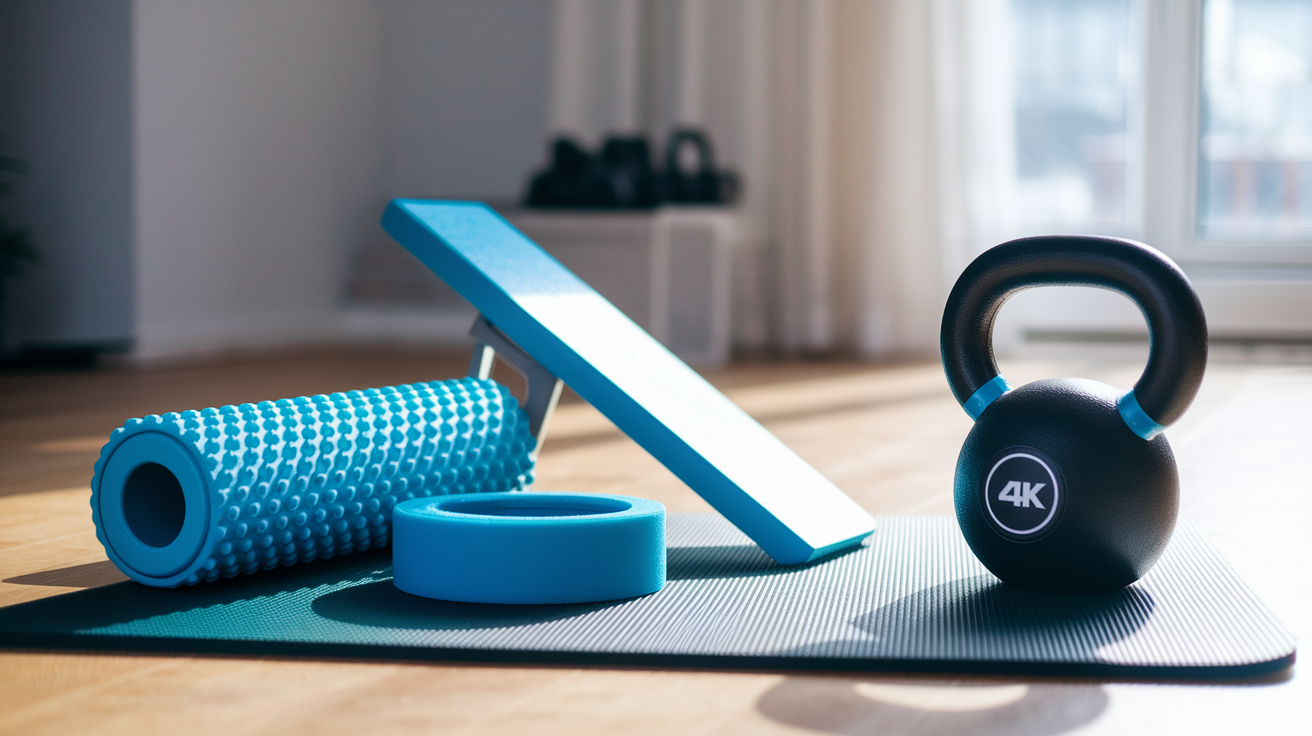
The right tools can speed up your progress and make your mobility work more targeted. You don’t need a lot of gear, but a few smart investments let you apply the techniques we’ve covered with better precision and more load. A strong resistance band is essential for joint mobilizations. A medium density foam roller handles your daily soft tissue work. A slant board or a couple of weight plates give you the elevated surface you need for heel drop stretches and deficit calf raises. And a light kettlebell or dumbbell adds load to your position specific stretches, which deepens the training effect.
Temporary heel elevation is one of the most practical tools while you’re still building ankle mobility. Placing small plates or a slant board under your heels lets you practice squatting with good mechanics, hitting full depth, and keeping your torso upright, even if your ankles aren’t ready yet. The key word is temporary. As your dorsiflexion improves, gradually lower the height of the plates over a few weeks until you’re squatting flat footed. This approach lets you keep training your squat pattern with load while your mobility catches up, instead of grinding through ugly reps that reinforce bad movement.
| Equipment | Primary Use |
|---|---|
| Resistance band (Superband) | Banded ankle mobilizations for posterior talar glide |
| Foam roller | Soft tissue work on gastrocnemius, soleus, and tibialis anterior |
| Slant board or weight plates | Heel elevation for stretches, calf raises, and temporary squat modifications |
| Kettlebell or dumbbell | Loaded deep squat stretch and goblet squat holds |
Warm Up Routines That Improve Ankle Mobility Before Squatting

A good warm up primes your ankles, hips, and core so your squat feels smoother from the first working set. This routine takes about 5 minutes and hits the mobility, activation, and movement prep you need before you load the bar. It’s simple, repeatable, and gives you a chance to check in with your body and notice if one side feels tighter or weaker than the other. Run through this sequence on squat days, and you’ll notice your depth improves and your technique feels cleaner right from your first warm up set.
-
Banded bodyweight squats (5 to 8 reps) – Loop a resistance band around your shins, just below your knees. The band will try to pull your knees inward, so you have to actively push out against it as you squat. This wakes up your hip abductors (glute medius and minimus) and teaches you to maintain good knee tracking. Move slowly and focus on keeping tension in the band the whole time.
-
Banded glute bridges (10 to 12 reps) – Lie on your back with your knees bent and a resistance band around your thighs, just above your knees. Press through your heels to lift your hips, squeezing your glutes hard at the top. Keep pushing your knees out against the band throughout the movement. This drill activates your glutes and preps your hips to handle the loaded squat pattern.
-
Copenhagen plank marches (8 to 10 reps per side) – Set up in a side plank position with your top leg resting on a bench and your bottom leg hovering above the ground. Hold your torso stable and slowly lift and lower your bottom leg in a marching motion, or just hold the position for time if marches are too hard. This drill fires up your adductors and deep core, which stabilize your pelvis and prevent your knees from caving when you squat heavy.
Progression, Frequency, and How Long It Takes to Improve Ankle Mobility

Ankle mobility doesn’t change overnight, but you also don’t need months of daily work to see real improvements. Most people notice better squat depth and cleaner mechanics within 2 to 4 weeks if they’re consistent. The key is frequency, not perfection. Aim for 3 to 5 mobility sessions per week, and keep each session focused and short, around 10 to 15 minutes. You can do this work on rest days, tack it onto the end of your workout, or build it into your squat warm up. The worst thing you can do is try to cram an hour of mobility work into your schedule once a week and then skip it because it feels like too much.
Progression happens in layers. First, your joint restrictions ease up and you can move deeper without pinching. Then your soft tissue adapts and you can hold that new range comfortably. Finally, your strength and motor control catch up, and you can load that range with a barbell and maintain good form. That’s the progression you’re after. Measure your progress with simple tests like the wall ankle mobility screen or by recording a video of your squat from the side. If your heels stay down, your torso stays more upright, and your depth improves, your mobility work is paying off.
Squat Variations to Use While Improving Ankle Mobility
While you’re building ankle mobility, you don’t have to stop squatting. You just need to choose variations that let you train the squat pattern with good form, even if your dorsiflexion isn’t perfect yet. These variations keep you strong and let you practice the movement while your mobility catches up. As your ankles improve, you can gradually reduce the assistance or heel elevation and transition back to your standard squat stance.
Goblet squats with a light kettlebell or dumbbell held at chest height naturally shift your center of mass forward and make it easier to stay upright, which takes some demand off your ankles. If you add a deep squat hold at the bottom for 30 to 60 seconds, you’re also getting a loaded mobility drill at the same time. Front squats have a similar effect because the bar position forces you to keep your torso vertical, and that upright posture reduces how much ankle dorsiflexion you need compared to a back squat. Cossack squats (wide stance lateral squats) let you shift your weight from side to side and train single leg dorsiflexion and hip mobility together. Perform 5 to 10 reps, alternating sides, and use a kettlebell or hold onto a squat rack or TRX strap for support if you need it.
- Goblet squat holds (30 to 60 seconds) – Load a light weight, squat as deep as you can with good form, and hold the bottom position. Use heel elevation plates temporarily and lower the height over time.
- Heel elevated back squats or front squats – Place small plates or a slant board under your heels to reduce the dorsiflexion demand while you work on mobility separately.
- Cossack squats (5 to 10 reps alternating) – Wide stance, shift your weight onto one leg and sink into a deep side squat, then push back to center and switch sides. Use assistance if needed.
Final Words
Start with the 3-step fixes: banded posterior talar glides, foam rolling the lower leg for 2+ minutes with ankle pumps, then heel-drop and weighted deep-squat stretches. Do them carefully and avoid placing the band too high.
These drills target joint “pinching” and soft-tissue stiffness in the gastrocnemius and soleus. Retest with an ankle mobility screen or a deep squat right after the work to see gains.
Combine this with warm-ups, strength drills, and small, regular practice. That’s how to improve ankle mobility for squats—steady progress, not shortcuts.
FAQ
Q: Can ankle mobility be improved?
A: Ankle mobility can be improved with targeted drills (banded posterior talar glides), foam rolling, and position-specific stretches, done consistently 3–5 times weekly for best results.
Q: Are squats hard on the ankles?
A: Squats aren’t inherently hard on the ankles; restricted dorsiflexion forces compensations like heels lifting, forward torso lean, knees caving, and butt wink, which can create pinching or soft-tissue strain unless mobility is fixed.
Q: Why can’t my ankles touch the ground when I squat?
A: Your ankles can’t reach the floor in a deep squat because either a joint restriction (reduced posterior talar glide) or tight calves (gastrocnemius/soleus) limit dorsiflexion, causing early heel rise and shallow depth.
Q: How long does it take to fix ankle mobility?
A: Fixing ankle mobility varies by person; with 3–5 short sessions weekly (10–15 minutes) using banded mobilizations, rolling, and stretches, many see measurable gains in weeks, not years.