

What if pain isn’t a stop sign but a hint to move smarter?
Knee or shoulder pain doesn’t have to bench you from progress.
With small swaps, cutting depth, changing angles, and adding stability, you can train safely and still get stronger.
This post gives six clear modification rules and step-by-step swaps for common moves like squats, lunges, presses, and raises.
I’ll show what to feel, what to avoid, and how to progress so you don’t spike pain.
Try the default options first; they’re simple and proven for beginners.
Essential Beginner Modifications for Knee and Shoulder Pain-Friendly Exercises
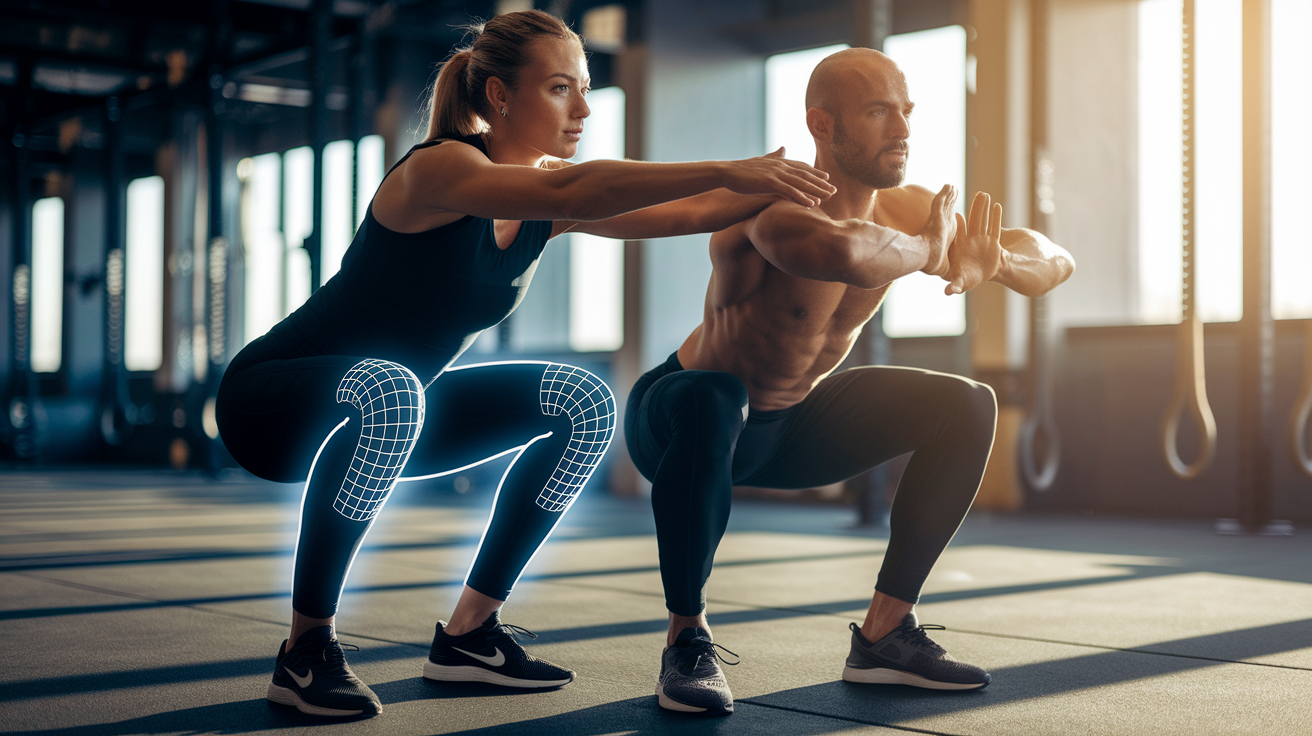
Knee pain usually happens because your quads do everything and your glutes do nothing. When your quads dominate and your glutes check out, your knee joint takes stress it wasn’t designed to handle. Your ankle and hip are supposed to help during squats, lunges, and steps. If they’re stiff or weak, your knee bends more and twists more to compensate.
Shoulder pain often shows up because of impingement and instability. Your shoulder’s the most mobile joint you’ve got, but all that mobility comes at the cost of stability. When you lift your arm overhead without solid scapular control, soft tissue gets pinched in the tight space under your shoulder blade. Weak rotator cuffs and sloppy shoulder blade movement turn basic presses and raises into pain generators.
Here are six modification rules that keep you training without making things worse:
- Cut depth or range first. Stop a few inches above the painful spot instead of forcing full range.
- Push load toward stronger, stable muscles. Drive through your heels to wake up your glutes. Pull your shoulder blades back to recruit your upper back.
- Use neutral grips and angled pressing paths. Palms facing each other and diagonal planes take stress off the joint.
- Add external stability when you need it. Bands, machines, or support rails let you focus on moving well.
- Build reps before adding weight. Get 15 clean reps before you add 1 to 5 pounds.
- Track pain and swelling every day. Write down what hurts, when, and how much so you can spot what’s working and what isn’t.
Stop right away if you feel sharp or stabbing pain, see swelling after you train, hear clicking or popping that hurts, or get numbness or tingling. If pain started after an acute injury and comes with throbbing, instability, or repeated mechanical sounds, get it checked. Pain that hangs around 10 to 14 days despite modifications means it’s time to see someone.
Beginner-Friendly Knee Exercise Modifications That Reduce Strain and Pressure
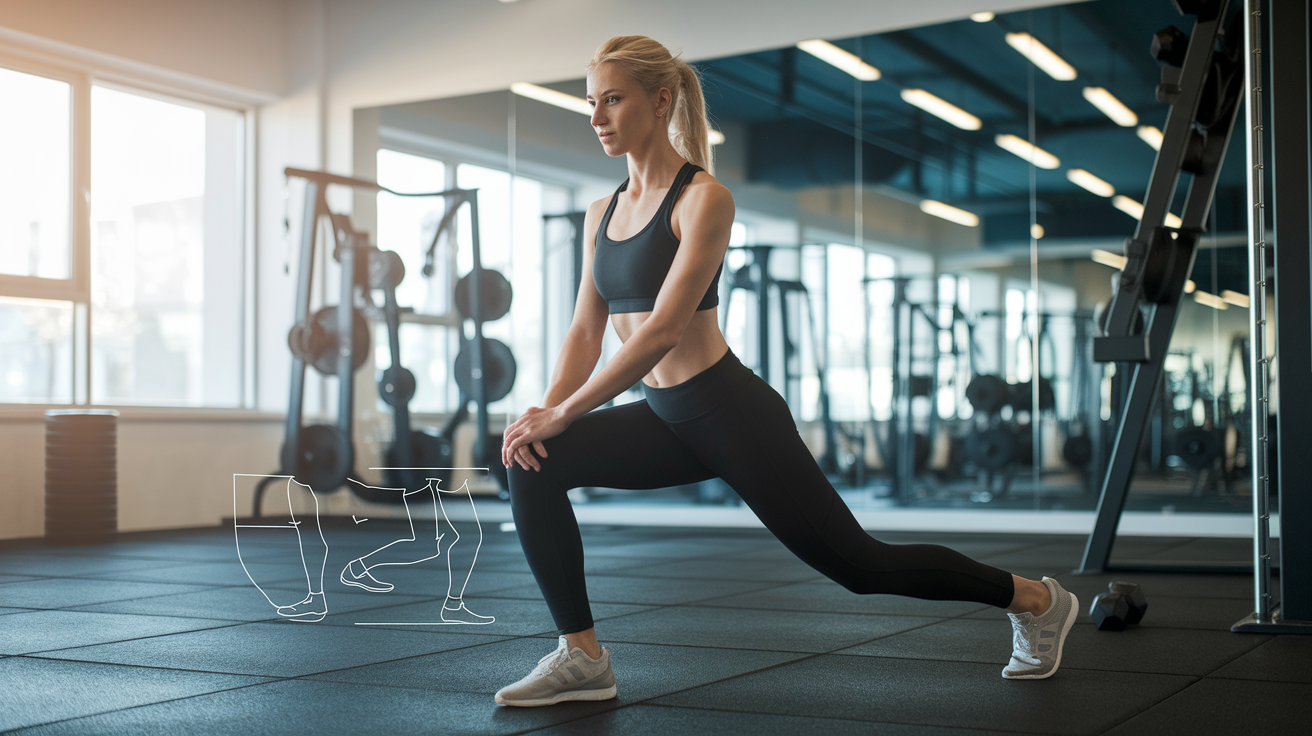
Lunges cause more knee pain than almost anything else for beginners. The standard forward lunge loads your front knee hard as you step and drop. Switch to a reverse lunge instead. Feet hip width apart, step one foot back, bend both knees to roughly 90 degrees, then press through your front heel to come back up. Your front knee stays more stable because the step happens behind you. If reverse lunges still hurt, try a split squat. Set your feet a few feet apart in a staggered stance, keep both feet planted, and bend both knees to about 90 degrees without stepping. Less balance demand, more control. If 90 degrees still causes pain, cut your depth and stop a few inches above that point.
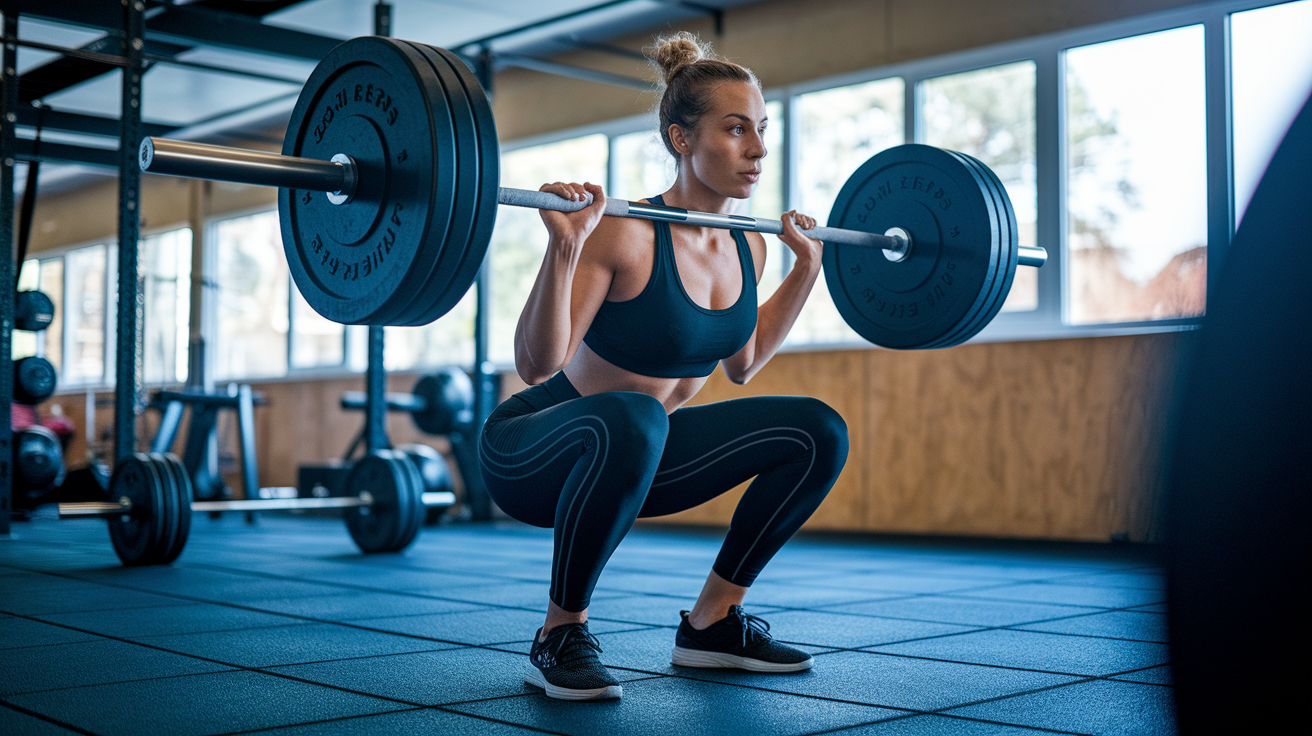
Squats get safer with three simple tweaks. First, don’t go as deep. Stop a few inches above parallel to lower how much your knee has to bend. Second, if you’re holding weight, go lighter or grab suspension straps or the back of a chair so your arms share the load. Third, shift your weight to your heels during the whole movement to activate your glutes and take pressure off your quads. One more adjustment: loop a resistance band around your knees and push your knees outward as you squat. That cue forces your glutes to turn on and keeps your knee tracking in a safer line.
Step-ups hurt because they force deep knee bending under load. The fix is straightforward. Keep your weight on the heel of your stepping foot the entire time, which biases your glutes. Then drop the step height. If you’ve been using an 8 inch bench, go down to 6 inches. Still painful? Try a 4 inch step, or even 2 inches. Each reduction decreases how much your knee has to bend. When that feels controlled and doesn’t hurt, try a lateral step-up. Step onto the platform from the side instead of straight on. That pattern recruits your glutes harder and reduces the quad and knee load even more.
Simple Isometric Knee-Friendly Options
Isometric holds let you load the muscle without moving the joint through painful ranges. Sit in a chair and extend one leg straight out in front of you. Hold that position with your quad tight for 20 to 30 seconds, rest, and repeat. You can add a light ankle weight or band once bodyweight feels easy. Wall sits are another option. Lean your back against a wall and slide down until your knees are bent to a comfortable angle, maybe 45 to 60 degrees if 90 hurts. Hold that position for 20 to 40 seconds. Both build quad strength and endurance without the knee bending stress of a full squat or lunge.
| Movement | Safe Modification | Why It Works |
|---|---|---|
| Lunge | Reverse lunge or split squat; cut depth to a few inches above 90° | Moves the step behind you for better knee tracking; reduces knee bend and quad load |
| Squat | Cut depth; shift weight to heels; add band around knees | Less knee bend; activates glutes; improves tracking and offloads quads |
| Step-up | Lower step height (8″ → 6″ → 4″ → 2″); keep weight on heel; try lateral step-up | Decreases knee bend; recruits glutes; reduces quad and kneecap stress |
| Descending stairs | Use railing or hand support; descend sideways leading with non-painful side | Upper body support reduces knee load; sideways pattern recruits glutes and lowers quad demand |
Shoulder Pain-Safe Exercise Modifications for Beginner Workouts
Overhead pressing is where most shoulder problems announce themselves. Your shoulder’s most vulnerable when your arm’s fully overhead. If you’ve got dysfunction or impingement, a strict vertical barbell or dumbbell press will let you know fast. Switch to a landmine press. Anchor one end of a barbell in a landmine sleeve or the corner of a wall, stand with your feet shoulder width apart, grab the free end with both hands at chest height, and press the bar up and away on an angled path. That angled pressing path reduces the impingement zone and gives you more shoulder stability because the bar’s anchored at one end.
Front raises hurt when you lift the dumbbells above shoulder height. The fix is to stop each rep at shoulder height or just below. Don’t lift the weight to eye level. If that still bugs you, switch to a neutral grip with your palms facing each other instead of palms down. That small grip change shifts the upper arm bone and often clears the pinch point. For bench presses, the key cue is scapular retraction. Lie on the bench, pull your shoulder blades down and back, and hold that position through the entire press. Imagine squeezing an orange between your shoulder blades and not letting it drop. If bench pressing still hurts, switch to push-ups. With your hands fixed on the floor and your fingers digging in, you get more shoulder stability and better rotator cuff activation than you do with a free barbell.
Lateral raises usually happen straight out to the sides, like 9 o’clock and 3 o’clock on a clock. That direct side path is a common irritation point. Instead, lift in a diagonal plane slightly in front of your body, aiming for 10 o’clock and 2 o’clock. That small forward angle allows a more natural path for your upper arm bone and reduces the pinch under your shoulder blade. For rear delt flys, use the pec deck machine instead of dumbbells. Straddle the bench with your stomach against the backrest, grab the handles, and pull them back. The machine fixes the movement path, lowers the stability demand, and lets you focus on clean form and rotator cuff activation. Once your shoulder feels stable and strong on the machine for a few weeks, you can reintroduce free weights.
Common mistakes to avoid:
- Forcing full overhead presses with free weights when you’ve got active impingement or pain.
- Letting your shoulder blades flare or lose retraction during any pressing movement.
- Lifting lateral raises directly out to the side (the 9 and 3 o’clock path) when that plane causes irritation.
- Jumping back to free weight variations too quickly before your scapular control and rotator cuff stability are restored.
- Pushing through sharp or stabbing shoulder pain because you think it’ll “loosen up” with more volume.
Low-Impact Cardio and Home-Based Alternatives for Joint-Sensitive Beginners
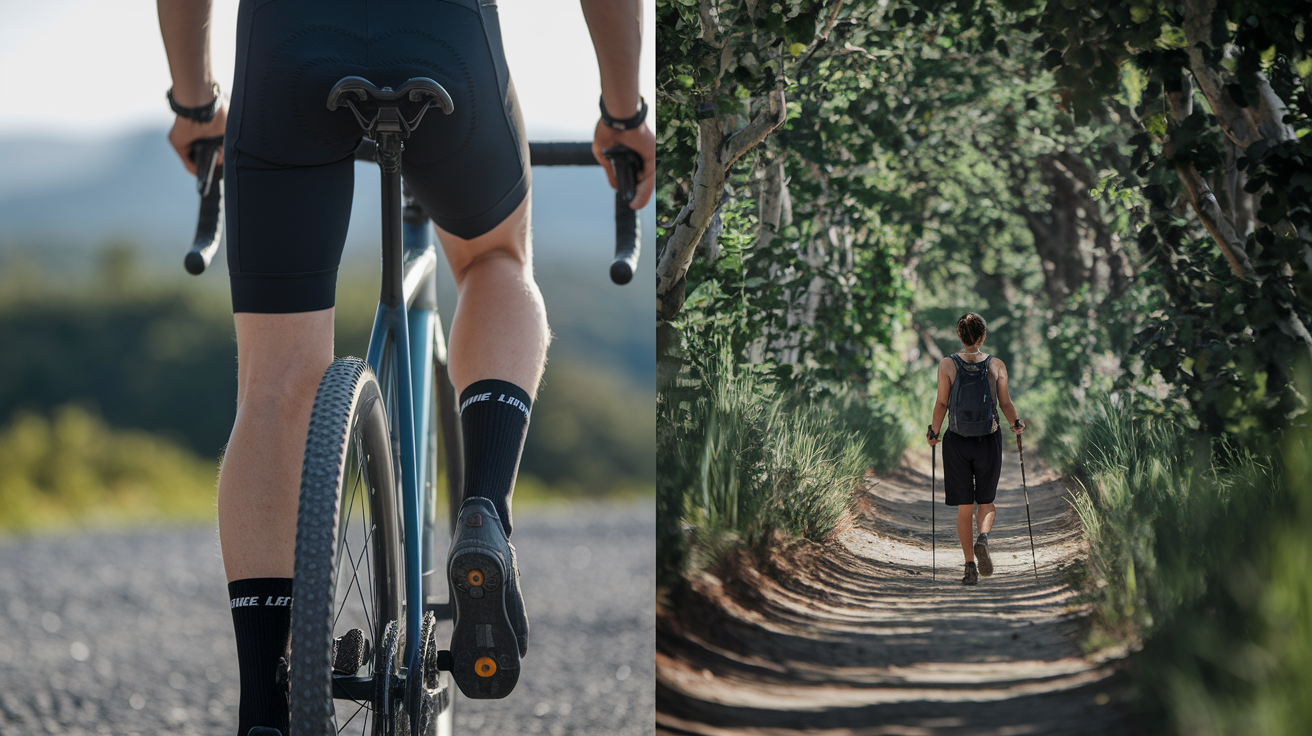
Stationary cycling is one of the best knee-friendly cardio options if you set your seat height right. Your seat should be high enough that your knee only bends slightly at the bottom of each pedal stroke. Too low and you force too much knee bending every revolution. The elliptical’s another solid choice because your feet stay in contact with the pedals the whole time, which removes the impact of walking or jogging. If you want to walk outdoors, wear a stable sneaker with good arch and heel support. If the terrain’s uneven, use trekking poles or a walking stick to engage your upper body and reduce the load through your knees. Hiking on trails is fine as long as you pace yourself and take regular breaks on long or technical descents to avoid quad fatigue, which shifts more stress onto your knee joint.
Rowing is a low impact full body option, but shoulder pain can flare if you let your shoulders hike up or roll forward during the pull. Keep your shoulders packed down and back the entire stroke. Think about pulling the handle to your ribcage, not to your neck. Swimming and water aerobics are nearly zero impact and let you move through full ranges without joint load, but skip aggressive freestyle or butterfly strokes if your shoulder’s irritated. Stick to kickboard drills or gentle breaststroke until your shoulder calms down.
Here are five no-equipment cardio options you can do at home:
- March in place with high knees, keeping the impact light and your core braced.
- Do bodyweight squats to a comfortable depth, focusing on controlled tempo rather than speed or depth.
- Knock out modified push-ups on your knees or against a wall to keep your heart rate up without shoulder strain.
- Step side to side in a low lateral shuffle, keeping your knees soft and your weight on your heels.
- Lie on your back and do slow bicycle crunches, engaging your core without loading your knees or shoulders.
Simple Mobility and Warm-Up Drills That Make Knee and Shoulder Modifications Easier
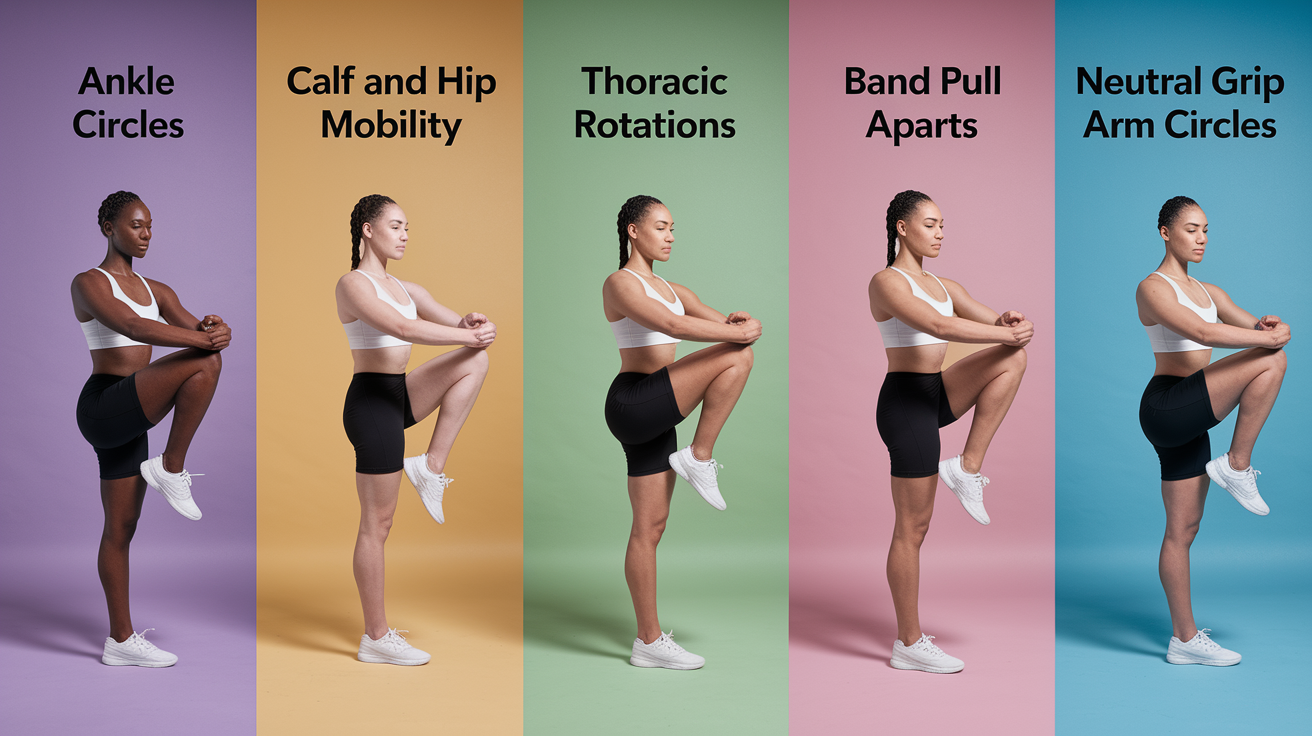
Knee pain improves when you address the mobility restrictions upstream and downstream. Spend a few minutes on quad stretches, calf stretches, and ankle mobility before you train. For quads, stand on one leg, pull your opposite heel toward your glutes, and hold 20 to 30 seconds. Repeat two to three times per side. For calves, place your hands on a wall, step one foot back, keep that heel down, and lean forward until you feel a stretch in your calf. Hold 20 to 30 seconds, two to three times per side. For ankles, sit in a chair and draw slow circles with your foot in both directions, 10 circles each way. Those three drills open up the joints above and below your knee so your knee doesn’t have to compensate.
Shoulder pain eases when you improve thoracic spine mobility and wake up your rotator cuff before pressing or raising. Start with a simple thoracic rotation. Sit or kneel, place one hand behind your head, and rotate your upper body toward that side. Hold two seconds at end range, then return. Repeat 8 to 10 times per side. Next, do light band pull-aparts. Hold a resistance band in front of you at chest height with straight arms, pull the band apart by squeezing your shoulder blades together, and slowly return. Two sets of 12 to 15 reps will wake up your mid back and posterior shoulder. Finish with neutral grip arm circles. Hold light dumbbells or water bottles with your palms facing each other and make small, controlled circles forward and backward, 10 circles each direction.
5-Minute Mobility Sequence
Start at your ankles. Do 10 slow ankle circles in each direction, both feet. Move to your hips. Lie on your side and do 10 clamshells per side with a light band or bodyweight to activate your glutes. Next, address your thoracic spine. Kneel or sit and do 8 to 10 thoracic rotations per side, holding the end position for two seconds. Then prep your shoulders. Complete two sets of 12 band pull-aparts, focusing on squeezing your shoulder blades together. Finish with 10 neutral grip arm circles in each direction using light resistance or bodyweight. That sequence takes five minutes and gets every joint in the chain ready before you start your modified exercises.
How to Monitor Pain and Know If Your Modification Is Working

Pain during exercise isn’t automatically bad, but you need to know the difference between productive discomfort and harmful signals. Keep your pain at or below 3 out of 10 during the exercise. A 3 feels like mild discomfort or awareness, not sharp or burning. After you finish, your baseline pain should return within 24 hours. If you wake up the next morning and your knee or shoulder feels worse than it did before the session, your modification wasn’t enough or your load was too high.
Track swelling, clicking, and numbness carefully. New swelling that shows up after exercise is a warning sign. So is sharp or stabbing pain, even if it only lasts a few seconds. Clicking or popping that comes with pain is different from the harmless joint sounds you might hear during normal movement. Numbness, tingling, or weakness that spreads beyond the joint means something’s being compressed or irritated, and you need to stop and reassess.
Here are the safe versus unsafe signs:
- Safe: Mild muscle fatigue, slight soreness the next day that improves with movement, no swelling, pain stays at or below 3 out of 10.
- Unsafe: Sharp or stabbing pain, swelling that shows up after exercise, pain above 3 out of 10 during the movement, baseline pain that doesn’t return within 24 hours.
- Safe: Clicking or popping without pain, temporary stiffness that resolves with a warm-up, gradual strength improvement week to week.
- Unsafe: Clicking or popping with pain, persistent stiffness that limits range of motion, numbness or tingling, visible joint instability or giving way.
Progressing Modified Exercises Safely Without Overloading the Joints
Safe progression starts with reps, not load. Once you can complete 15 controlled reps per set with no new pain or swelling, you can add a small amount of weight. For lower body exercises like squats or step-ups, add 1 to 5 pounds. For upper body moves like presses or raises, add 1 to 2 pounds or increase your resistance band tension by one level. Keep your exercise pain at or below 3 out of 10, and make sure your baseline returns within 24 hours. If either of those criteria fail, drop the load back down and build more reps before trying again.
Tempo and control matter more than the number on the weight. Slowing down your descent during a squat or controlling the lowering phase of a shoulder press reduces momentum and keeps tension on the muscle instead of the joint. For knee exercises, focus on glute activation. Squeeze your glutes at the top of every step-up or squat. For shoulder exercises, maintain scapular retraction. Your shoulder blades should stay pulled down and back through the entire range. If you lose that position, the weight’s too heavy or your reps are too high.
| Progression Strategy | Example | When to Use It |
|---|---|---|
| Increase reps first | Bodyweight squat: 8 reps → 10 reps → 12 reps → 15 reps before adding weight | Use this when movement quality’s clean and pain stays below 3/10 |
| Add small load increments | Step-up: bodyweight → 2 lb dumbbells → 5 lb dumbbells; or squat: bodyweight → 5 lb → 10 lb | Use this only after reaching 15 controlled reps and maintaining scapular/glute control |
| Increase sets or frequency | Lateral raise: 2 sets → 3 sets; or knee program: 2 sessions/week → 3 sessions/week | Use this when reps and load are stable and recovery stays consistent within 24 hours |
When Beginners Should Seek Professional Help for Knee or Shoulder Pain
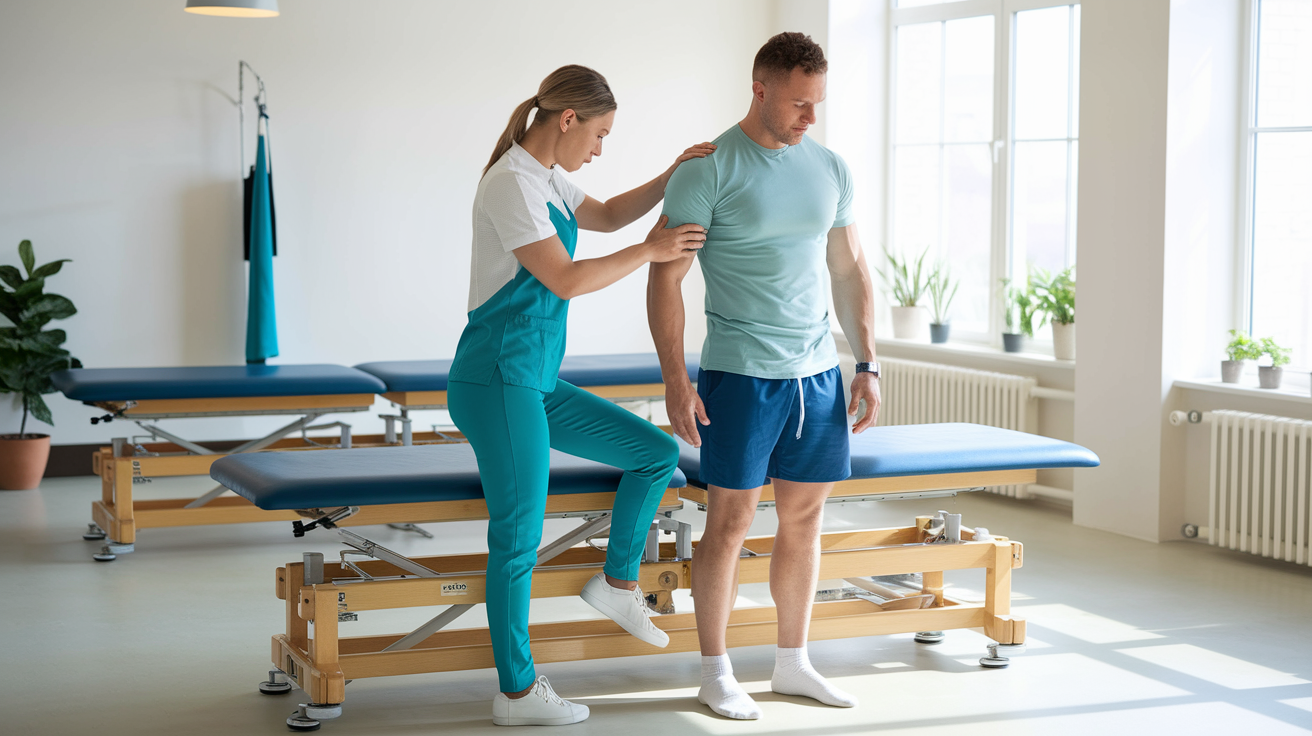
Get evaluated right away if you’ve got sharp or stabbing pain, new swelling after exercise, audible clicking or popping that comes with pain, numbness or tingling, visible deformity, or you can’t bear weight or lift your arm. Those symptoms suggest structural damage, nerve involvement, or acute injury that needs imaging and clinical assessment. Don’t wait to see if it improves on its own.
If your pain hangs around for 10 to 14 days despite consistent modifications and you’re not seeing functional improvement, book a visit with your primary care provider or a physical therapist. Progressive weakness, recurrent instability or giving way, persistent swelling, catching or locking, or inability to return to work or daily activities all point to needing a structured, supervised rehab plan. Physical therapy’s especially helpful when movement quality’s poor, pain limits your ability to exercise independently, or you need individualized progression and manual therapy to address the root cause.
Final Words
In the action: this post showed why knee and shoulder pain happens and how small, smart changes let you keep training without making things worse.
You got step-by-step knee and shoulder tweaks, low-impact cardio options, quick warm-ups, pain-monitoring tips, progression rules, and clear red-flag signs to stop and get help.
Use the six universal modification rules, try one change at a time, and track results. For simple next steps on how to modify exercises for knee or shoulder pain beginners, start with reduced range and better control. Small, steady wins matter.
FAQ
Q: How to modify workouts for knee pain?
A: Modifying workouts for knee pain means reducing knee‑bend depth, shifting load through your heels, choosing reverse lunges or box squats, lowering step heights, adding banded glute activation, and using isometrics until pain improves.
Q: What is the #1 mistake that makes bad knees worse?
A: The number one mistake that makes bad knees worse is pushing too deep with poor form—knees past toes and quad‑dominant movement. Reduce depth, drive through heels, and train hip and ankle mobility.
Q: What oil is good for knee pain?
A: The oil that’s good for knee pain is omega‑3 fish oil to help reduce joint inflammation; topical oils may give short‑term relief but have limited evidence. Check dosage with your provider before starting.
Q: Is rowing low impact on the knees?
A: Rowing is low impact on the knees because it’s non‑weightbearing and uses a smooth leg drive. Use controlled tempo, avoid jarring ranges of motion, and keep resistance modest if knees are sensitive.