

Think stretching fixes every mobility problem? It doesn’t.
Objective tests show whether your squat breaks down from stiff ankles or from sloppy technique.
That cuts out guessing, focuses your warm-ups, and proves if the mobility work is actually helping.
This post gives seven simple, repeatable tests you can do with a phone, clear setup tips, and a sensible retest schedule so you can track real change without wasting training time.
Practical Mobility Assessments Strength Athletes Can Use Immediately
Objective mobility testing shows you whether your squat breaks down because your ankles won’t flex or your technique just needs more reps. It cuts out the guessing, directs your warm-ups, and proves the extra stretching you’ve been doing is actually working. Strength athletes who track mobility protect training time for high-return work instead of piling on filler exercises that don’t move anything forward.
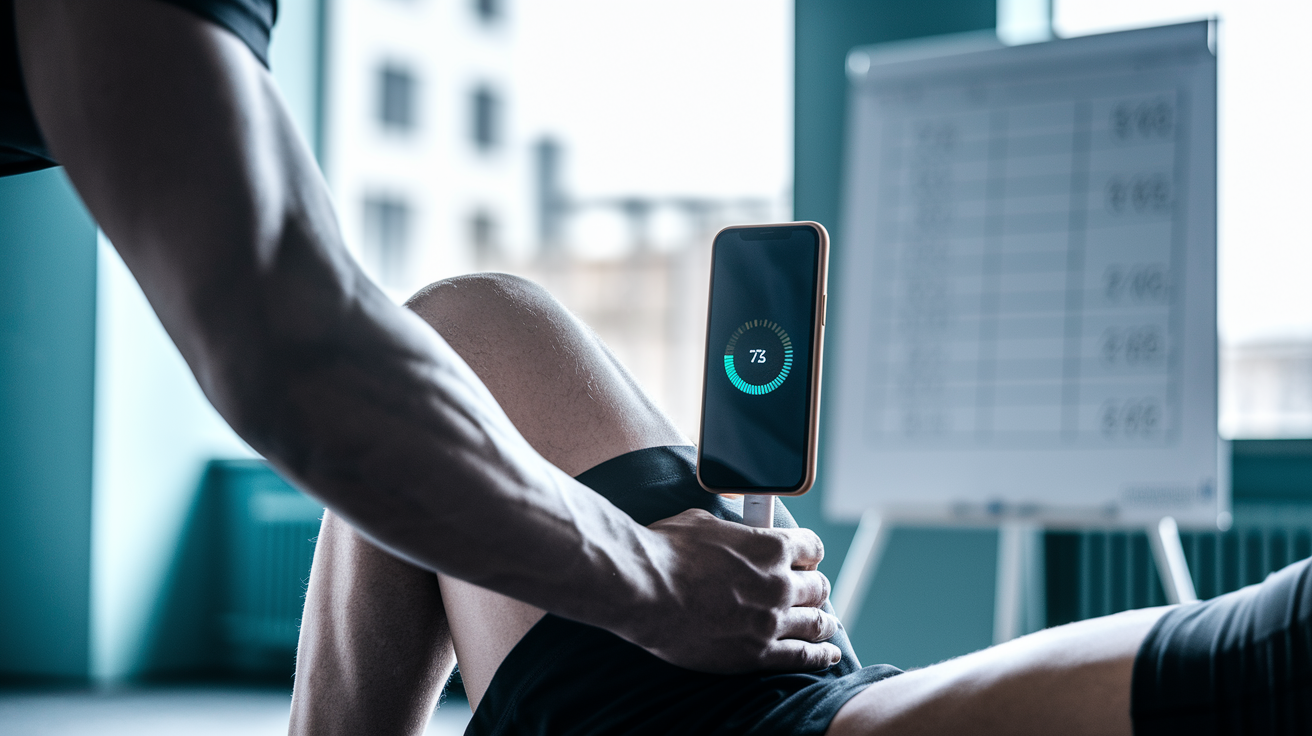
Each of the seven tests below takes one to two minutes once you’ve practiced the setup. A complete lower body battery runs fifteen to twenty minutes per athlete. You need a smartphone, a flat surface, and the ability to find three simple bone landmarks. Remove your phone case, calibrate to a level vertical or horizontal reference, and use the same app every time. After a few hours of practice, your numbers will be repeatable enough to track real change.
Most strength athletes should establish a baseline, then retest every two to four weeks if they’re actively working on a specific mobility deficit. Just monitoring? Retest every four to eight weeks. The goal is to catch problems early and measure whether your interventions are actually working.
- Supine Active Hip Flexion – measures hip flexion capacity without compensatory spine movement
- Thomas Test – screens uniarticular hip flexor length in a passive position
- Modified Thomas Test (Kendall) – isolates rectus femoris tightness by assessing knee extension
- Active Hip Rotation – tests internal and external rotation symmetry
- Supine Hip Abduction – quantifies hip abduction ROM in an unloaded position
- Active Knee Extension – measures hamstring length via straight-leg raise
- Modified Weight-Bearing Lunge – assesses functional ankle dorsiflexion under load
Understanding Key Mobility Tests for Strength Athlete Performance

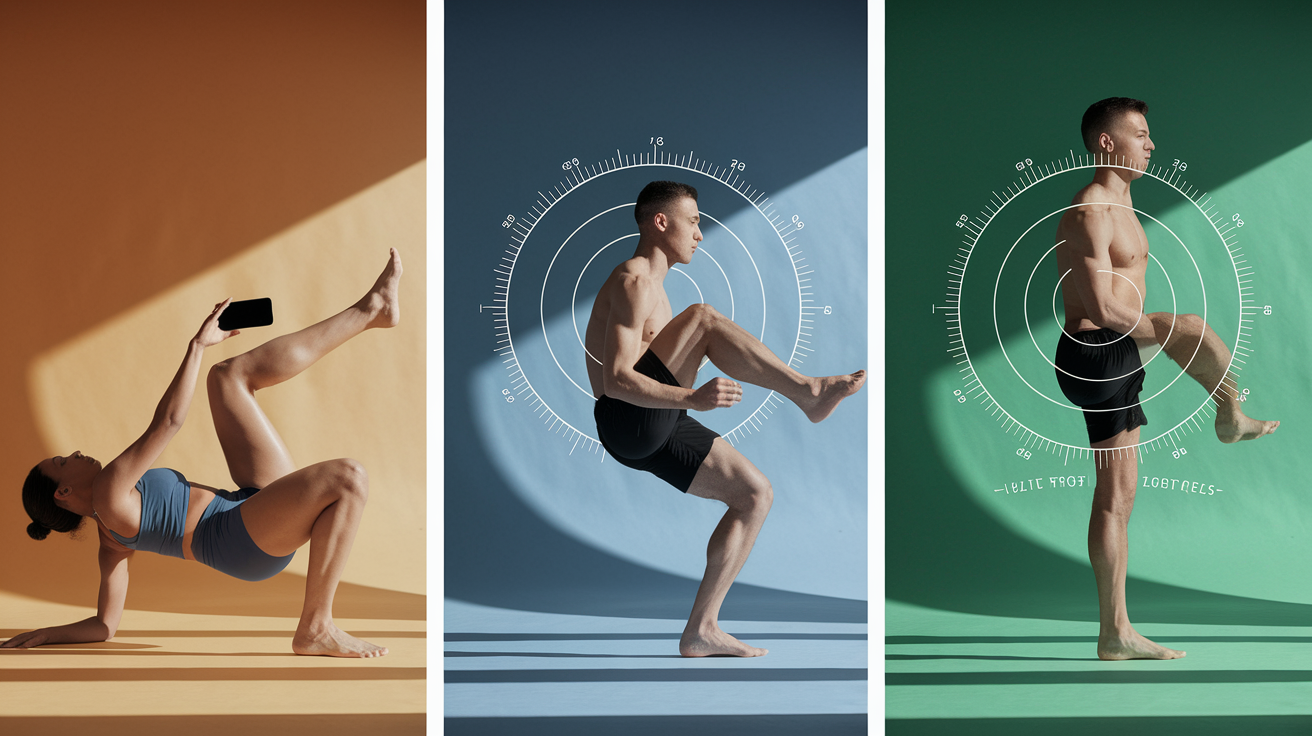
Every barbell movement has minimum ROM thresholds baked into its mechanics. Deep squats require roughly forty degrees of ankle dorsiflexion and thirty to forty degrees of hip abduction. Overhead pressing demands about fifteen degrees of thoracic extension plus coordinated shoulder and scapular rotation. When one joint can’t deliver its share, the body steals range from somewhere else. Usually your spine or the opposite hip.
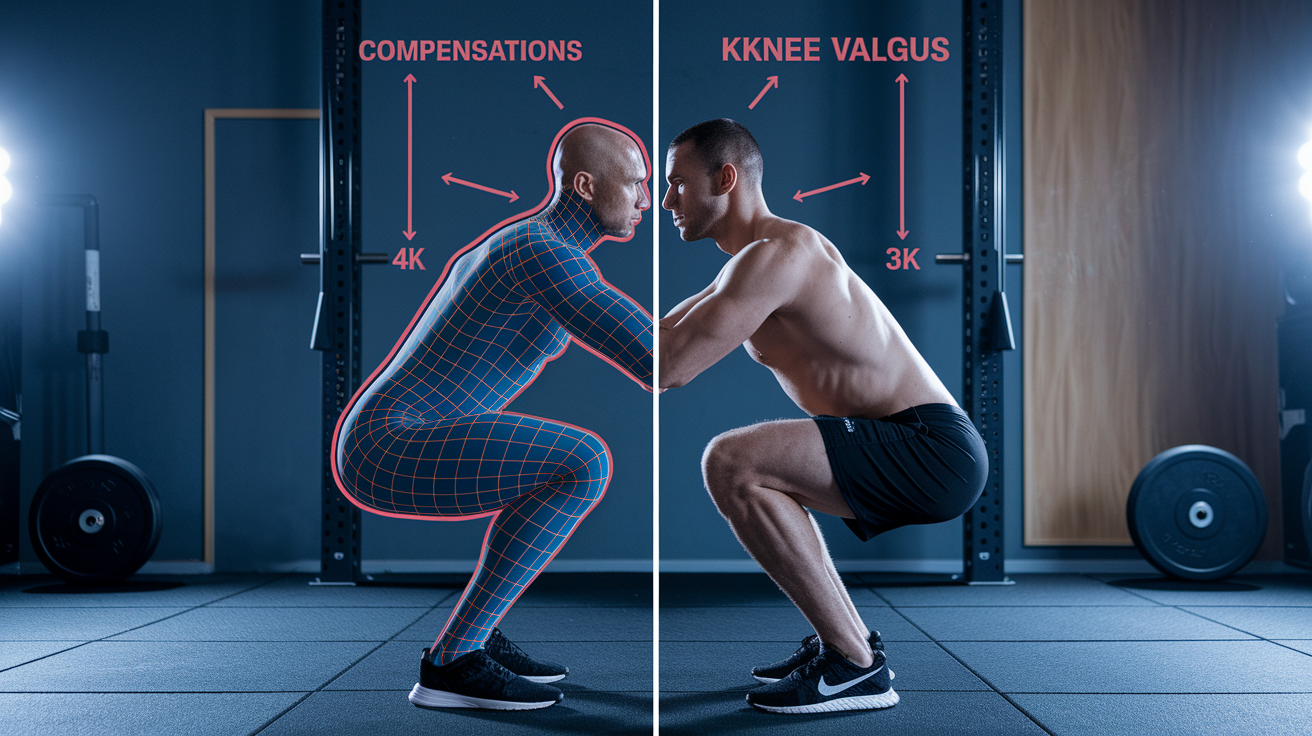
Those compensations look predictable on video. Limited ankle dorsiflexion shows up as excessive forward trunk lean or early knee valgus. Tight hip flexors tilt your pelvis forward and force your low back into hyperextension during lunges. Short hamstrings pull your spine out of neutral the moment you hinge for a Romanian deadlift. Poor thoracic extension makes your lumbar spine arch hard to get the bar overhead, which eventually irritates something.
Mobility testing gives you the degrees of motion needed to identify which compensation is mechanical and which is just a motor control issue you can fix with cueing. If your hip can’t externally rotate forty-five degrees on the table, your squat stance probably won’t allow it either. Doesn’t matter how many times someone tells you to push your knees out.
Insufficient ankle dorsiflexion increases forward lean and reduces squat depth. Limited hip internal rotation forces the spine to rotate during twisting movements. Tight rectus femoris prevents an upright torso in split stance positions. Poor thoracic extension shifts overhead demand to the lumbar spine. Restricted hip abduction narrows squat stance and increases valgus stress at the knee.
Simple Hip Mobility Tests Strength Athletes Should Track Over Time
Hip mobility drives both squat depth and hinge mechanics. When your hips move freely through flexion, rotation, abduction, and extension, your pelvis stays neutral and your spine can maintain its natural curve under load. When one hip is tighter than the other, you’ll see asymmetric weight shift, uneven bar paths, and one-sided fatigue or discomfort after heavy sets.
Bilateral differences of more than ten degrees between left and right hips often correlate with shifting during squats or uneven lockout speeds in deadlifts. Small asymmetries don’t always hurt performance. But large ones usually mean one side is compensating, and compensation adds up over months of training volume.
Use these three hip tests to build a baseline, then track them every few weeks. If the numbers improve but your squat technique stays the same, you’ve found a motor control problem. If the numbers stay flat and your squat still breaks down, you’ve confirmed a true ROM limit that needs consistent mobility work.
Supine Active Hip Flexion
Lie flat on your back with both legs straight. Keep your low back and opposite leg pressed to the floor. Slowly raise one straight leg as high as you can without letting your pelvis tilt or your opposite knee bend. Place your phone in portrait orientation on the anterior shin, just below the tibial tuberosity, and calibrate it to vertical before you lift.
Athletes who score more than twenty degrees of hip flexion on this test generally have enough hip ROM to achieve full squat depth, assuming ankle and thoracic mobility are adequate. Scores under fifteen degrees suggest the hip is stealing range from the lumbar spine during the bottom of the squat.
Start position is supine, legs straight, low back flat. Movement cue: raise straight leg without opposite leg movement or pelvic tilt. Phone setup is portrait on anterior shin below tibial tuberosity, calibrated vertical.
Active Hip Rotation (Internal & External)
Lie on your back with your hip and knee both bent to ninety degrees. Let your lower leg rotate inward to test external hip rotation, then outward to test internal rotation. Your thigh should stay vertical and your pelvis should remain still. Mark a line ten centimeters above the tip of the lateral malleolus (the bony bump on the outside of your ankle). Align the bottom edge of your phone to that line, set it to portrait, and calibrate to vertical.
Normative references suggest roughly thirty-five degrees of internal rotation and forty-five degrees of external rotation, but bony hip anatomy varies widely. What matters more than hitting a textbook number is symmetry between sides and whether your available rotation matches the demands of your squat stance.
Internal rotation means lower leg rotates outward while thigh stays vertical. External rotation means lower leg rotates inward while thigh stays vertical. Phone setup is portrait, bottom edge at 10 cm above lateral malleolus, calibrated vertical.
Modified Thomas Test (Rectus Femoris)
Sit on the edge of a table or bench, then lie back and pull one knee to your chest. Let the opposite leg hang off the edge. If your rectus femoris is short, the hanging thigh will lift away from the table and the knee won’t fully extend. Place your phone in portrait orientation on the anterior shin of the hanging leg, just below the tibial tuberosity, and calibrate to vertical.
Full rectus femoris ROM is represented by a tibia angle of zero degrees relative to vertical. The shin hangs straight down. Positive angles (shin tilted toward horizontal) indicate tightness that can limit your ability to keep an upright trunk during lunges, split squats, and some squat variations.
Start position: seated at table edge, lie back, pull one knee to chest. Hanging leg: allow thigh and shin to drop naturally without active extension. Phone setup is portrait on anterior shin below tibial tuberosity, calibrated vertical.
Ankle Dorsiflexion Mobility Assessment for Stronger Squats
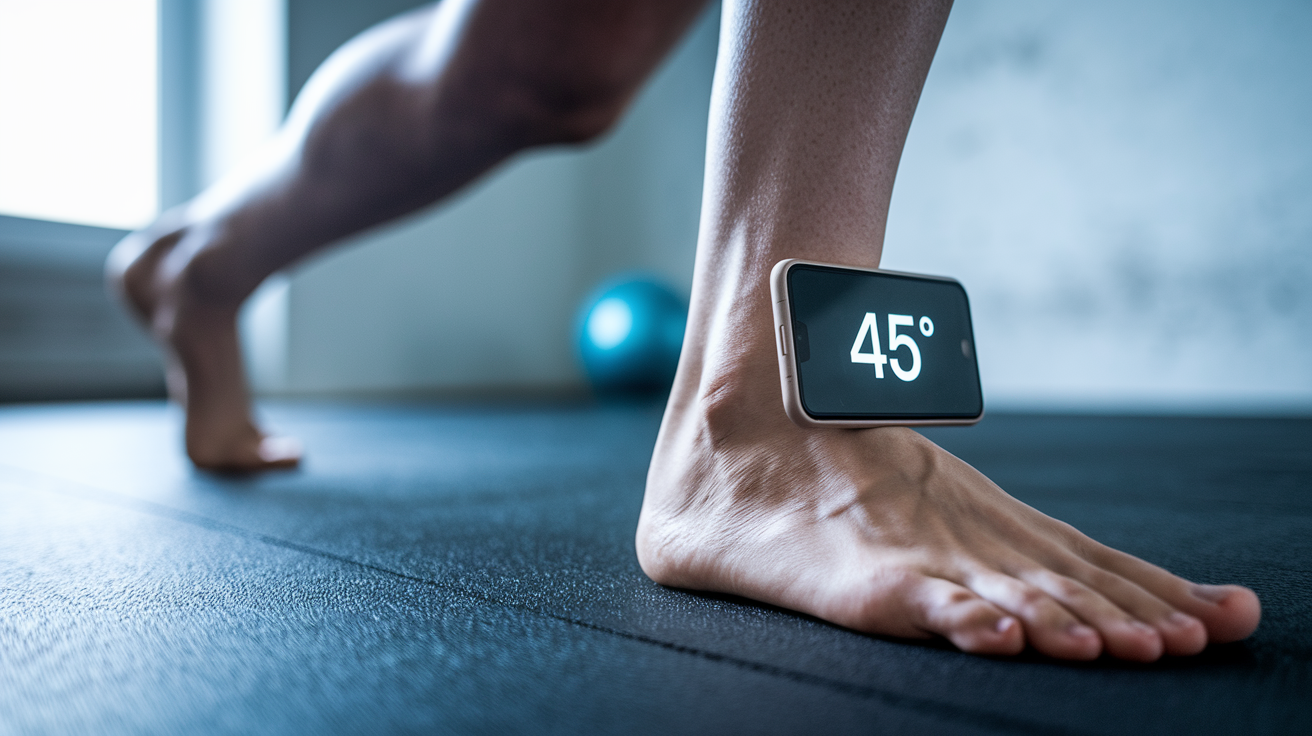
Deep squats require about forty degrees of ankle dorsiflexion. If your ankle can’t flex that far, your heel lifts, your knee drifts forward past your toes without control, or your trunk pitches forward to keep the bar over midfoot. All three compensations reduce the load your quads and glutes can handle and increase shear stress at the knee or lumbar spine.
The modified weight-bearing lunge test measures dorsiflexion in a loaded, functional position. Kneel in a half-kneeling stance with your front foot flat and your back knee down. Shift your weight forward until your front knee travels as far over your toes as possible without your heel lifting. Place your phone in portrait orientation on the front shin, just below the tibial tuberosity, and calibrate to vertical before you shift. Aim for forty-five degrees to leave a small margin above the forty-degree squat threshold.
| Score | Implication |
|---|---|
| ≥45° | Sufficient for deep squats with upright torso; monitor for symmetry between sides |
| 35–44° | Marginal; likely causes forward lean or early heel lift; prioritize ankle mobility drills |
| <35° | Restricts squat depth and increases knee valgus or excessive trunk lean; address before loading heavy |
Shoulder & Thoracic Mobility Testing for Overhead Strength

Overhead lifts (strict press, push press, jerk, snatch) require about fifteen degrees of thoracic extension, full glenohumeral flexion, external rotation at the shoulder, and coordinated scapular upward rotation. When thoracic extension is limited, your lumbar spine hyperextends to get the bar overhead, which loads the low back and can cause pain during or after pressing sessions. When shoulder ROM is restricted, your elbows flare, your wrists bend back hard, or you can’t lock out the bar directly over your midfoot.
The Apley’s Scratch Test is a quick combined screen of shoulder and scapular mobility. It doesn’t give you degrees, but it tells you whether your shoulder complex can move through the ranges you’ll need for safe overhead work. If you can’t pass both portions of this test on both sides, avoid heavy overhead pressing and pulling until you’ve worked with a coach to improve the deficits.
Testing your thoracic extension separately requires a partner or a more complex setup, but you can approximate it by lying prone and trying to lift your chest off the floor without pushing through your hands. If your ribcage barely clears the ground, you likely lack the fifteen degrees of extension needed for efficient overhead mechanics.
Apley’s Scratch Test
Stand tall with normal posture. Reach one arm up and over your head, trying to touch the top edge of your opposite shoulder blade without letting your head jut forward, your shoulder shrug up, or your torso rotate. Then reach the same arm behind your back and try to touch the bottom tip of the opposite shoulder blade without letting your chest puff out or your trunk twist. Repeat on the other side.
Top reach means arm over head to touch superior angle of opposite scapula. Bottom reach means arm behind back to touch inferior angle of opposite scapula. Pass criterion: fingertips easily contact both landmarks without compensation. Fail implication suggests restricted glenohumeral or scapulothoracic ROM. Avoid heavy overhead work until assessed.
Using Smartphones for Mobility Testing in Strength Training
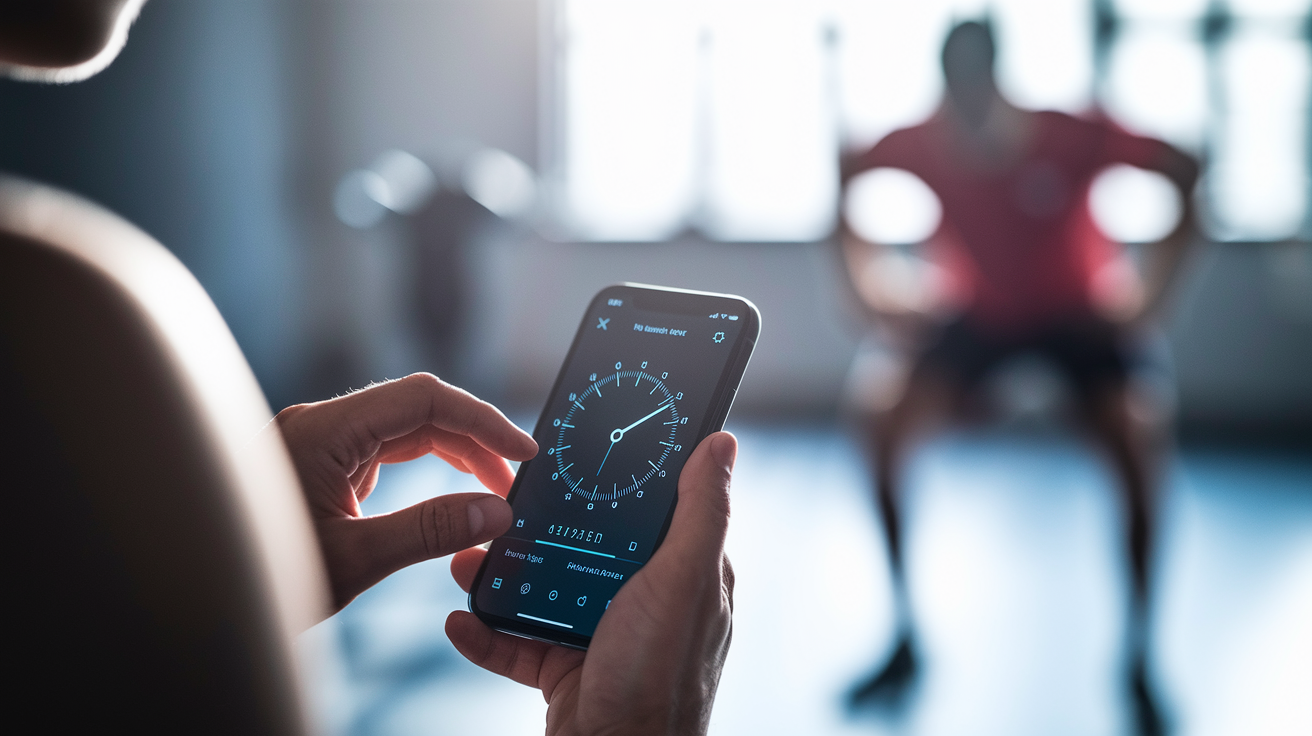
Smartphones with built-in inclinometer apps can replace goniometers for most lower body ROM measurements. The key to repeatability is standardization. Remove your phone case before every test. Cases add bulk and change the contact surface. Calibrate your phone to a known vertical reference, like a wall you’ve checked with a spirit level, or a horizontal reference, like a flat table. Use the same phone model and the same app every testing session. Switching between an iPhone and an Android, or between two different inclinometer apps, introduces error that hides real progress.
Phone orientation matters. Portrait orientation (long axis vertical) is used when you’re measuring angles relative to vertical, like the shin angle during a lunge test. Landscape orientation (long axis horizontal) is used when measuring angles relative to horizontal, like the thigh during the Thomas test. Always zero your device if the app allows it, and recheck your calibration between athletes if you’re testing multiple people in one session.
Bony landmarks guide consistent phone placement. For hip flexion and the standard Thomas test, mark a transverse line five centimeters above the base of the patella and align the top edge of your phone to that line. For hip rotation, mark ten centimeters above the lateral malleolus and align the bottom edge of the phone. For shin-based measures (modified Thomas, active knee extension, and the weight-bearing lunge), place the phone on the anterior border of the tibia just below the tibial tuberosity. For supine hip abduction, place it on the medial surface of the mid-thigh.
Remove phone case every test. Calibrate to vertical (wall) or horizontal (table) reference before each use. Use one phone model and one app consistently. Portrait equals vertical reference, landscape equals horizontal reference. Mark anatomical lines: 5 cm above patella, 10 cm above lateral malleolus, tibial tuberosity. Recheck level surface with spirit level if testing multiple athletes.
Data Tracking Systems for Long-Term Mobility Progress

A simple spreadsheet or printed scorecard keeps your mobility data organized and makes progress visible. Each row should capture one test on one side for one athlete on one date. Include columns for the athlete’s name or ID, the date, which test you performed, left and right scores in degrees, the phone model, the app name, the phone orientation you used, your initials as the tester, and a notes field for compensations, pain, or the intervention you assigned afterward.
Store your template in a shared folder or print copies to keep in your training log. Retest the same movement using the same setup, and compare scores across dates. If hip internal rotation improved from twenty-eight degrees to thirty-six degrees over four weeks, your mobility work is transferring. If it stayed flat or regressed, either the intervention isn’t working or you’re not doing it consistently enough.
| Date | Athlete | Test | Left (°) | Right (°) | Notes |
|---|---|---|---|---|---|
| 2025-04-01 | Athlete A | Supine Hip Flexion | 22 | 24 | No compensation |
| 2025-04-01 | Athlete A | Active Knee Extension | 18 | 16 | Slight pelvic tilt on left |
| 2025-04-01 | Athlete A | Modified WB Lunge | 42 | 38 | Right heel lifts early; add ankle work |
Interpreting Mobility Test Results for Strength Training Improvements
Mobility deficits show up as compensations during loaded movement. Limited ankle dorsiflexion forces your torso forward during squats to keep the bar over your midfoot. Your knees might cave inward to find more range, or your heels lift off the ground, shifting load to your toes and reducing force production. All three compensations reduce the weight you can handle safely and increase injury risk over time.
Tight hamstrings cause early spinal flexion during Romanian deadlifts. You’ll see your low back round before the bar reaches mid-shin, limiting how much load your posterior chain can manage and increasing shear forces on the lumbar discs. Short hip flexors tilt your pelvis forward, which hyperextends your lumbar spine and makes it hard to brace effectively during squats or overhead lifts. Poor thoracic extension pushes overhead pressing demand into your lower back, causing compensatory lumbar hyperextension that can lead to pain after high volume press sessions.
Use test results to choose corrective exercises that target the actual restriction. If your active knee extension score is over twenty degrees, your hamstrings are short. Add consistent hamstring stretching or eccentrics before you load heavy hinges. If your modified lunge test is under forty degrees, prioritize ankle mobility drills and consider temporary heel elevation during squats while you build dorsiflexion. Track retests every few weeks to confirm your interventions are working, and adjust your program if the numbers stay flat.
Ankle dorsiflexion under forty degrees creates forward trunk lean, knee valgus, and heel lift during squats. Hamstring restriction (active knee extension over twenty degrees) creates early spinal flexion in RDL and conventional deadlifts. Short rectus femoris (Modified Thomas over zero degrees) creates anterior pelvic tilt and difficulty maintaining upright torso in lunges. Limited hip internal rotation creates compensatory lumbar or pelvic rotation during squat descent. Poor thoracic extension (under fifteen degrees) creates lumbar hyperextension during overhead press and restricted shoulder ROM.
Recommended Mobility Retest Frequency for Strength Athletes

Establish a baseline measurement for all seven lower body tests, then retest every two to four weeks if you’re actively working to improve a specific deficit. If you’ve assigned daily ankle mobility drills to fix a dorsiflexion restriction, retest the modified weight-bearing lunge every two weeks to confirm the work is transferring to measurable ROM gains. If progress stalls, either increase the frequency or volume of the drill, or try a different intervention.
For general monitoring (when you’re not chasing a specific mobility goal), retest every four to eight weeks. The full battery takes fifteen to twenty minutes per athlete, so it fits easily into a deload week or the start of a new training block. Individual tests take one to two minutes once you’ve practiced the setup, so you can drop a single test into a warm-up if you want to check one joint without running the full screen.
Adjust retest cadence based on how quickly your athletes respond. Younger lifters and those new to mobility work often show measurable improvement in two to three weeks. More experienced athletes with long-standing restrictions may need four to six weeks of consistent work before ROM changes enough to register on a smartphone inclinometer.
Baseline: complete all 7 tests before starting a focused mobility intervention. Focused work: retest every 2 to 4 weeks to confirm progress. General monitoring: retest every 4 to 8 weeks during normal training cycles. Single joint check-ins: drop one test into warm-ups when tracking a specific restriction.
Final Words
Grab your phone and run the quick battery of tests we covered, seven short ROM checks for hips, ankles, shoulders, and thoracic spine. They take 15–20 minutes and give a real baseline.
Use the same phone setup each time, log left/right scores, and retest every 2–4 weeks. Watch for squat and press compensations, then add targeted mobility drills.
These mobility assessment for strength athletes simple tests to track progress give measurable steps you can repeat, guide your programming, and reduce surprises in the gym. Small, steady improvements add up. You’ve got this.
FAQ
Q: What mobility assessments can strength athletes use immediately?
A: The mobility assessments strength athletes can use immediately are seven quick smartphone-based tests: Supine Active Hip Flexion, Thomas, Modified Thomas, Active Hip Rotation (IR/ER), Supine Hip Abduction, Active Knee Extension, and Modified Weight‑Bearing Lunge.
Q: Why does objective mobility testing matter for strength athletes?
A: Objective mobility testing matters because it gives measurable baselines, improves technique quality, and helps reduce injury risk by showing exact limits to address with targeted work.
Q: How often should strength athletes retest mobility?
A: Strength athletes should retest mobility every 2–4 weeks for focused intervention, or every 4–8 weeks for general monitoring, using the same setup to track real progress.
Q: How can I use a smartphone for reliable mobility testing?
A: You can use a smartphone reliably by removing the case, calibrating to a wall or table, using the same app and phone orientation, and aligning the camera with consistent anatomical landmarks.
Q: What hip tests should I track and which numbers indicate sufficient mobility?
A: The hip tests to track are Supine Active Hip Flexion, Active Hip Rotation, and Modified Thomas; general targets: supine hip flexion >20°, hip IR ~35°, hip ER ~45°, AKE <20°, Thomas tibia vertical.
Q: How does limited ankle dorsiflexion affect squat performance and what target should I aim for?
A: Limited ankle dorsiflexion causes forward trunk lean and knee valgus in squats; aim for about 45° on the weight‑bearing lunge test to allow deep, stable squatting.
Q: Which shoulder and thoracic tests should I use for overhead strength assessments?
A: Use Apley’s Scratch Test and thoracic extension checks; overhead strength needs roughly 15° thoracic extension and coordinated scapular movement—failures mean prioritize mobility before heavy presses.
Q: How should I record mobility test data to track long-term progress?
A: Record Date, Athlete ID, left/right degrees, phone model, app and orientation, tester initials, and notes; include video references and retest cadence to spot trends and asymmetries.
Q: How do mobility deficits show up during barbell lifts and what compensations should I watch for?
A: Mobility deficits show as trunk lean, knee valgus, premature lumbar extension, or early spinal flexion; watch movement patterns during squat, deadlift, and overhead lifts to pinpoint limiting joints.
Q: What immediate steps should I take if a mobility test shows a restriction?
A: If a test shows a restriction, add targeted mobility drills and short corrective strength work, adjust load or range during lifts, and retest in 2–4 weeks to check progress.